An "Audit" of the fields, carried out between 11am and 12pm on Thursday 23rd September 2010
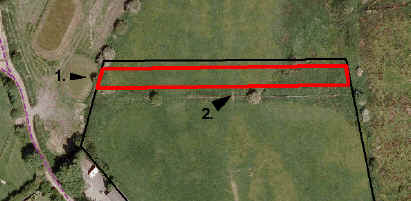
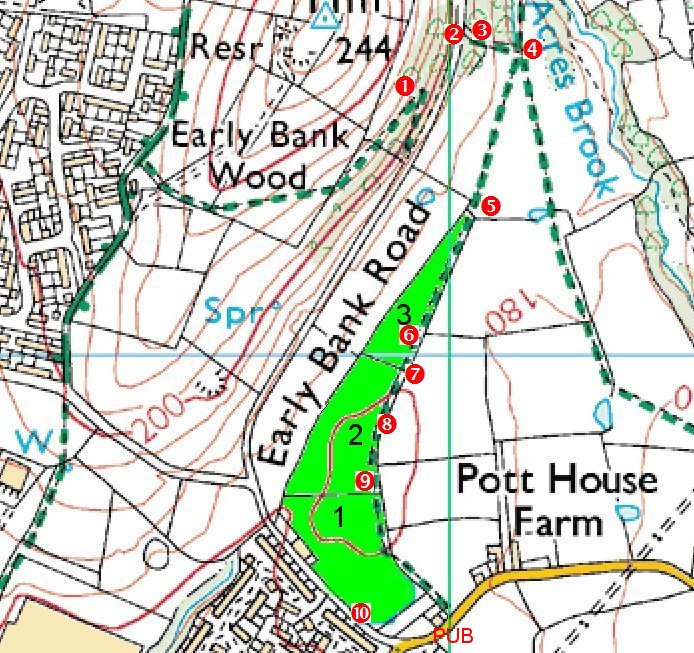
Reference Map. The three fields comprising Waldorf Playing Fields are shown in bright green. Conventionally, Field 1 is the southernmost field closest to Matley Lane; Field 3 is the northernmost field.
Click on any of the photographs below for the full-size picture.
|
|
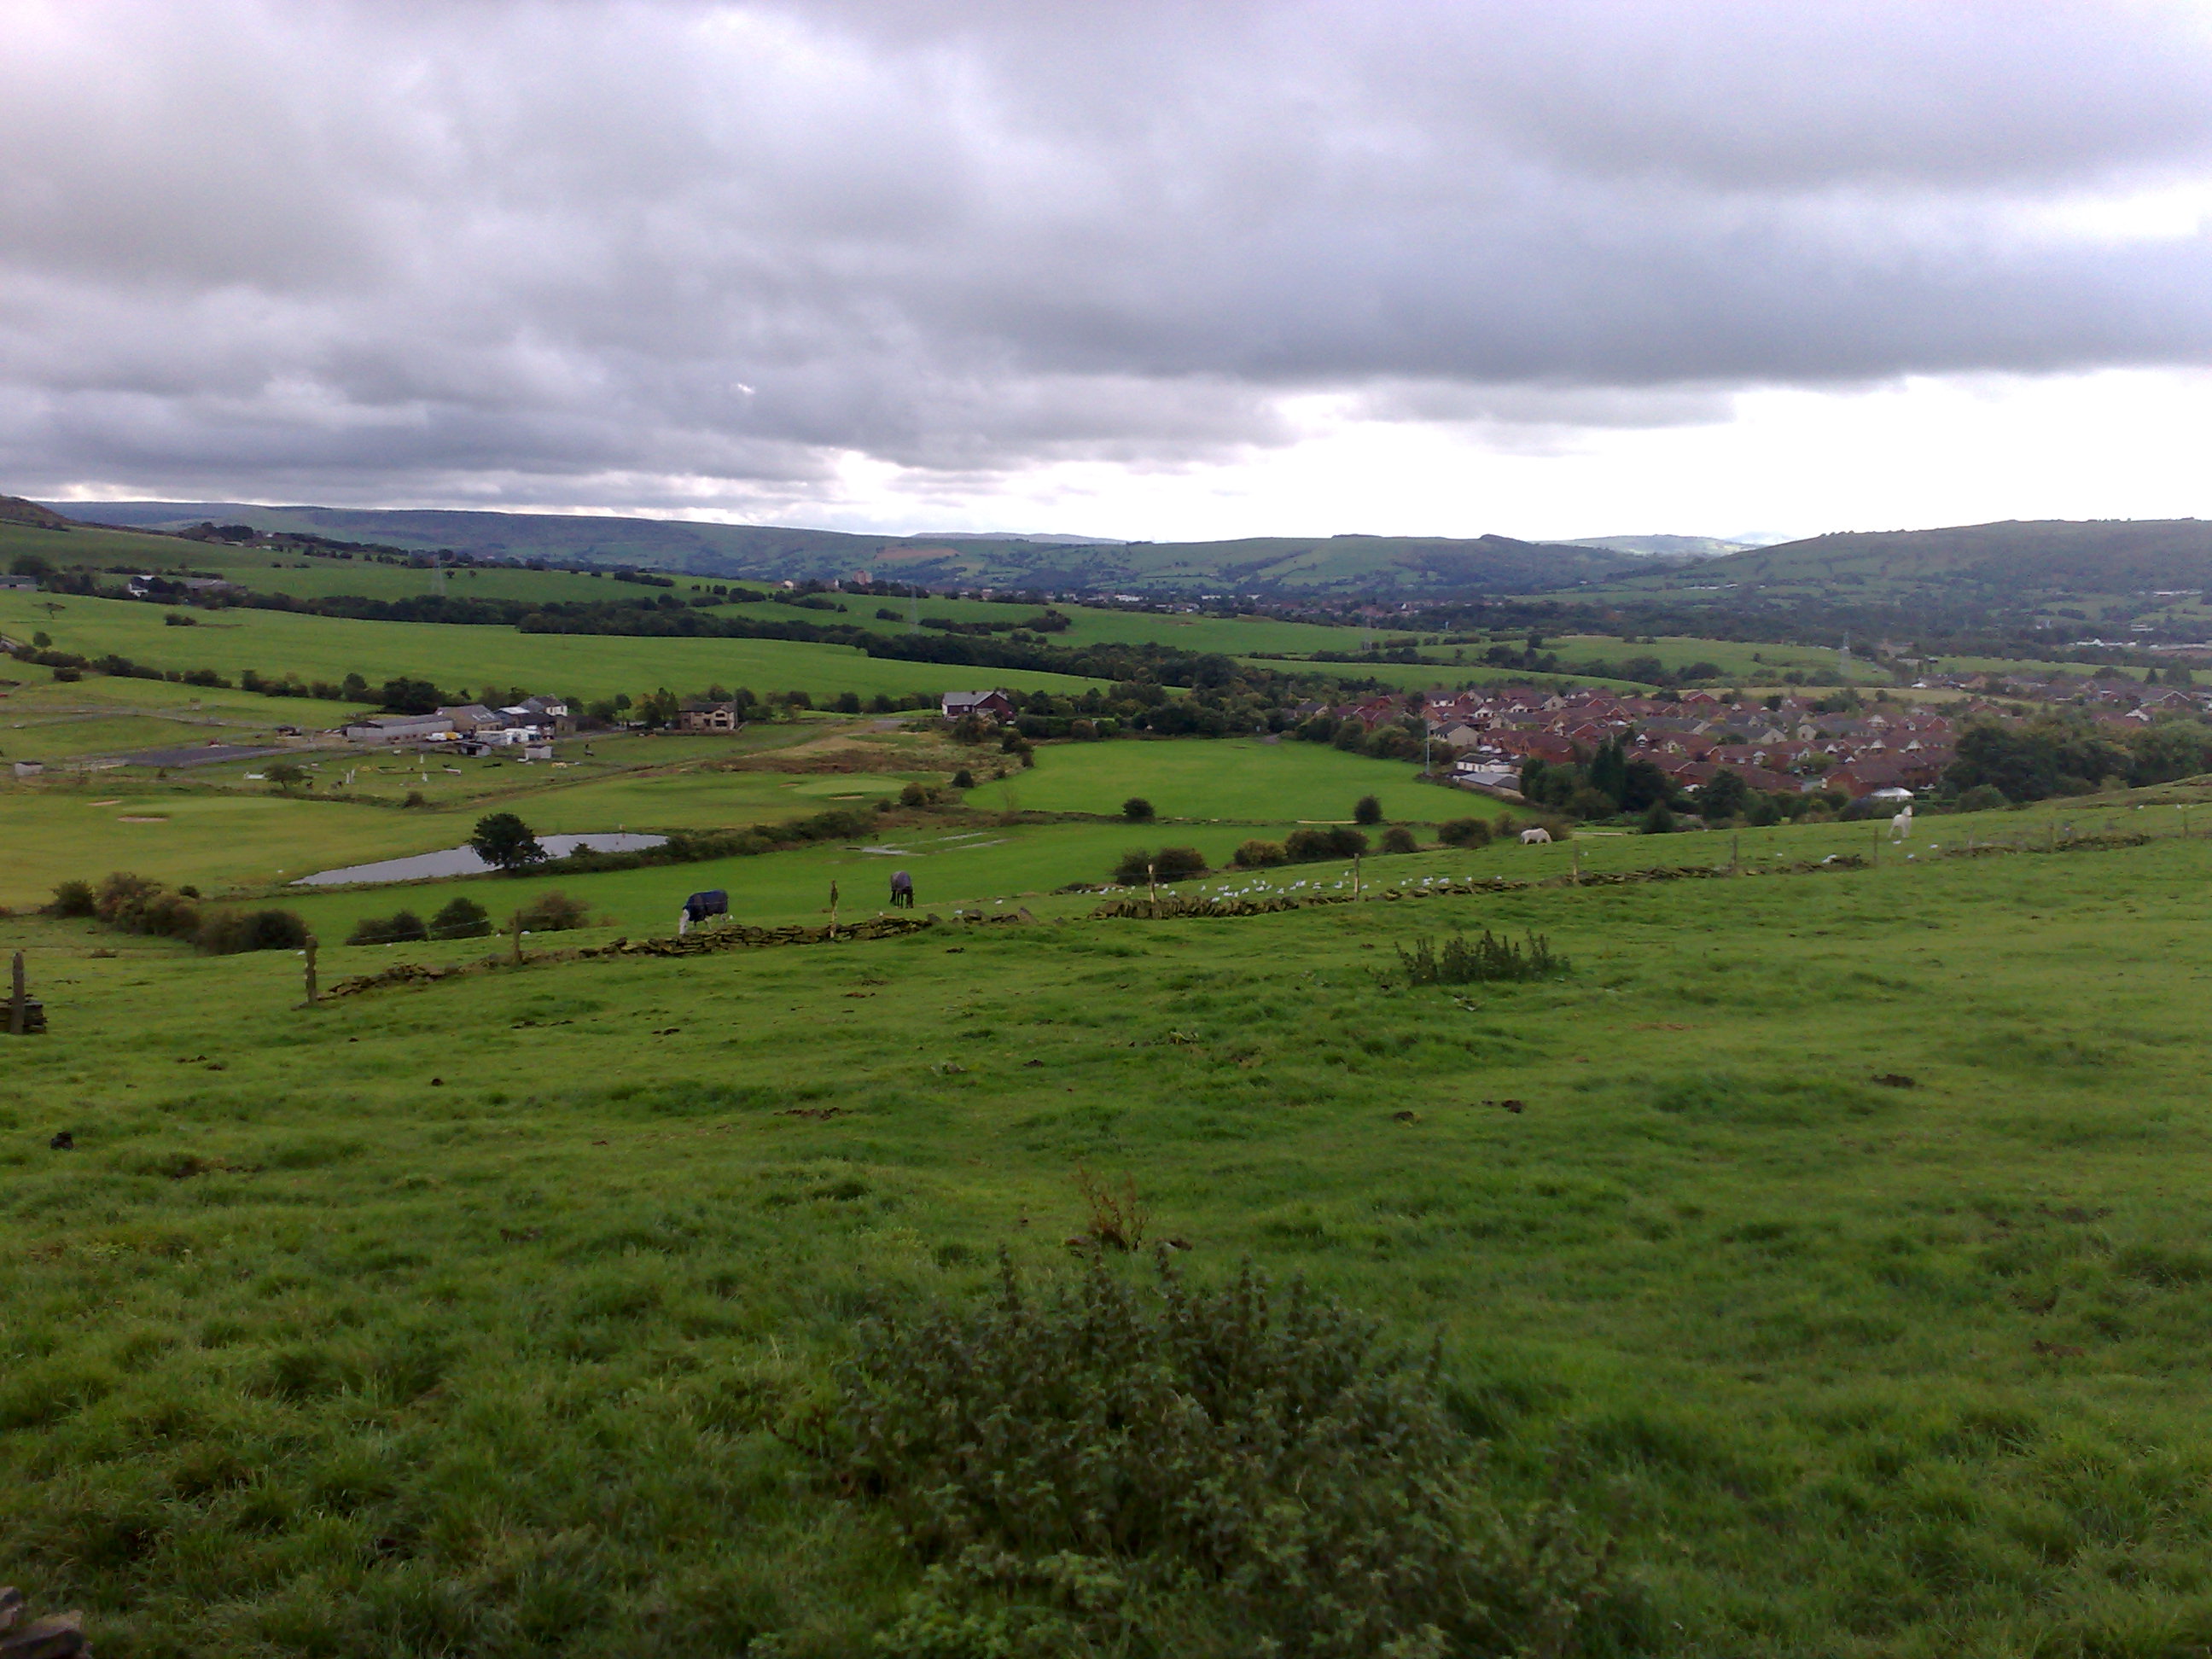
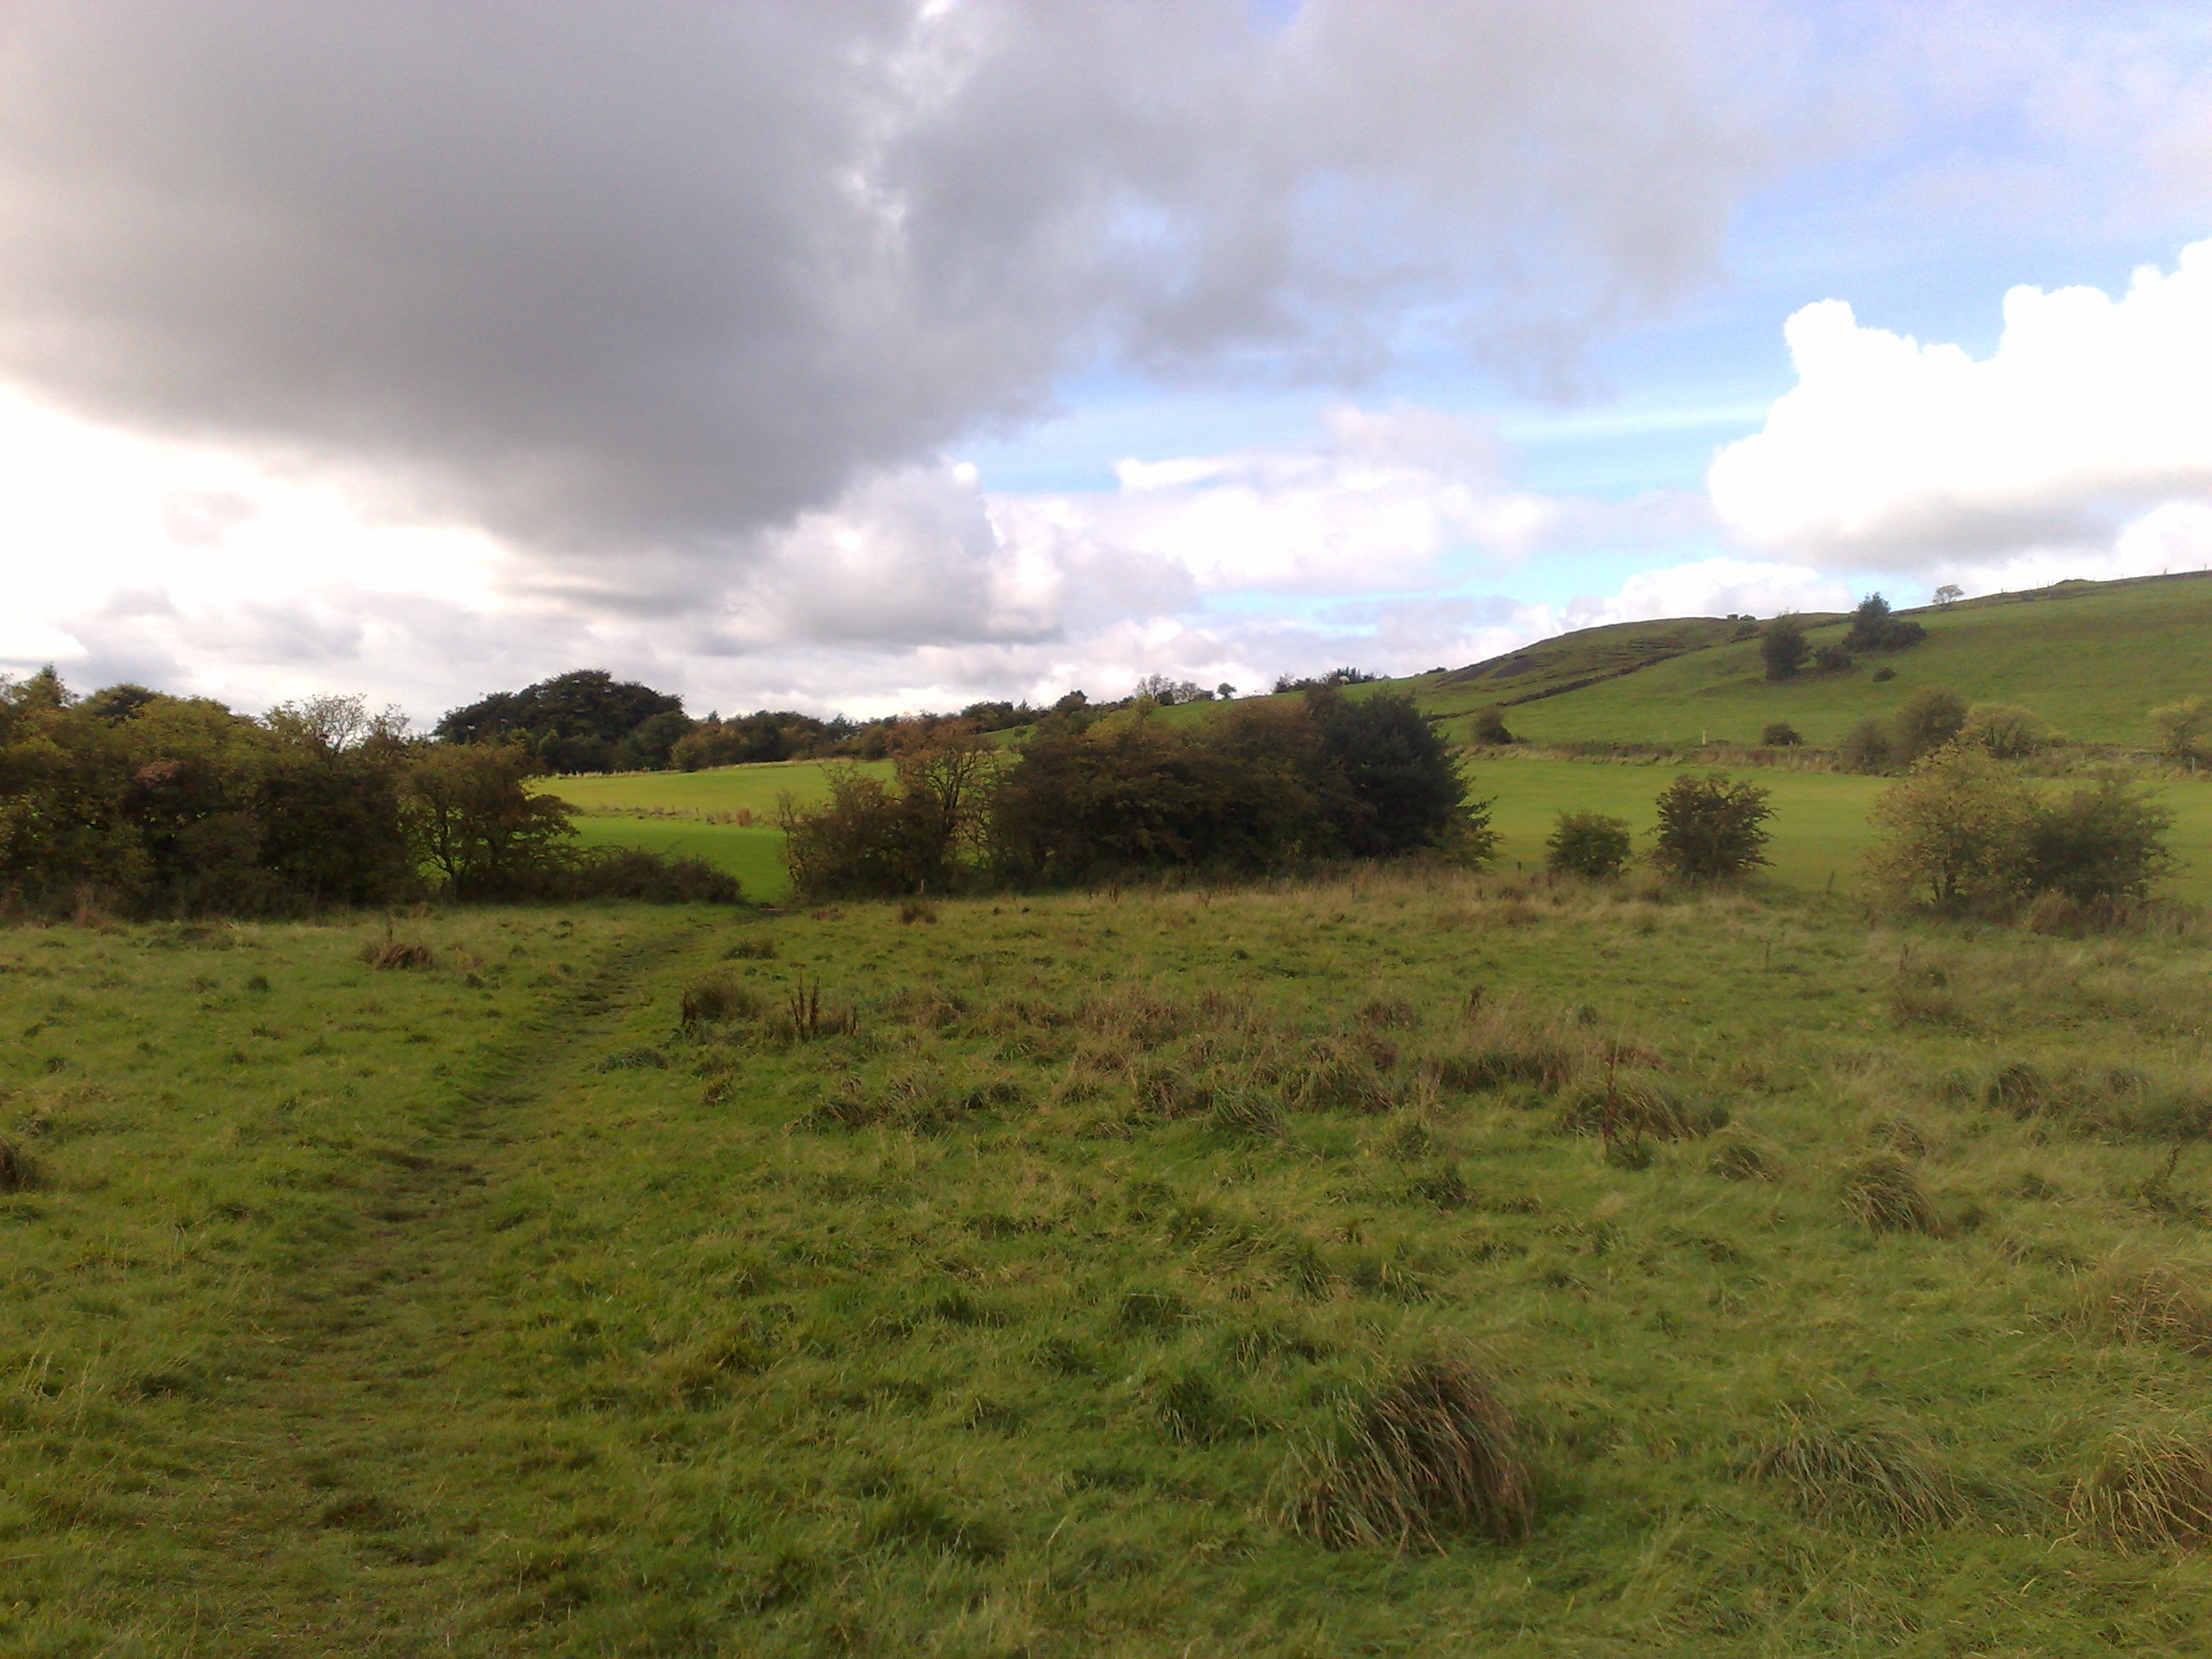
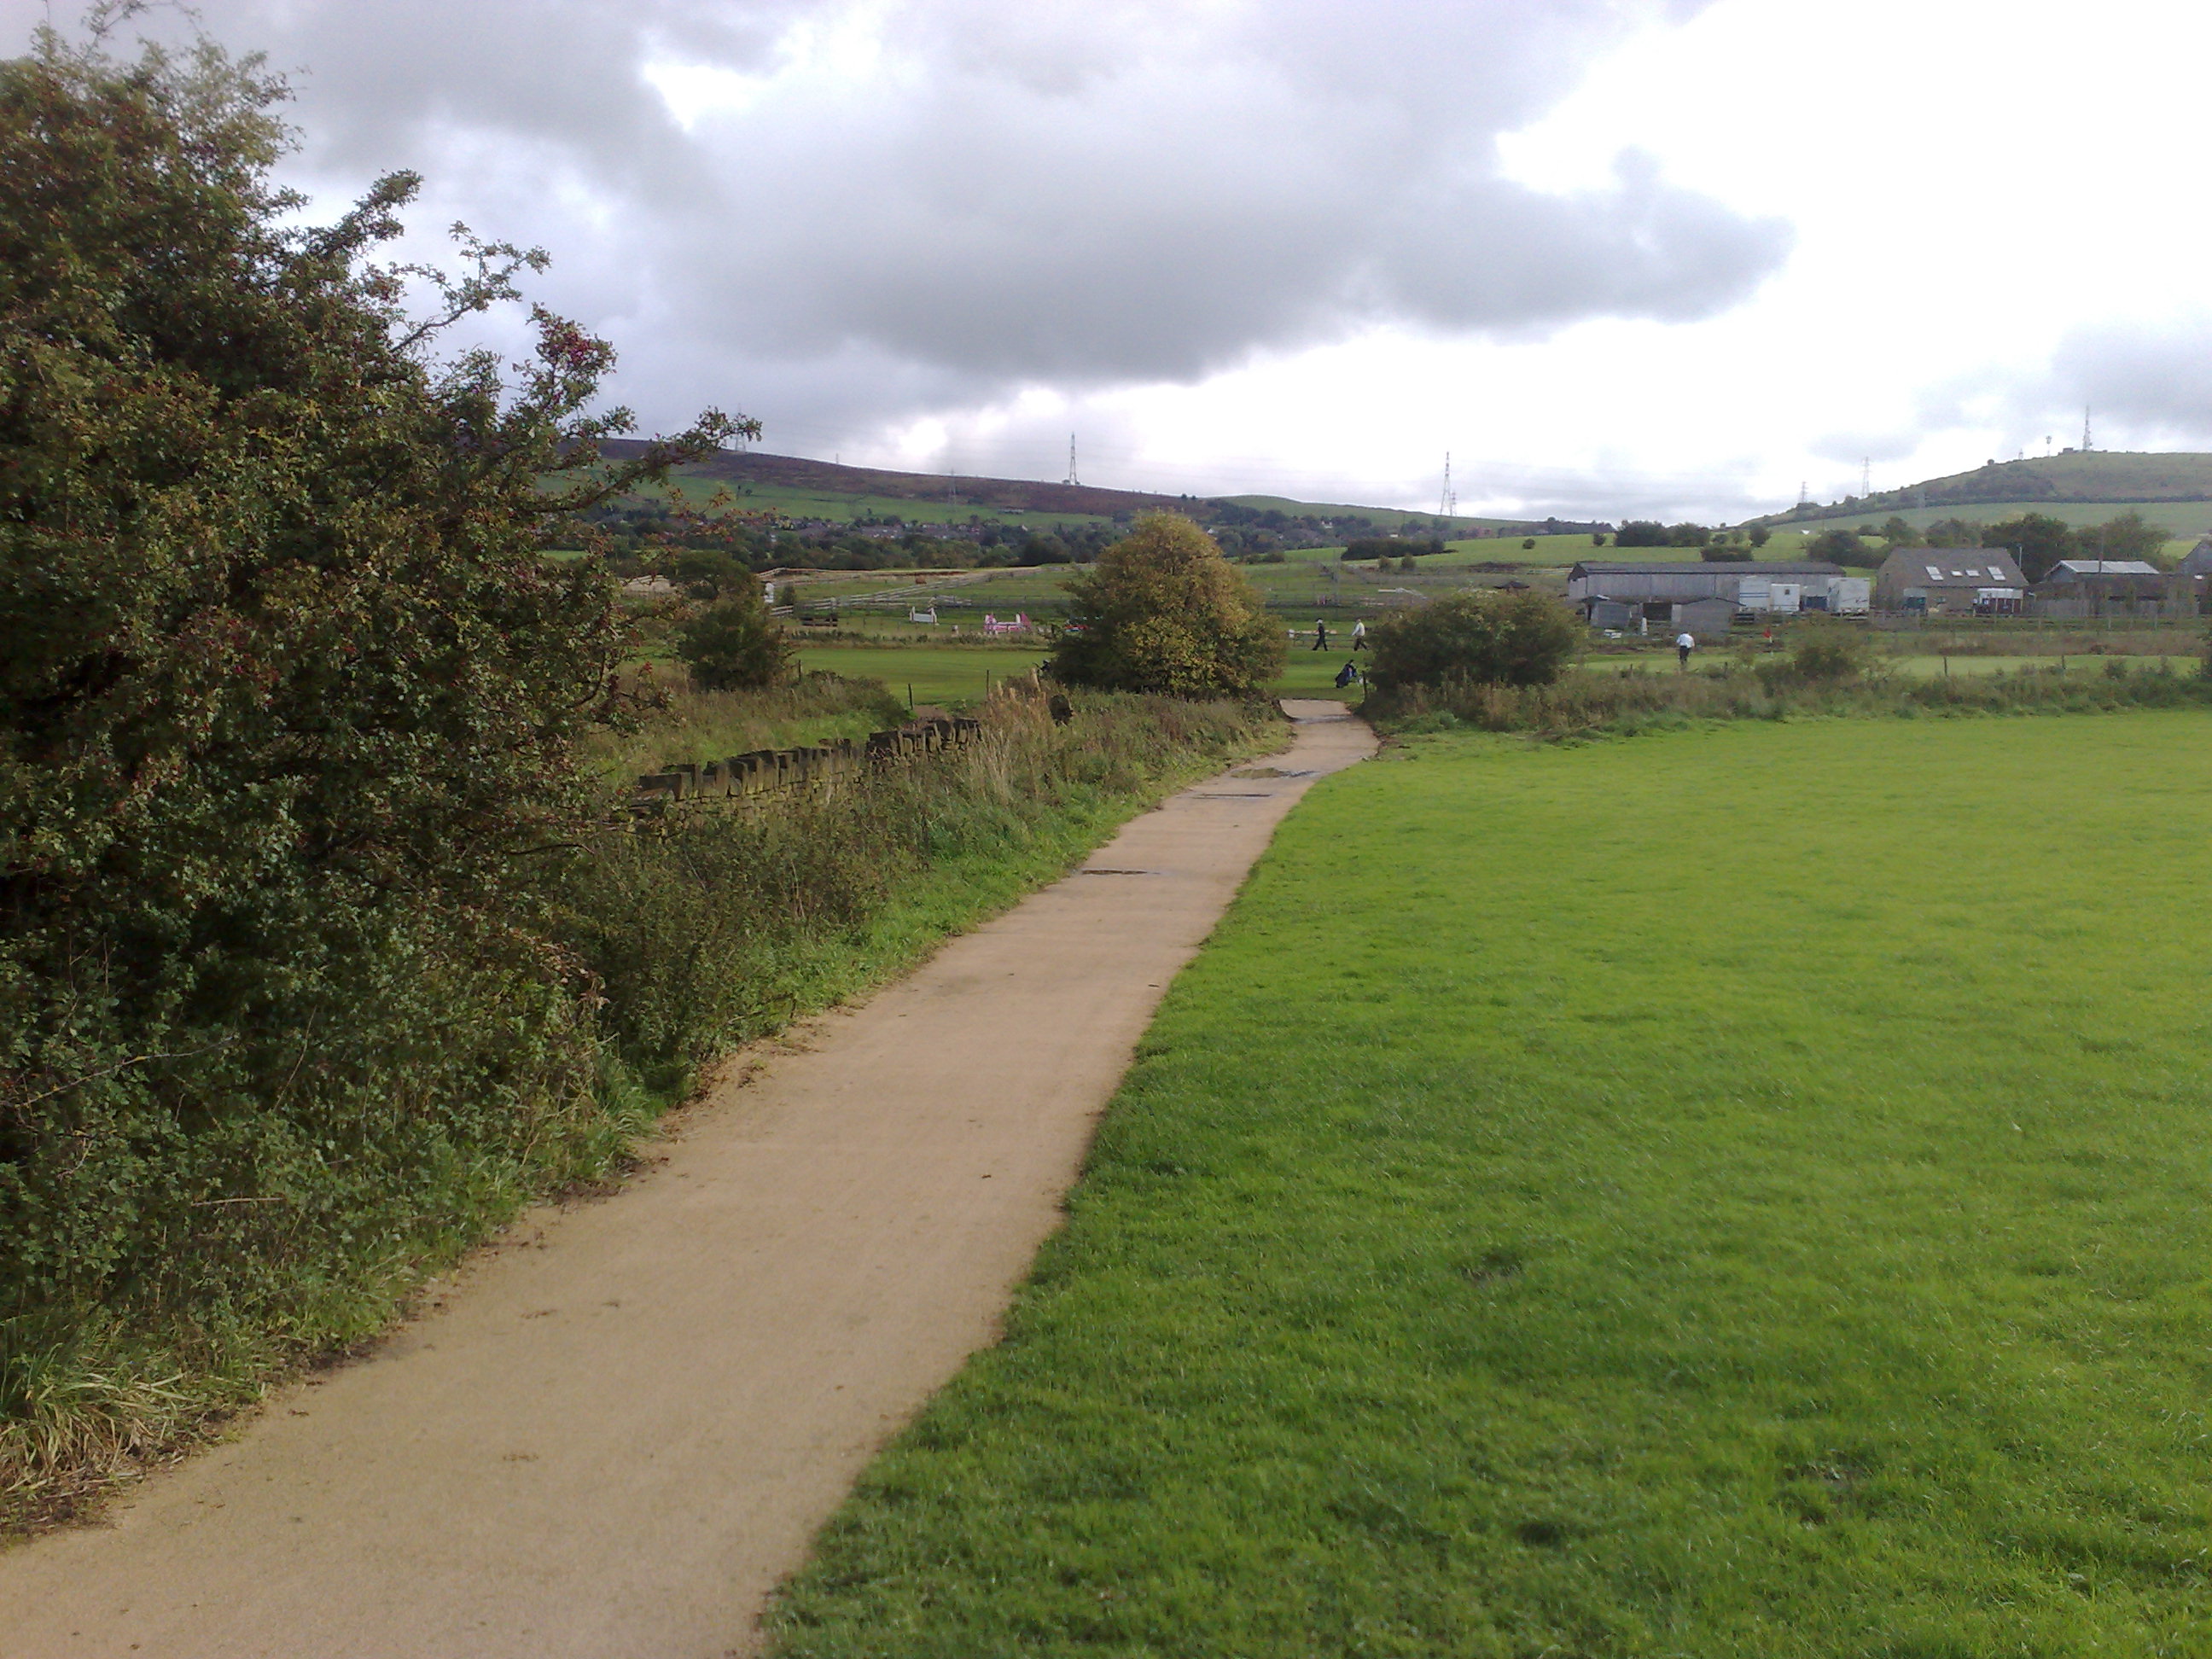
General View of the Fields
looking south from the footpath on Hough Hill (See [1] on the map
above)
The Rising Moon Pub is almost exactly in the centre of the picture. Down and to the right of that is Field 1. Beneath that you can just make out the boundary wall and the sandy colour of the new path built by DGC which runs along the south edge of Field 1. Field Two is below and to the left of that boundary.
|
|
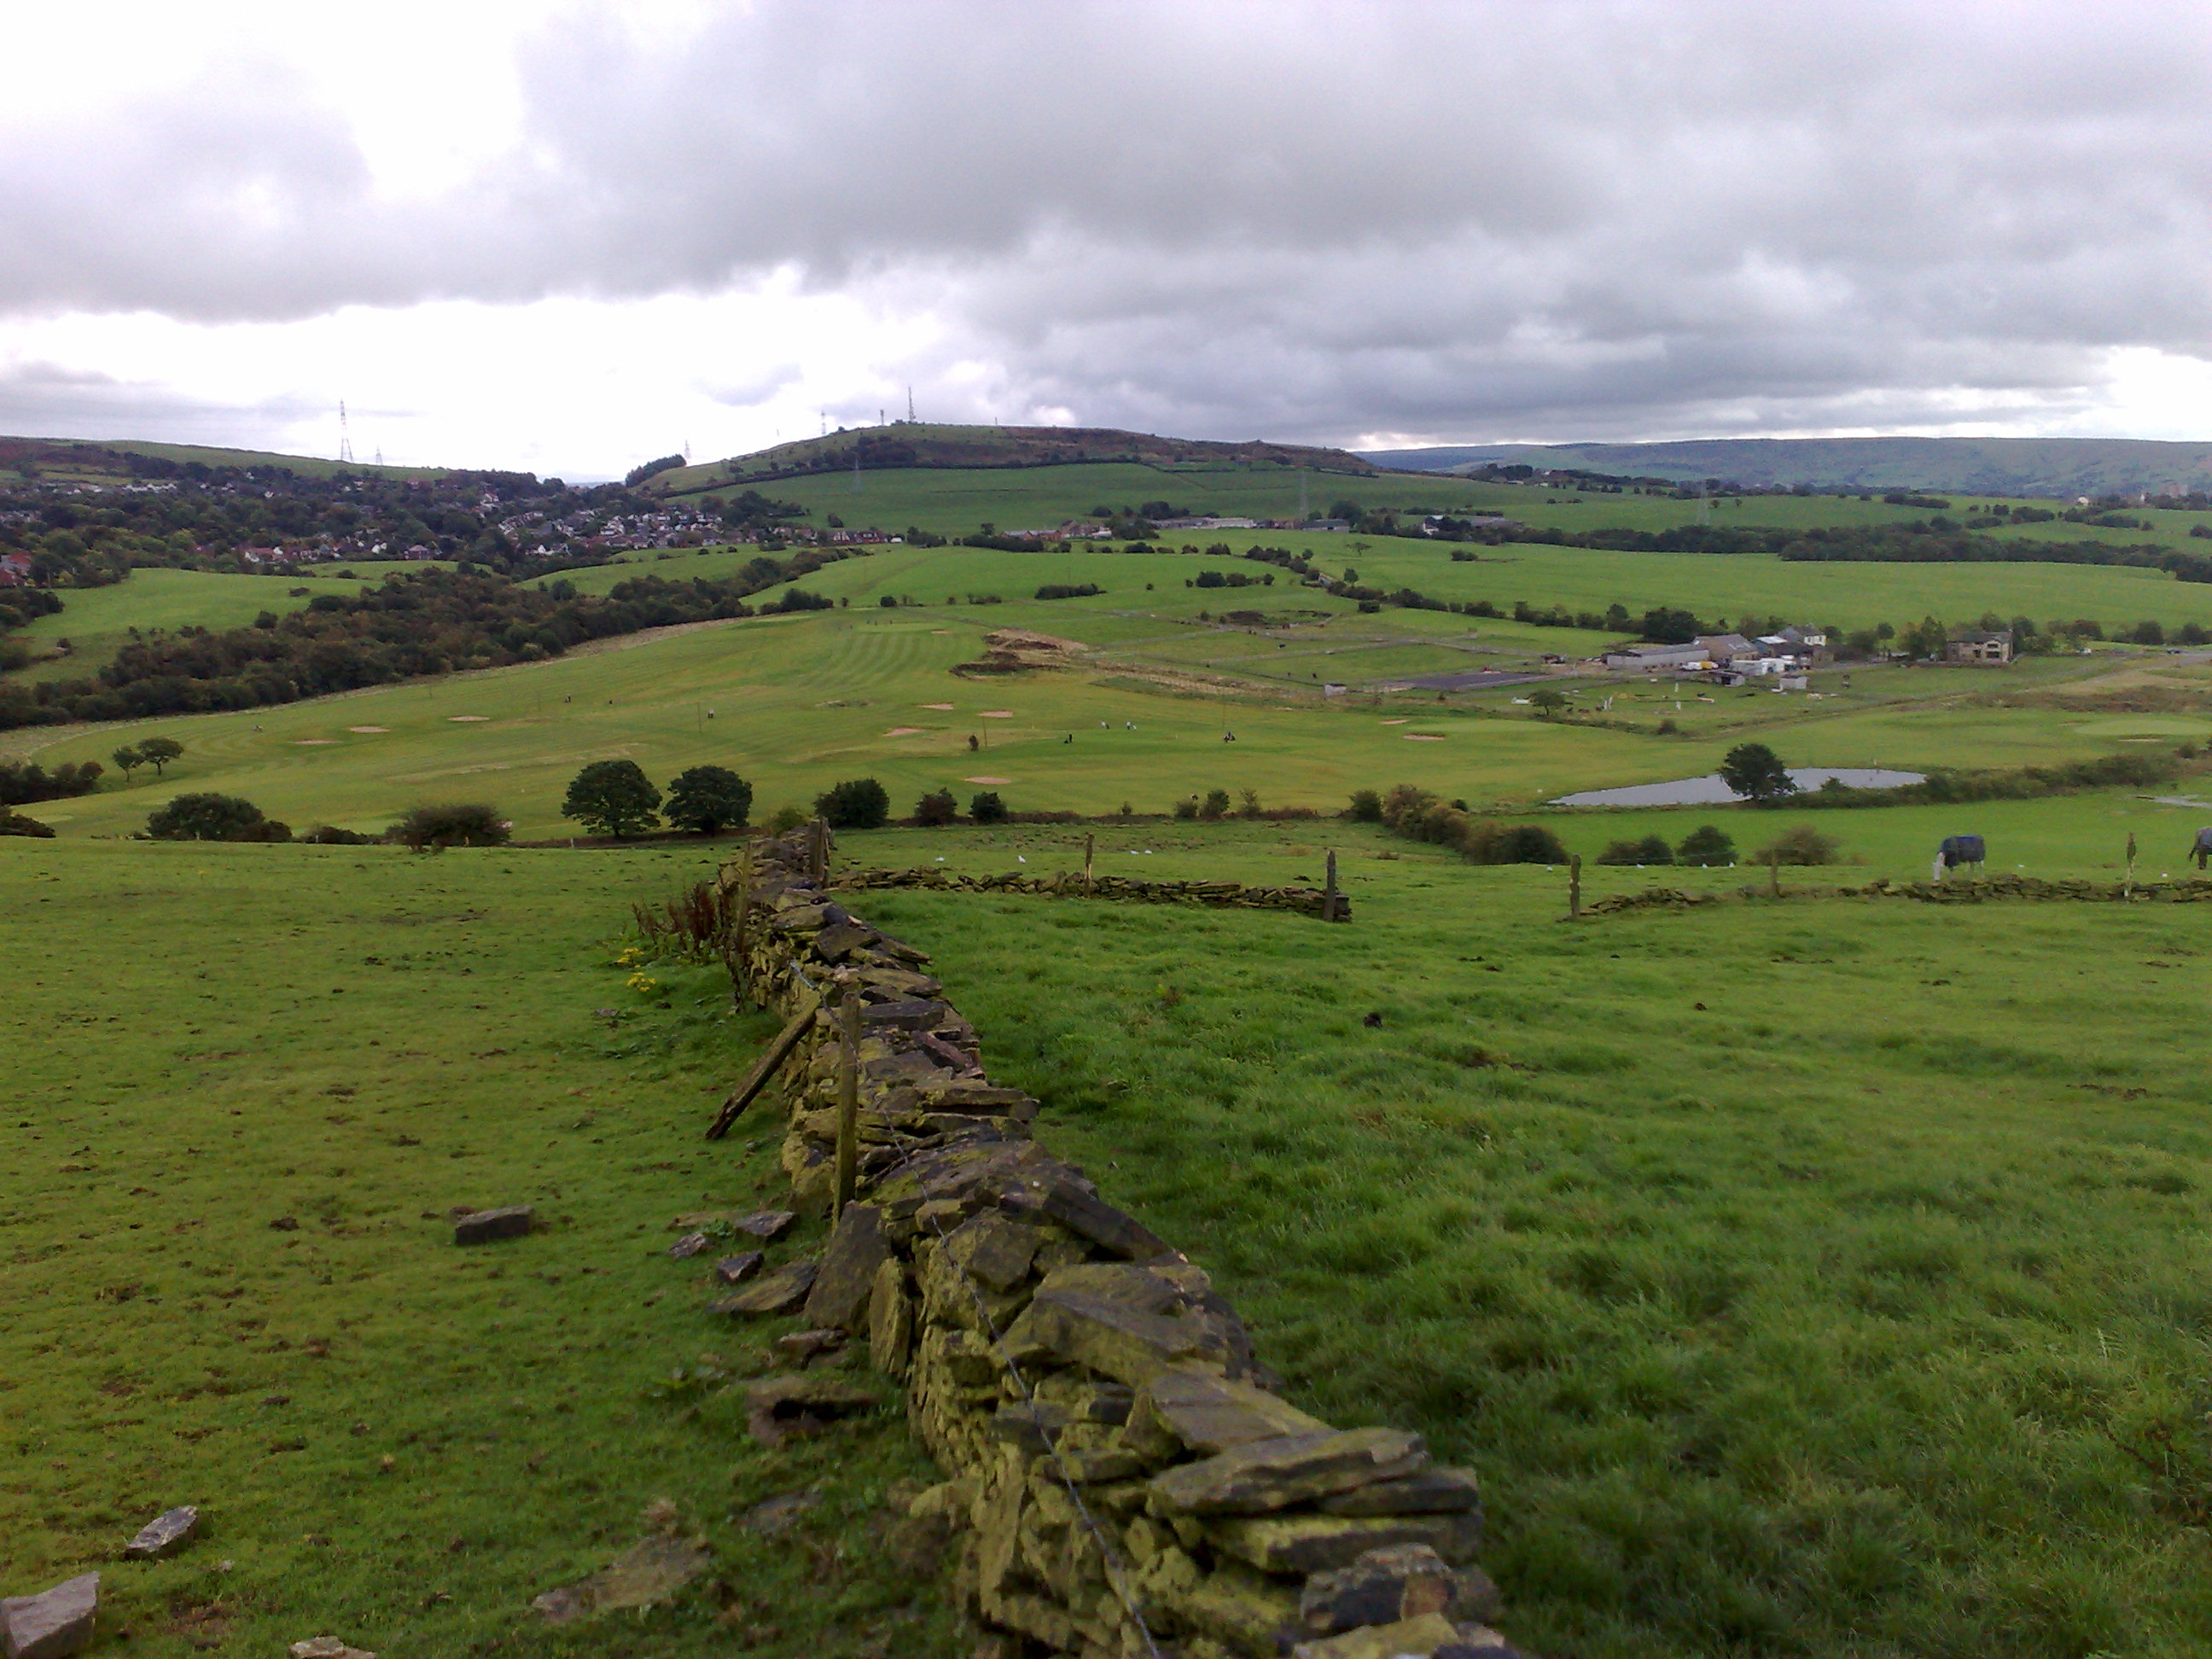
View from the same vantage
point, but looking slightly further east.
The Rising Moon Pub is now out of frame to the right of the picture. |
|
|
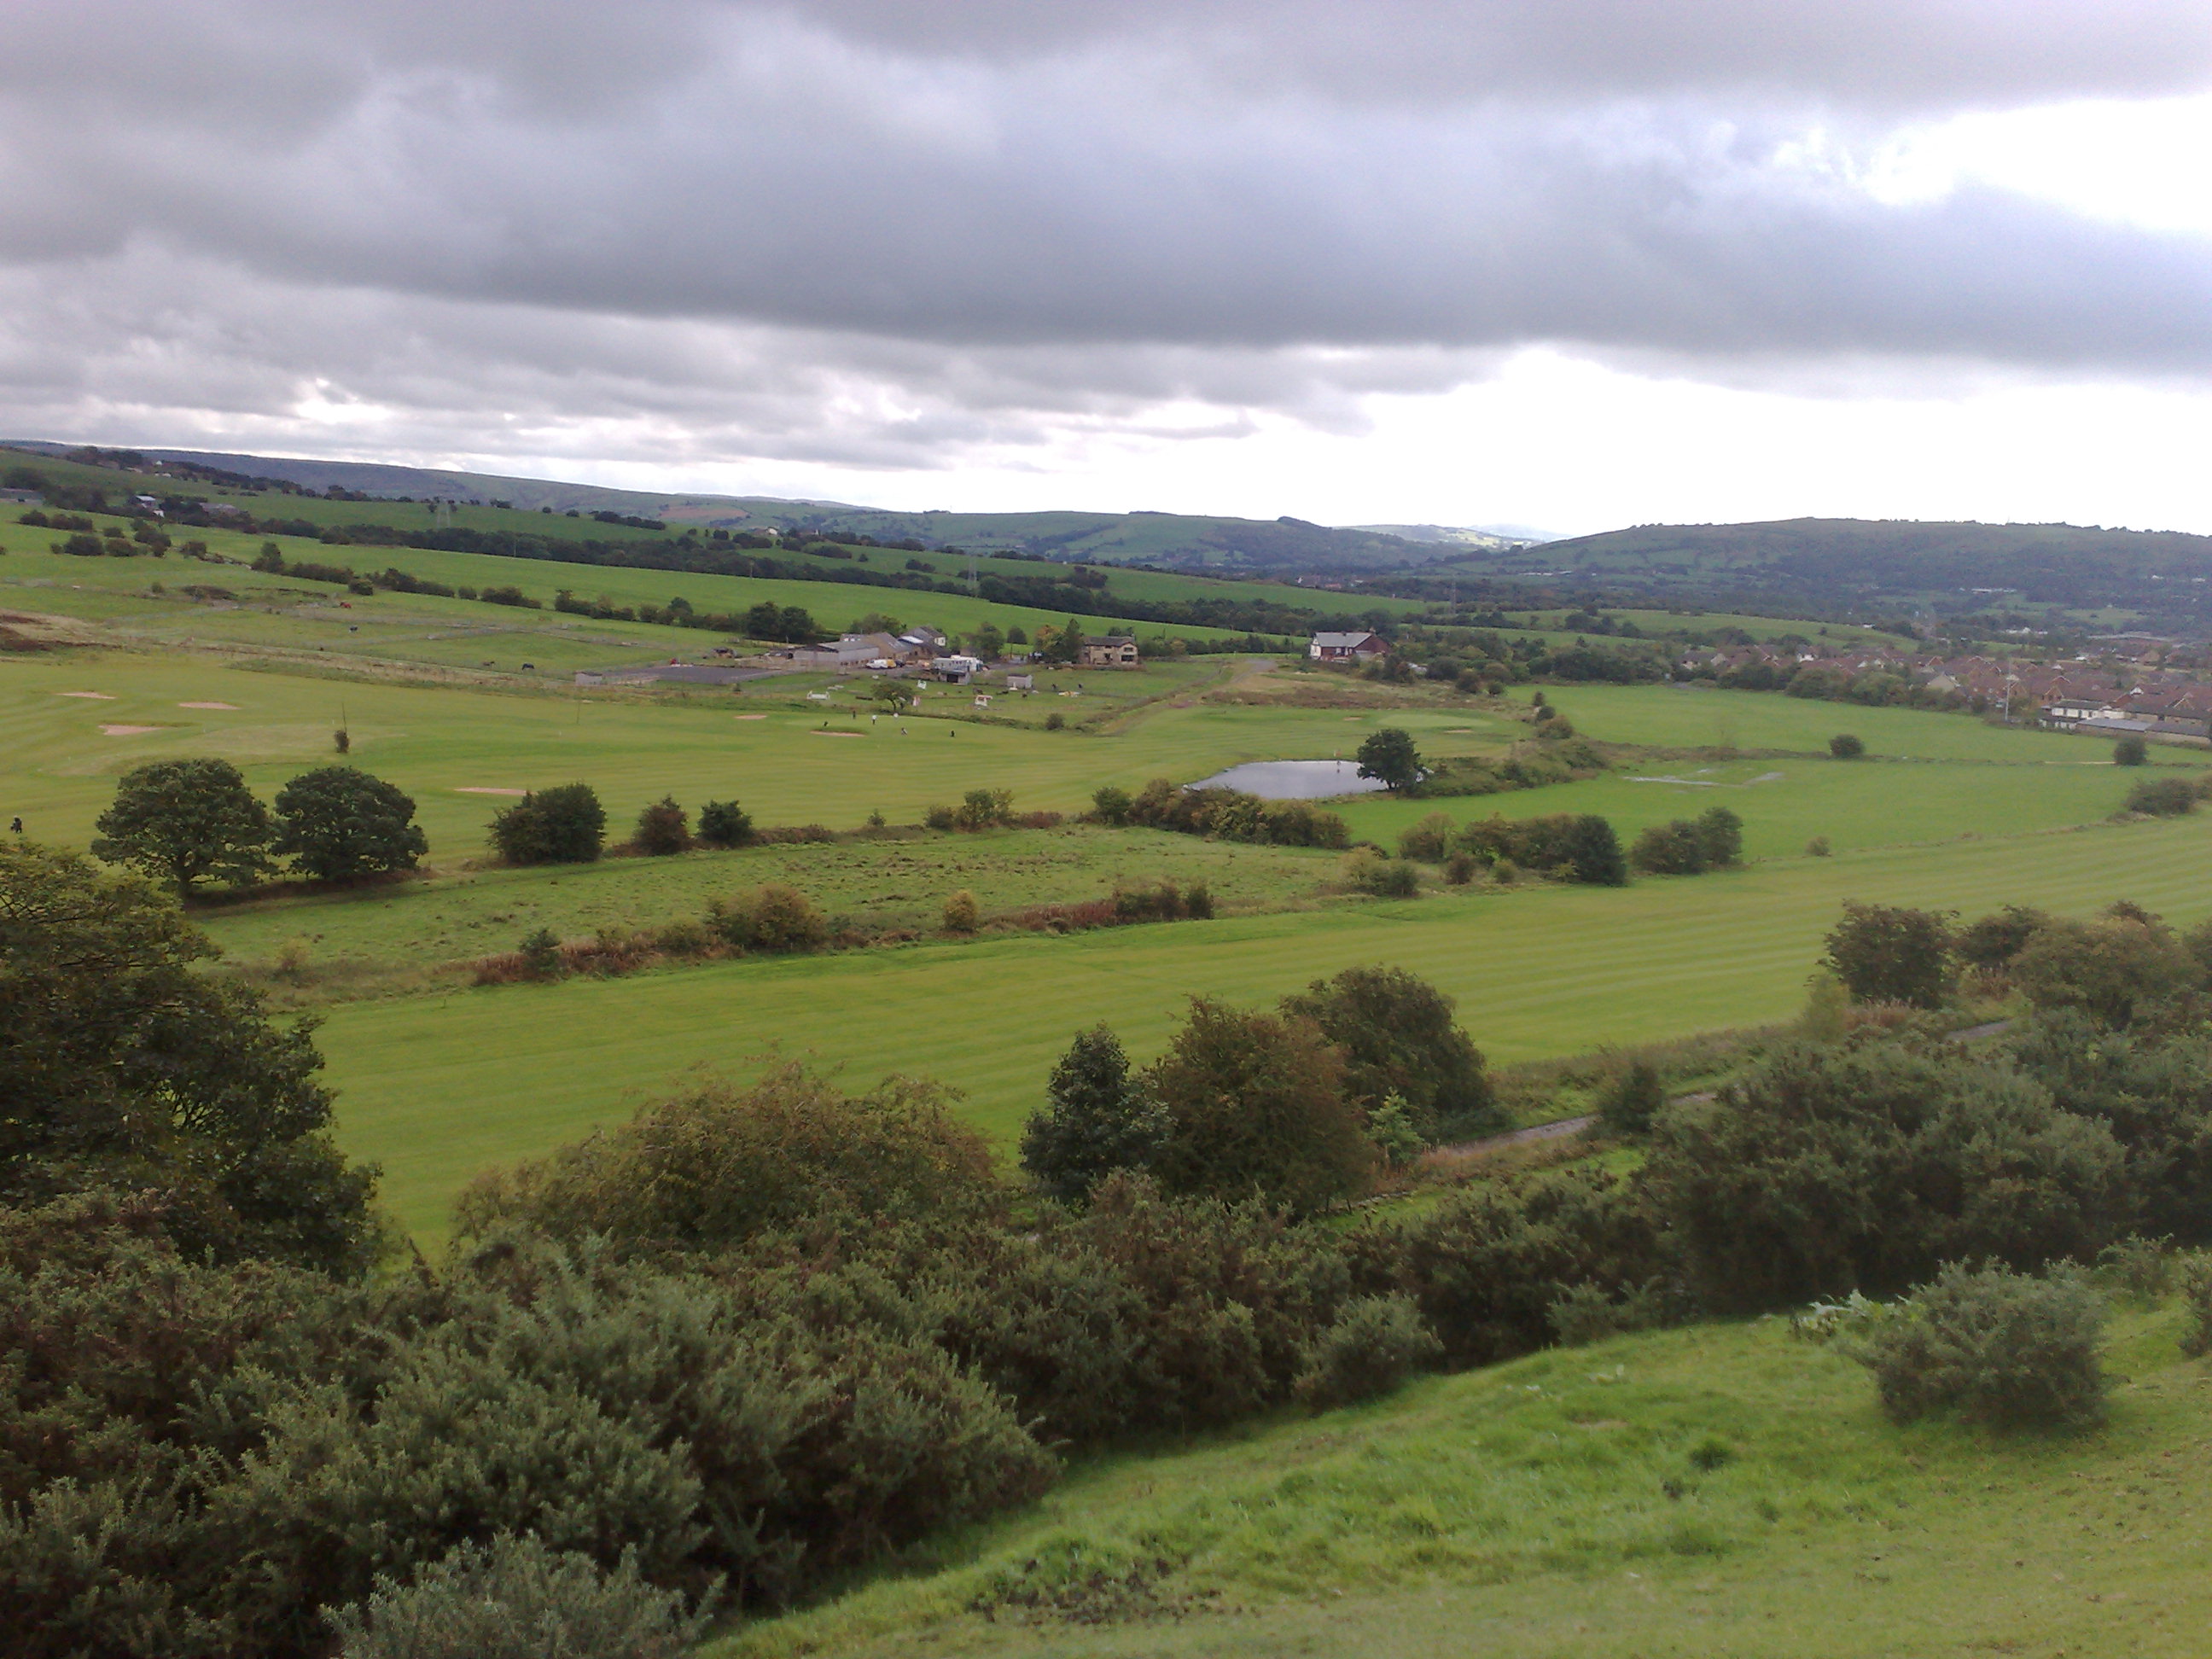
Similar shot to the first one,
from slightly further down the footpath on Hough Hill. You can now see all
three fields.
The Rising Moon Pub is just above the "pond" in the centre of the picture.
|
|
|
Shot from the same position,
looking slightly further east.
|
|
|
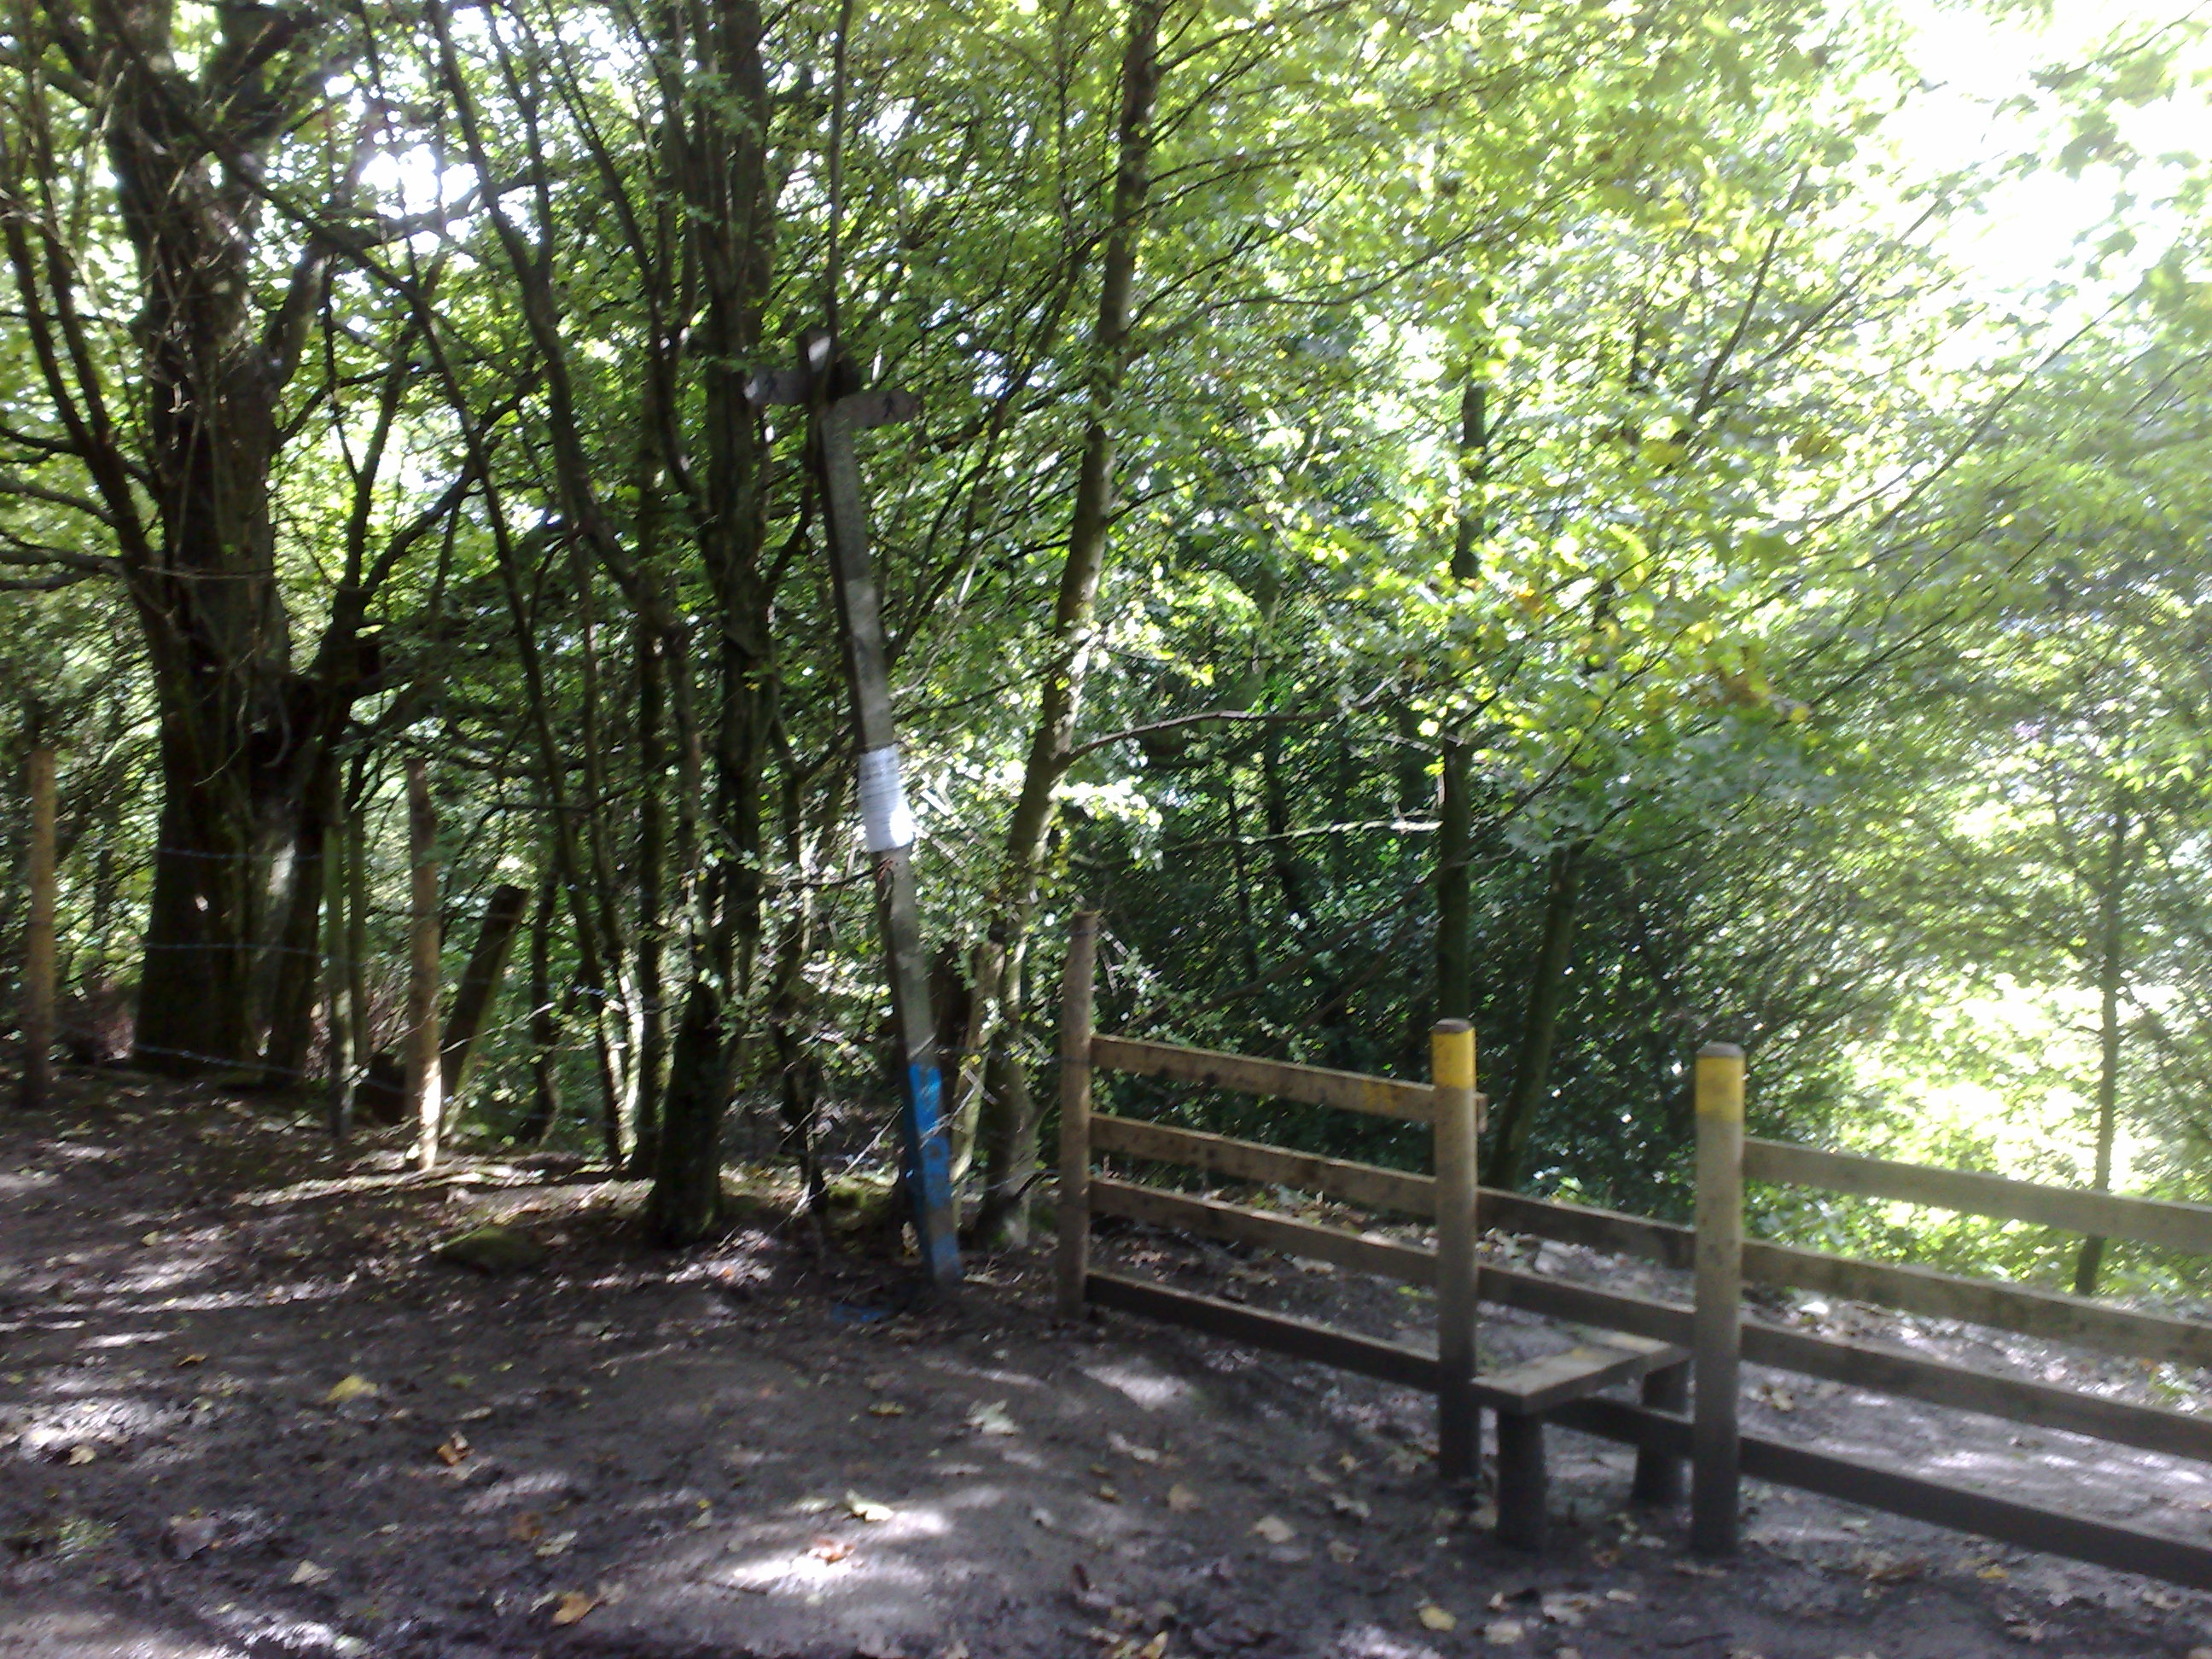
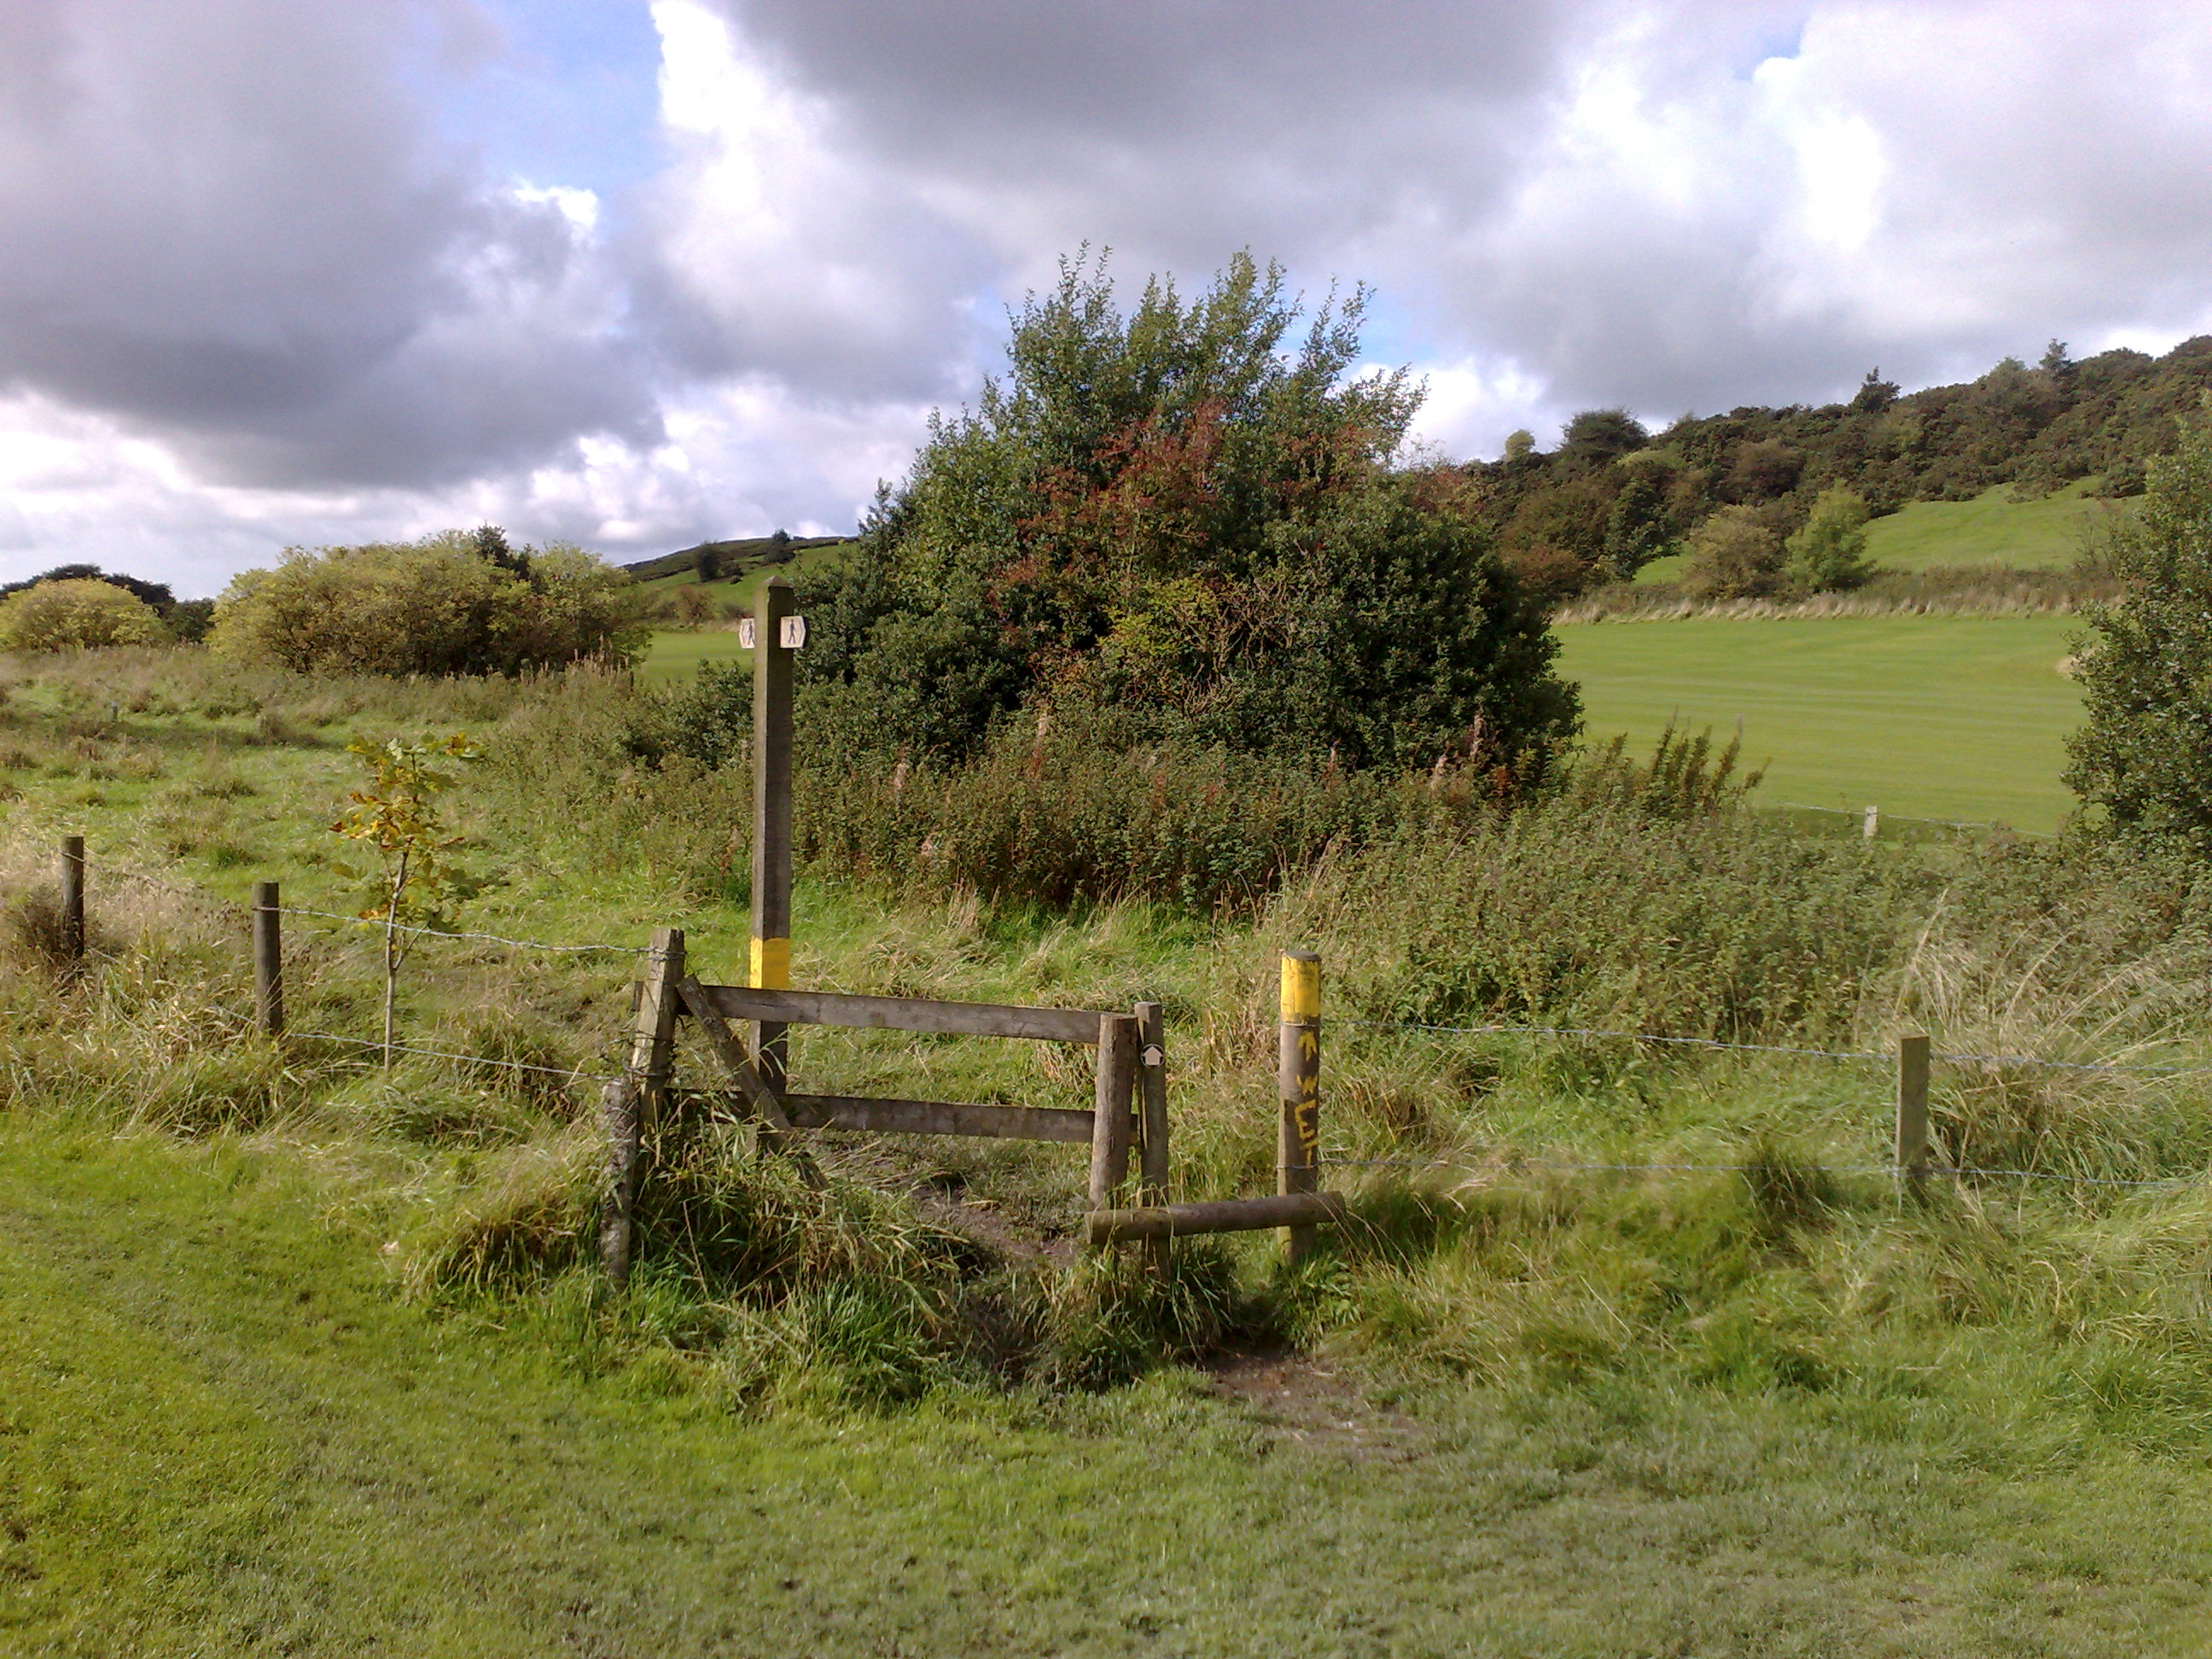
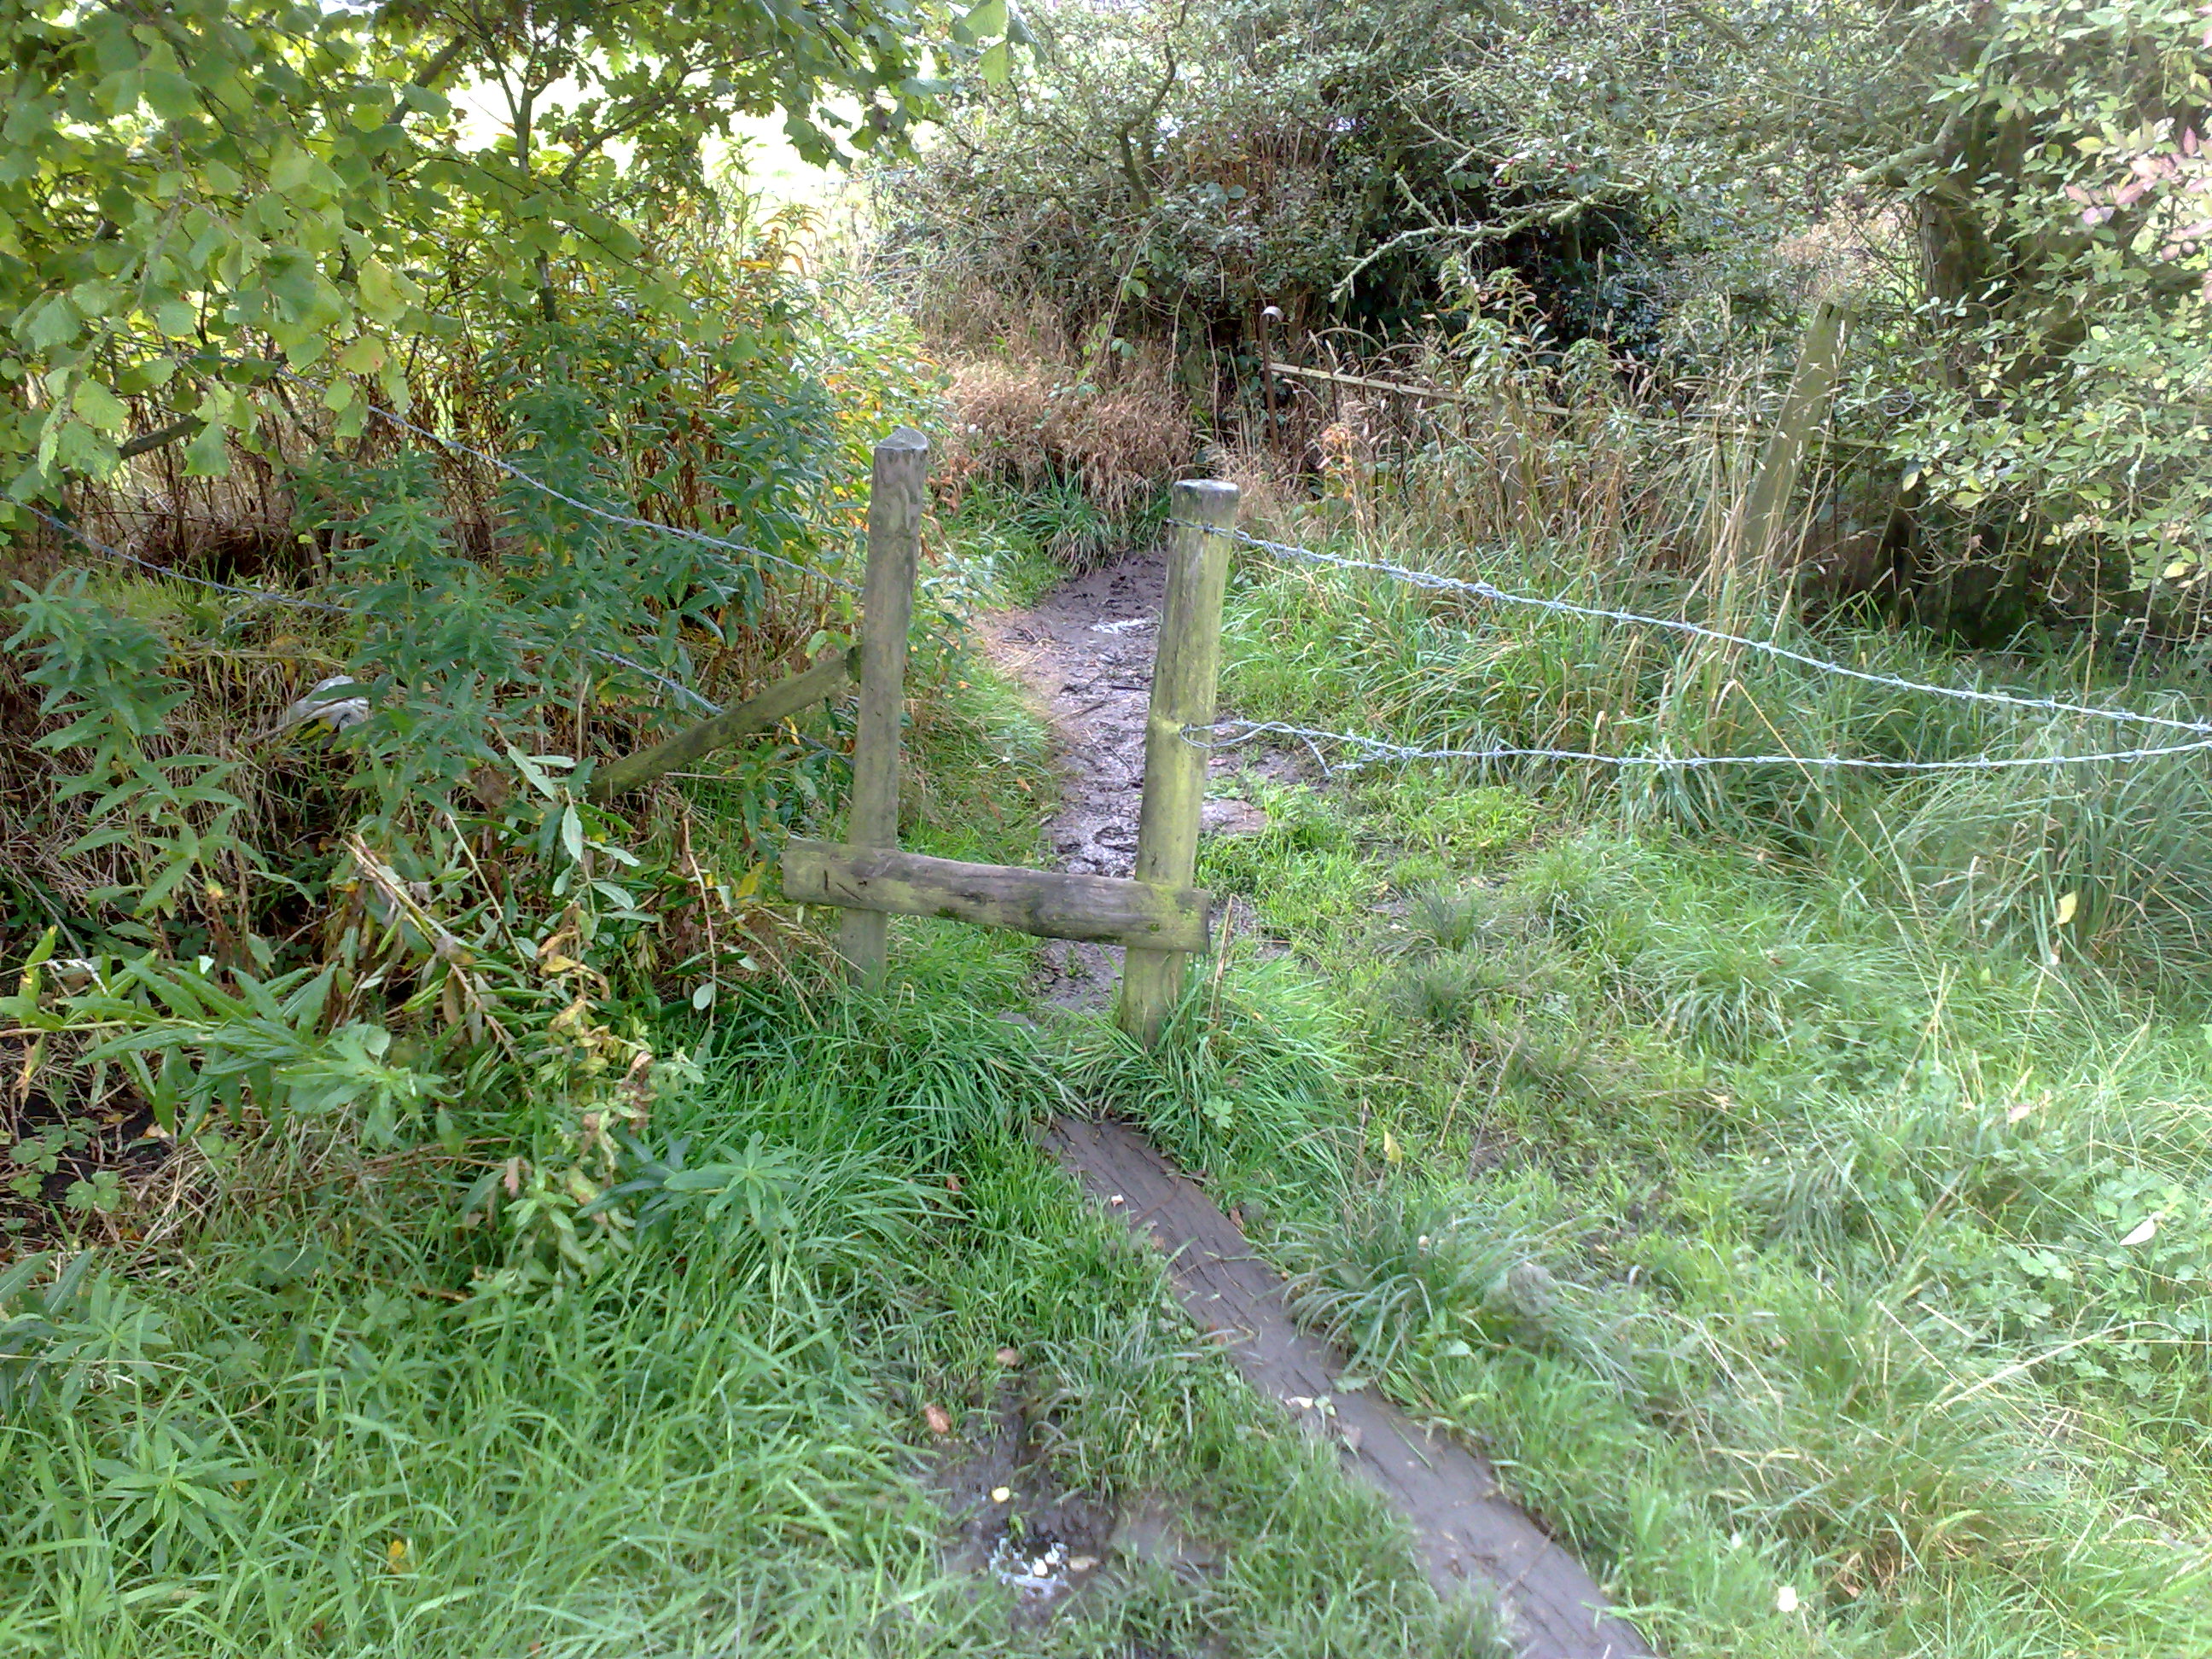
New stile leading to the footpath off Early Bank Road at marker [2] on the map. |
|
|
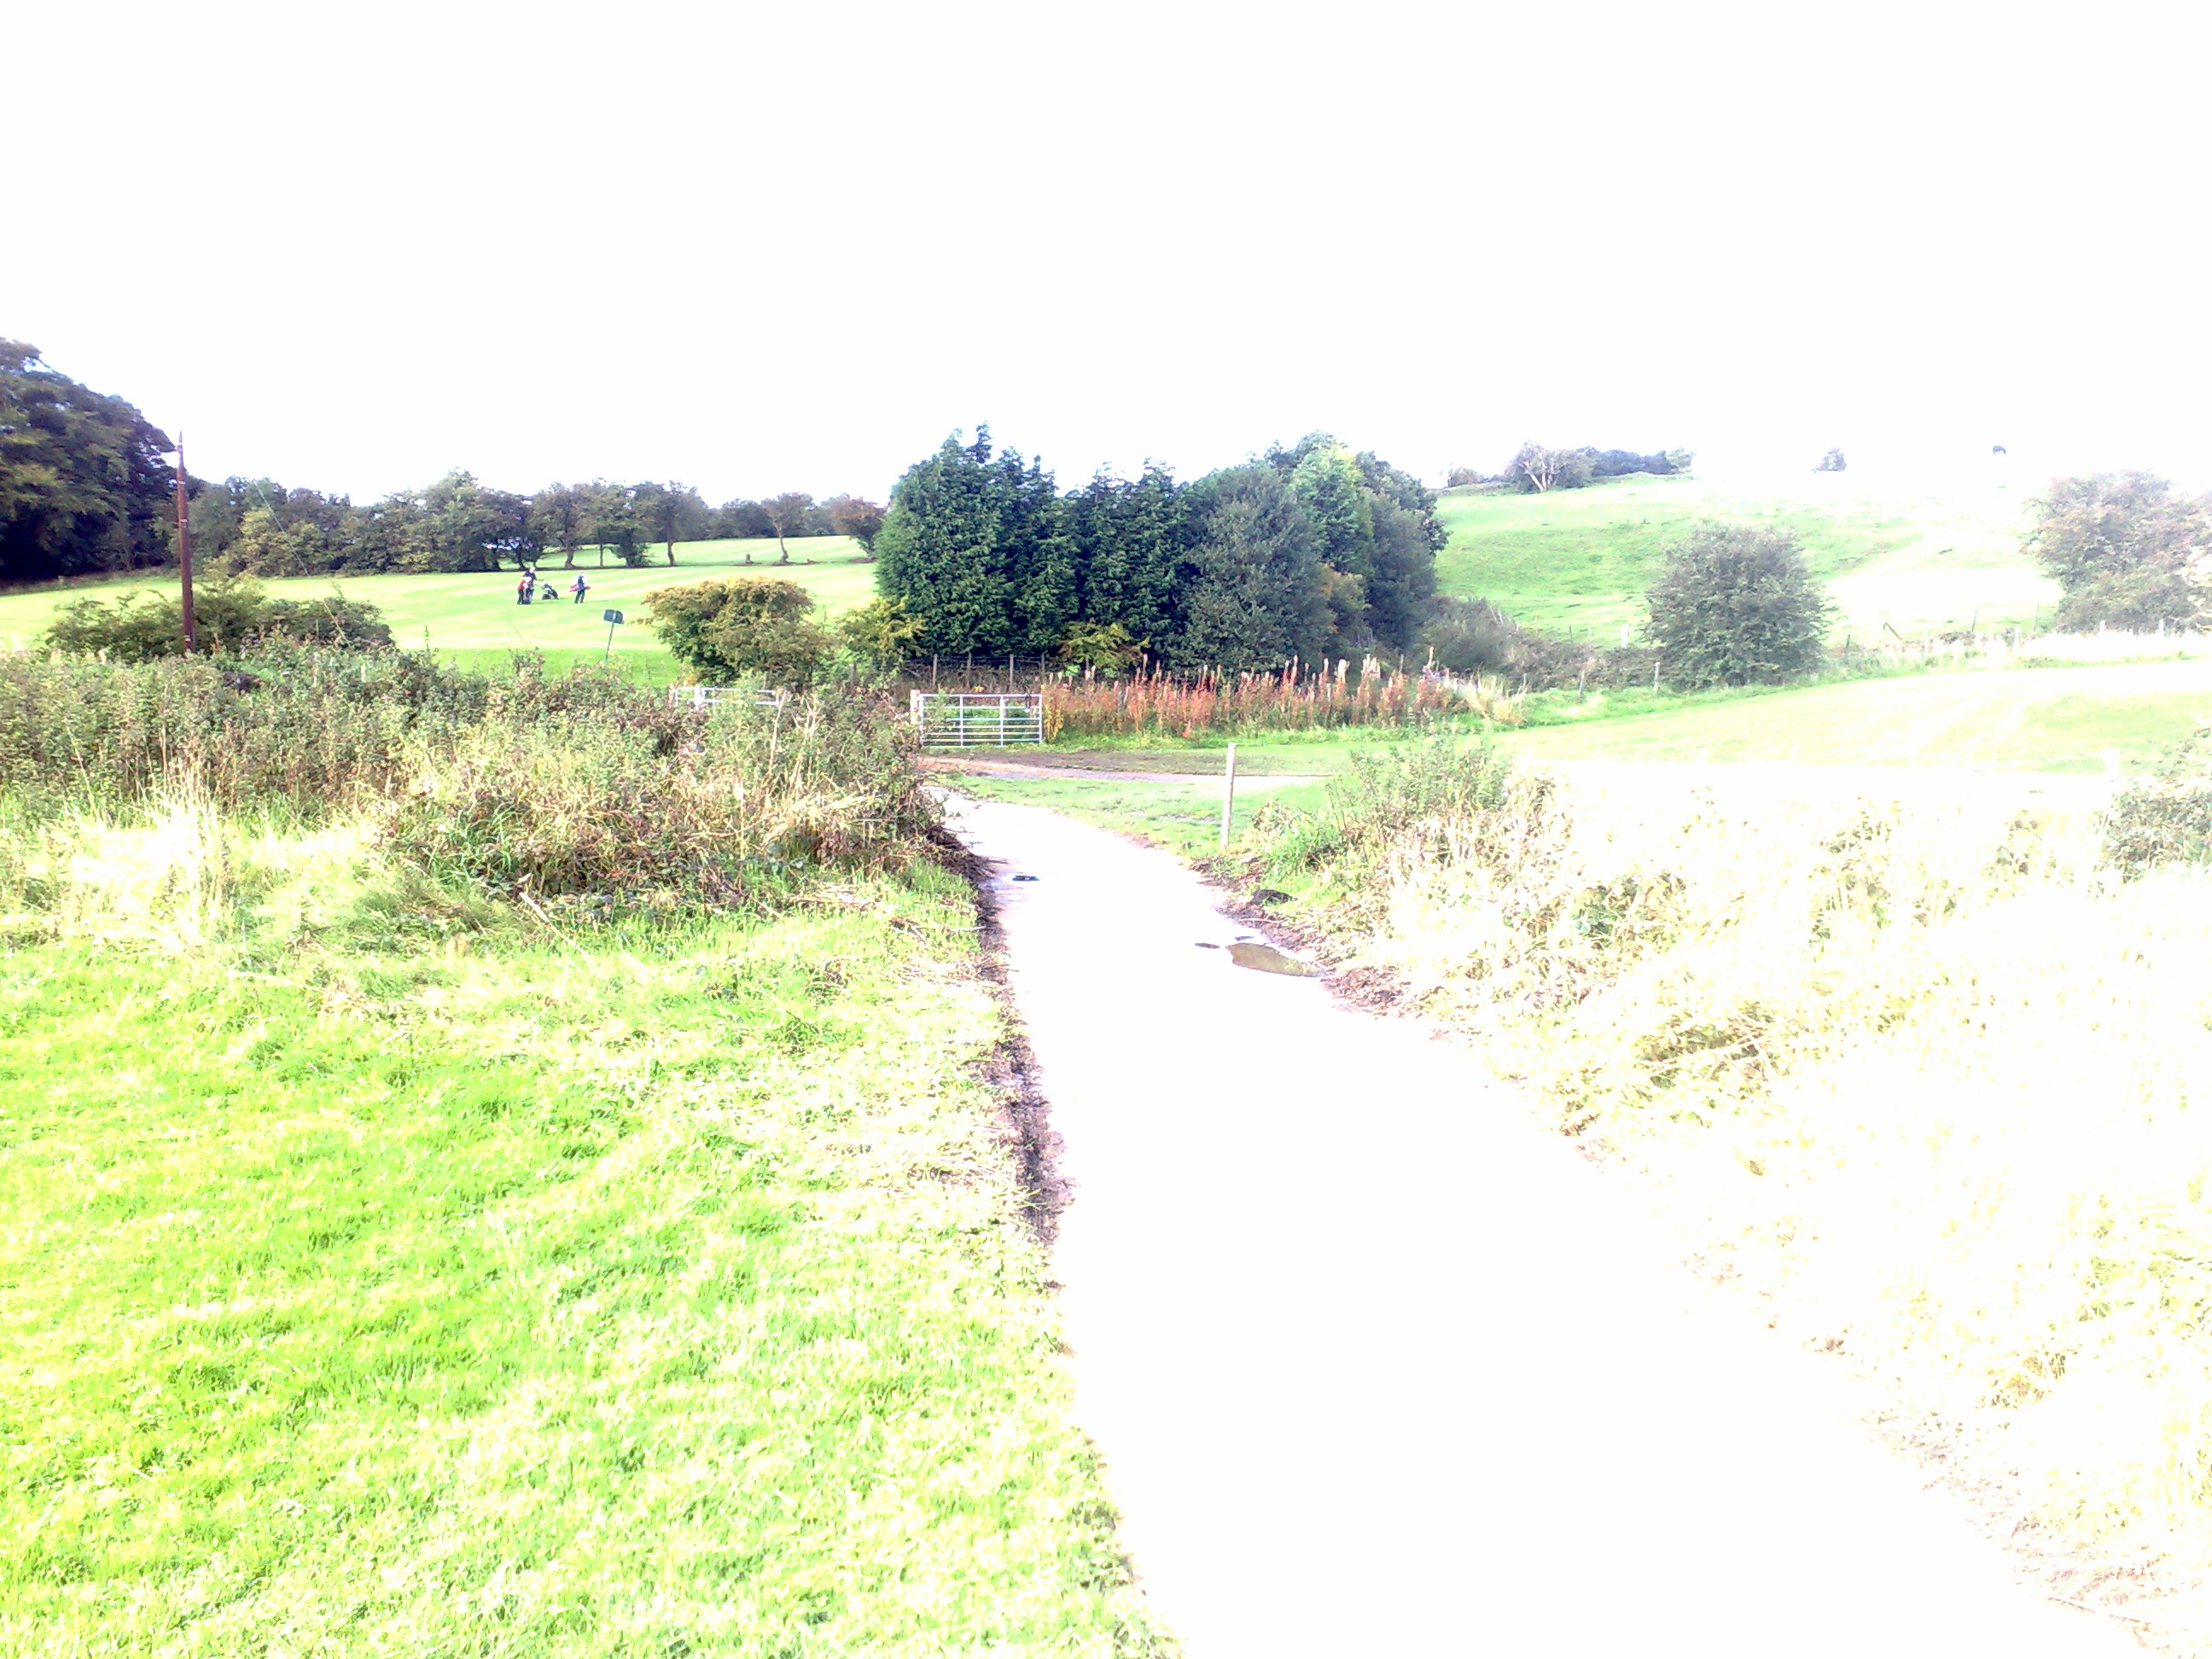
Crossing the stile, now looking down the footpath towards the new golf course at marker [3] on the map. |
|
|
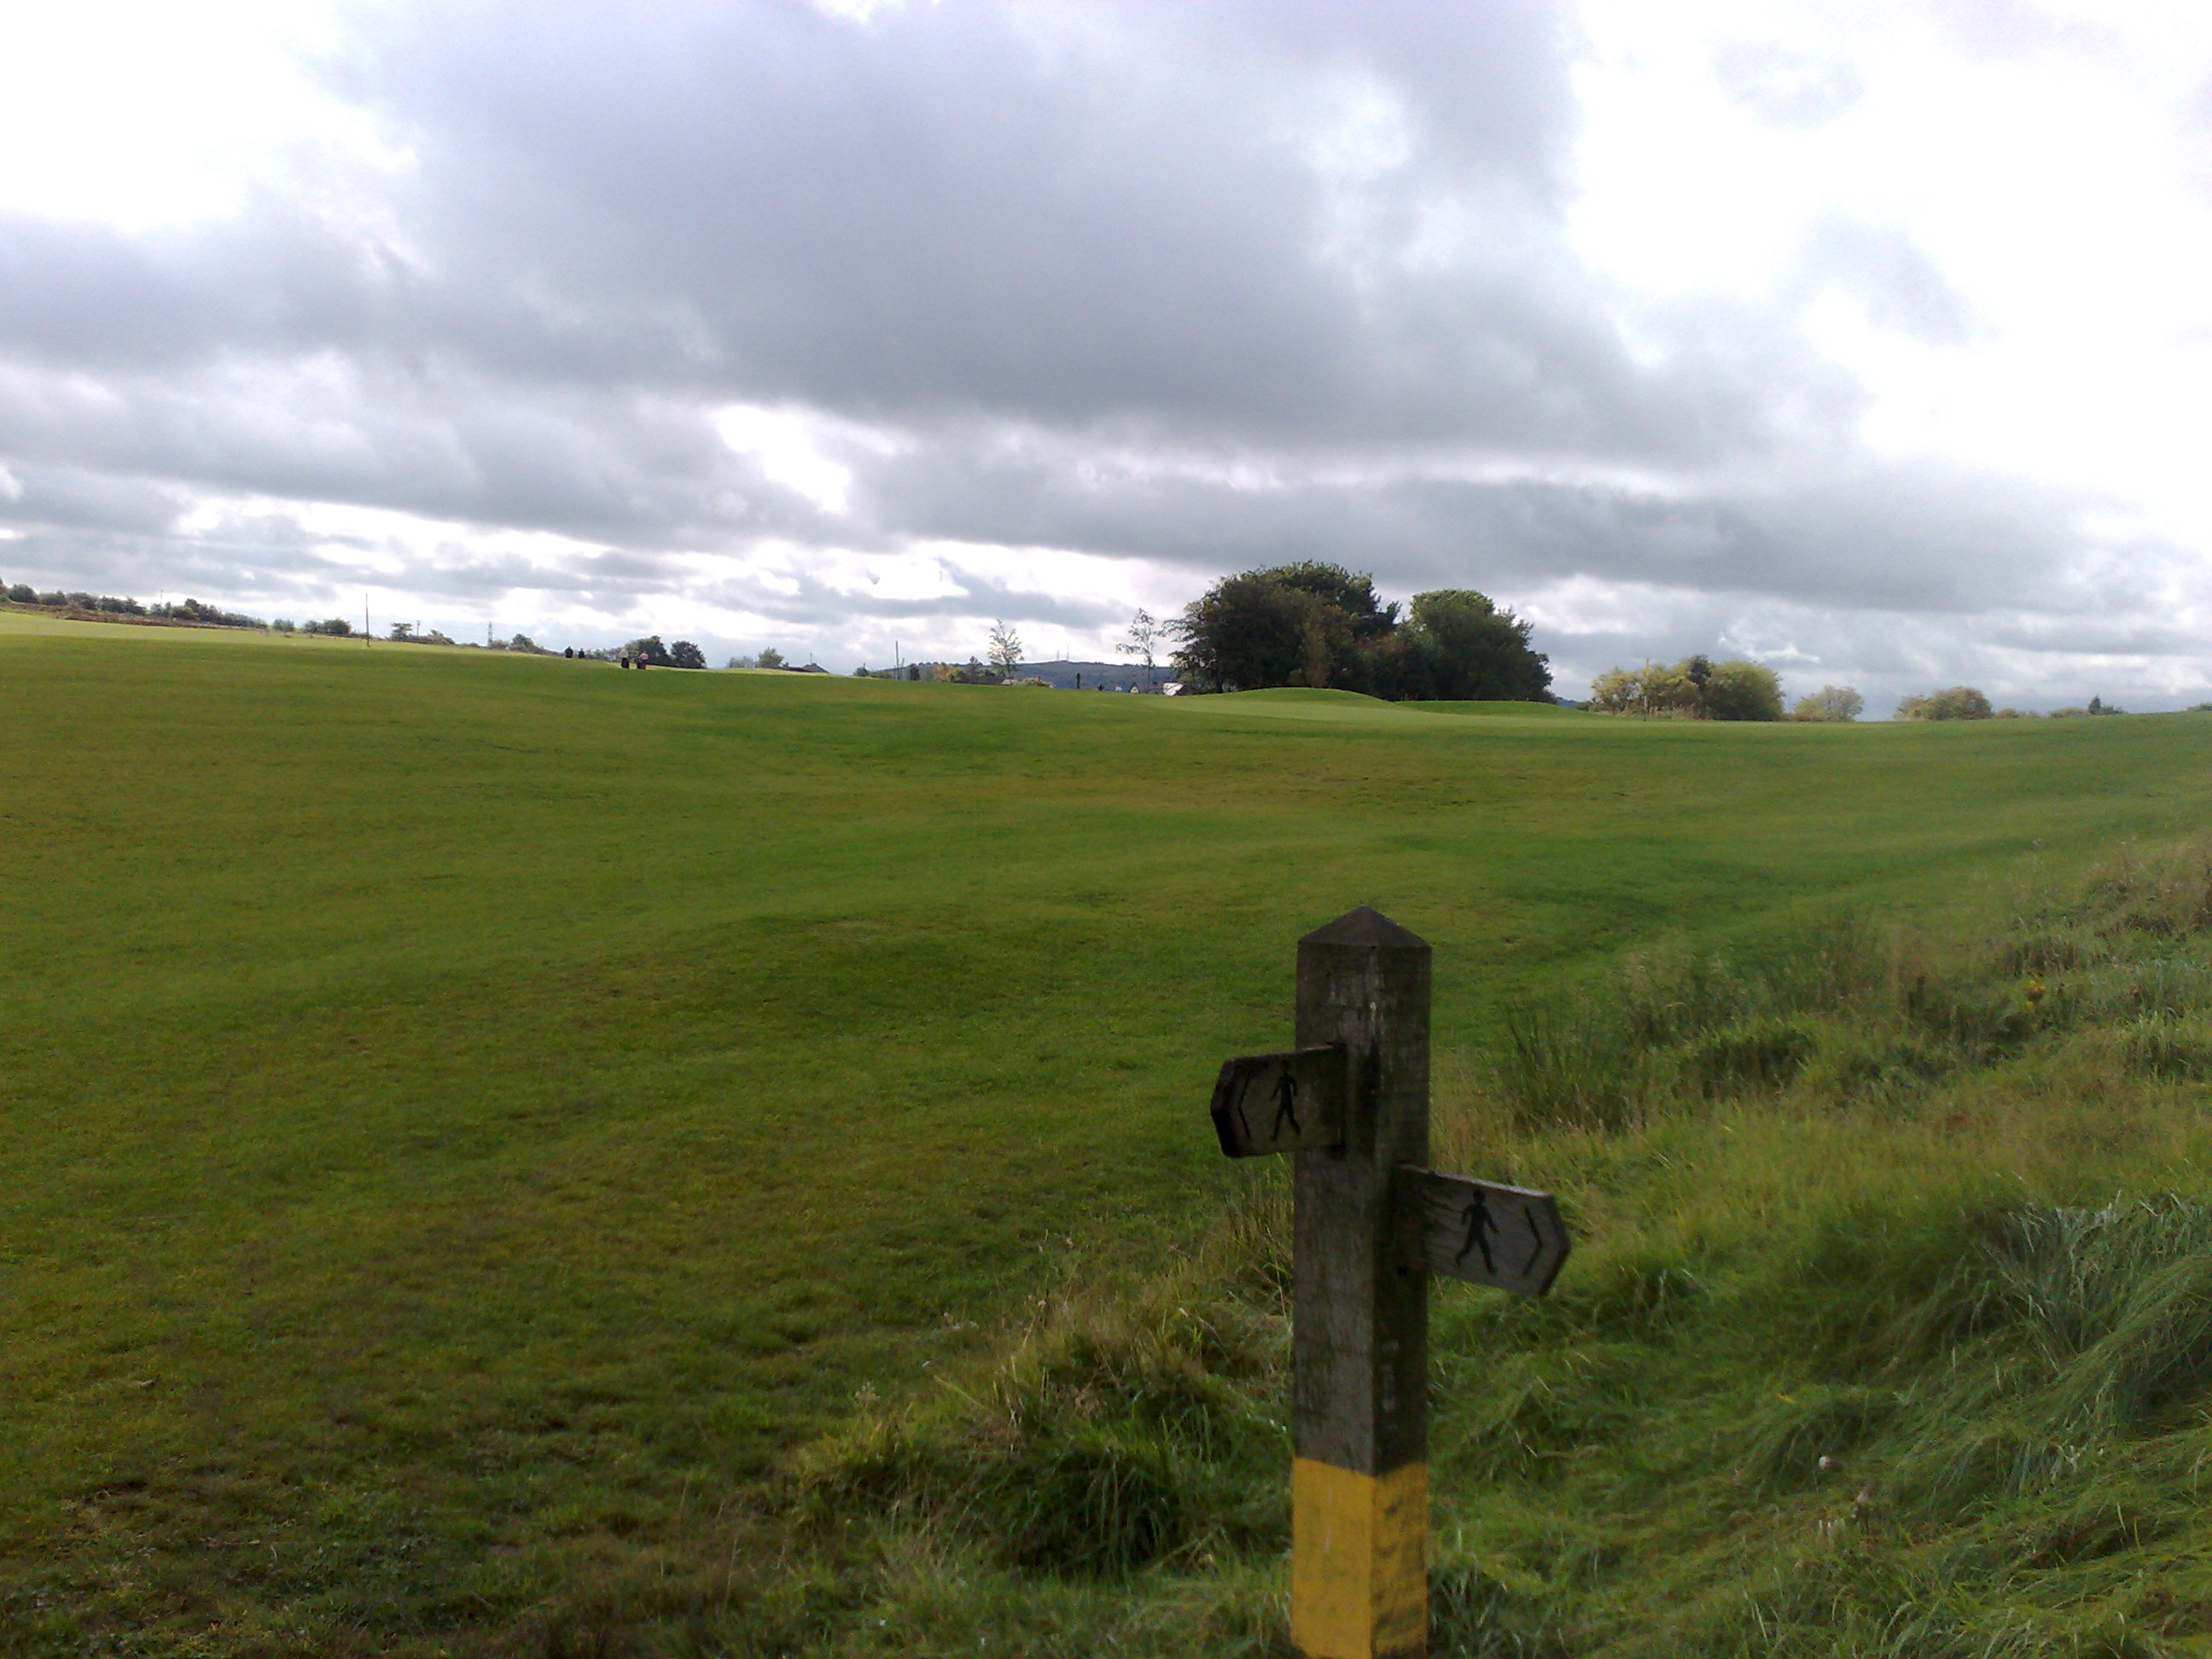
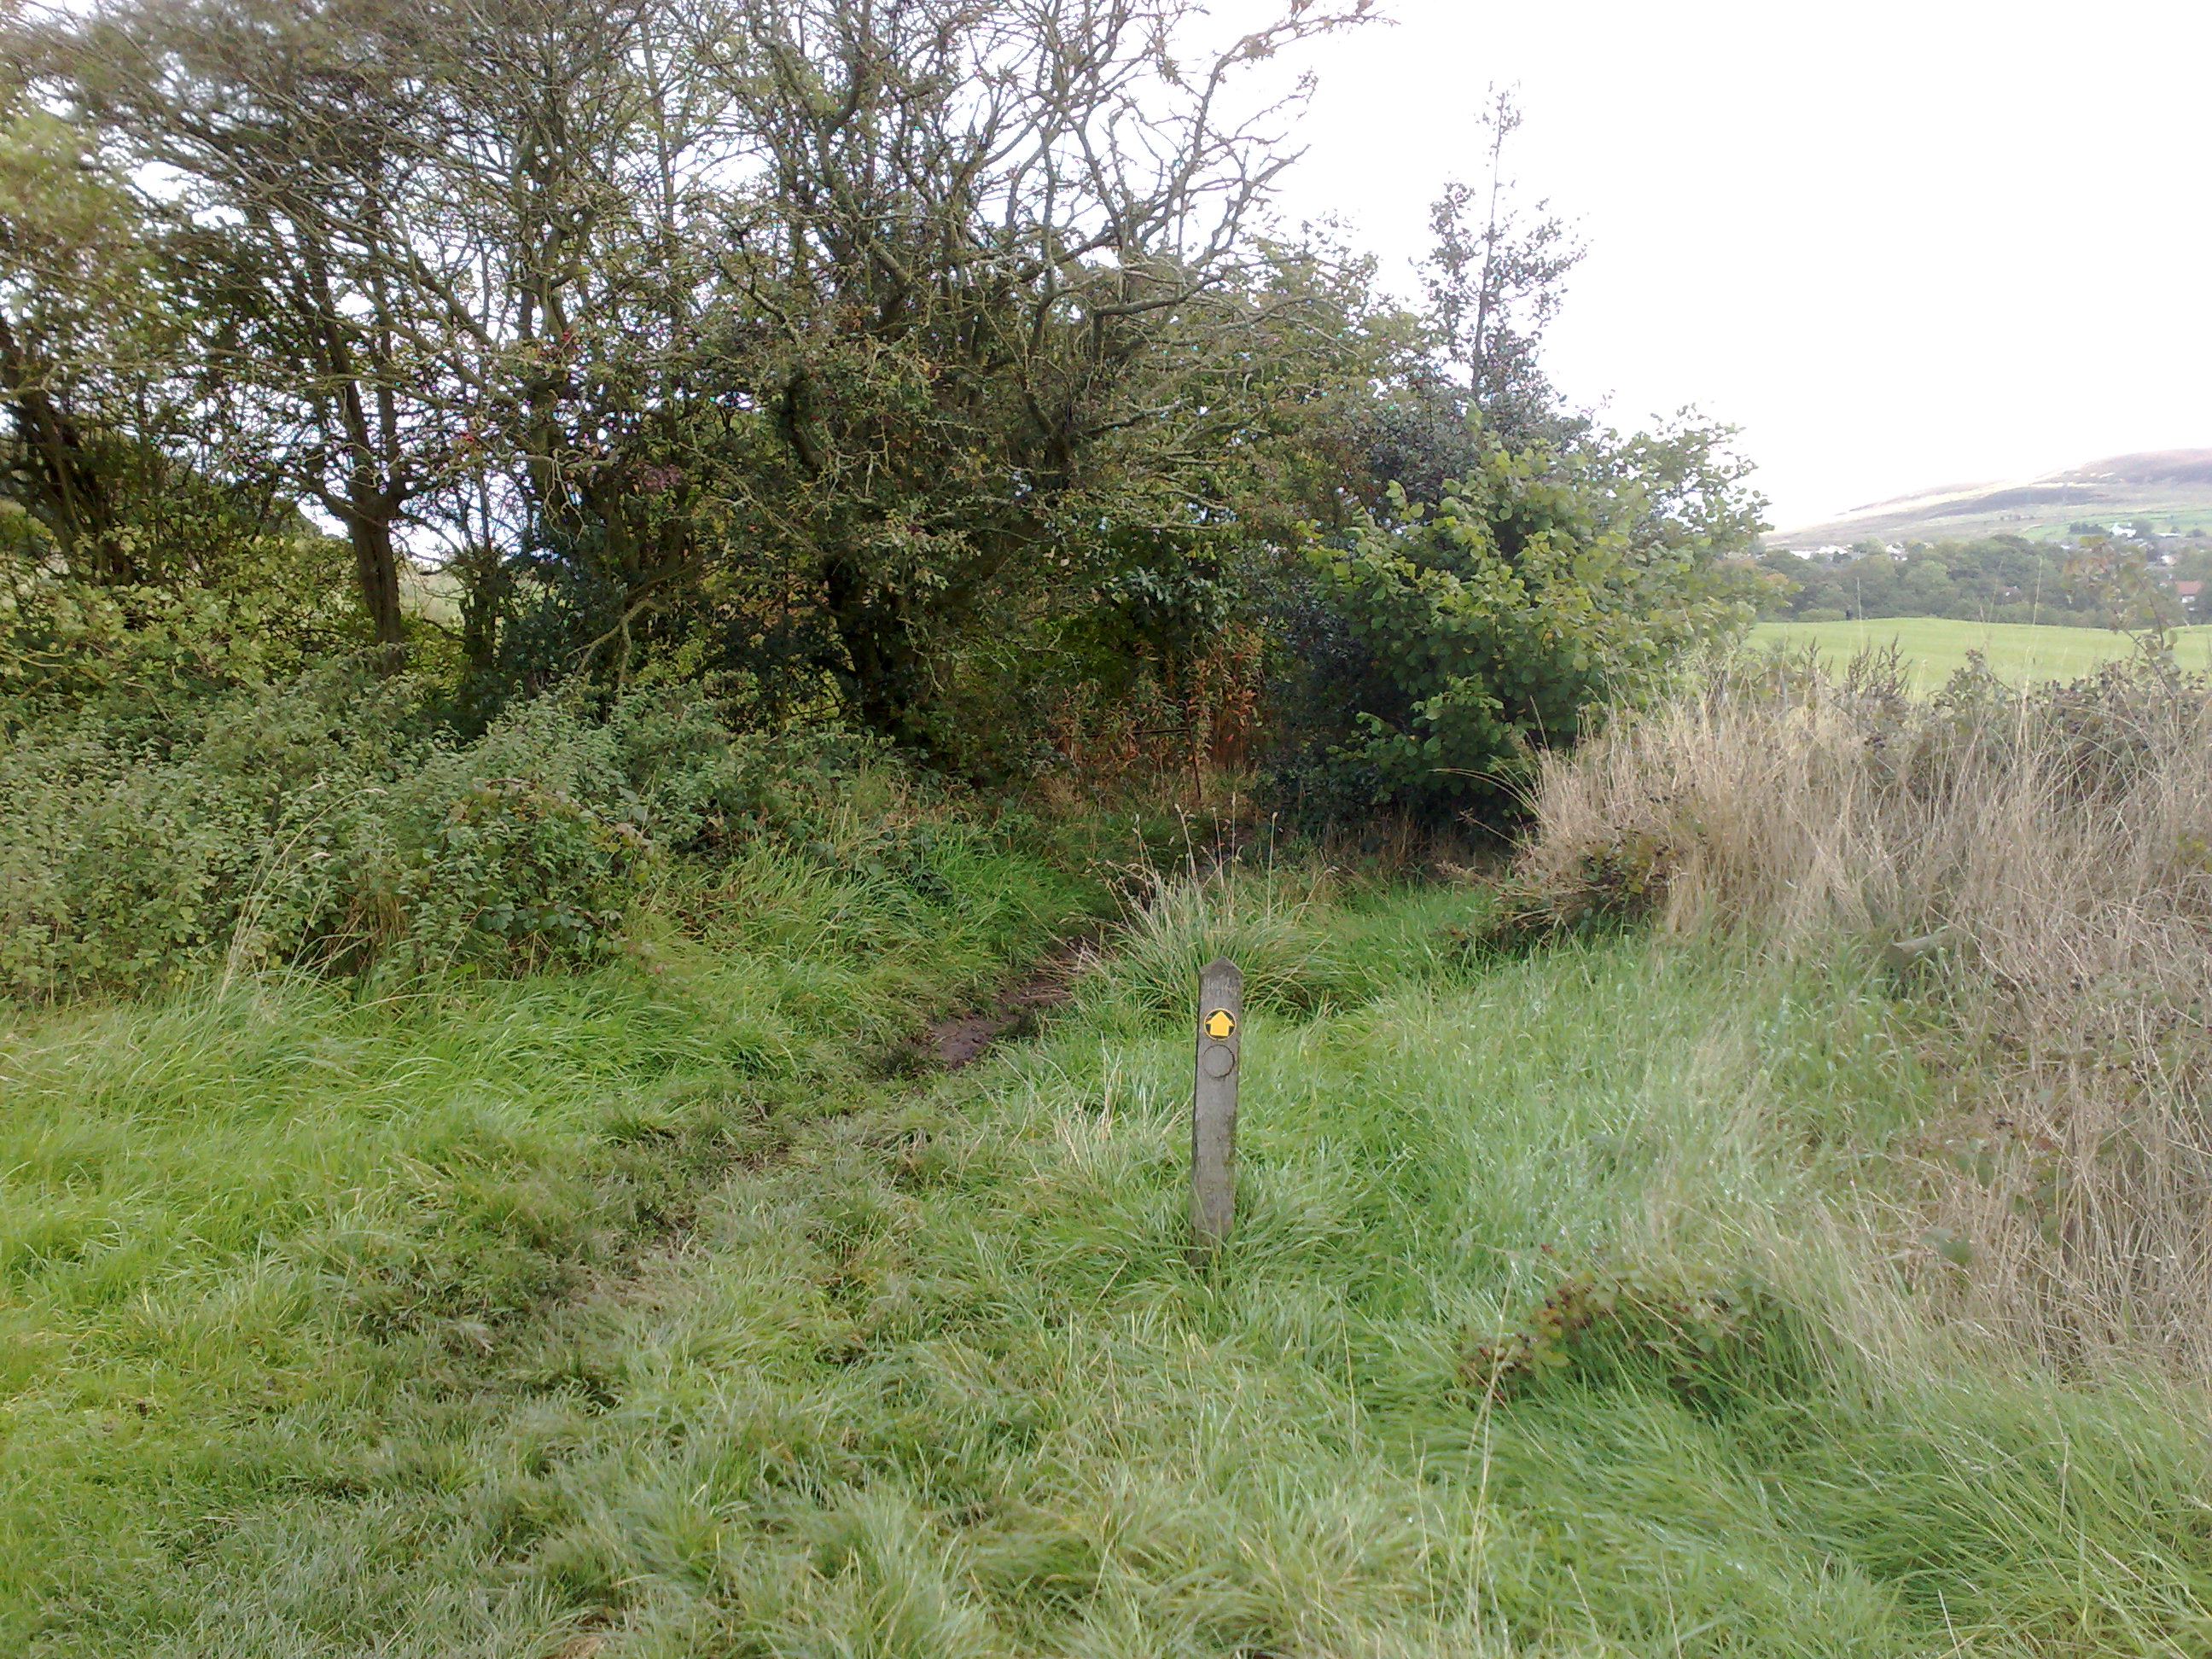
The boundary between the
footpath from Early Bank Road and the new golf course at marker [4] on the
map. The new footpath signs are a little inconsistent as they appear to only show the path I've just come down (from Early Bank Road), and the path off to the left which leads north to Cheetham Park |
|
|
Looking back at the previous
signpost from slightly further south, where we believe the right-of-way
leads to Field 3.
|
|
|
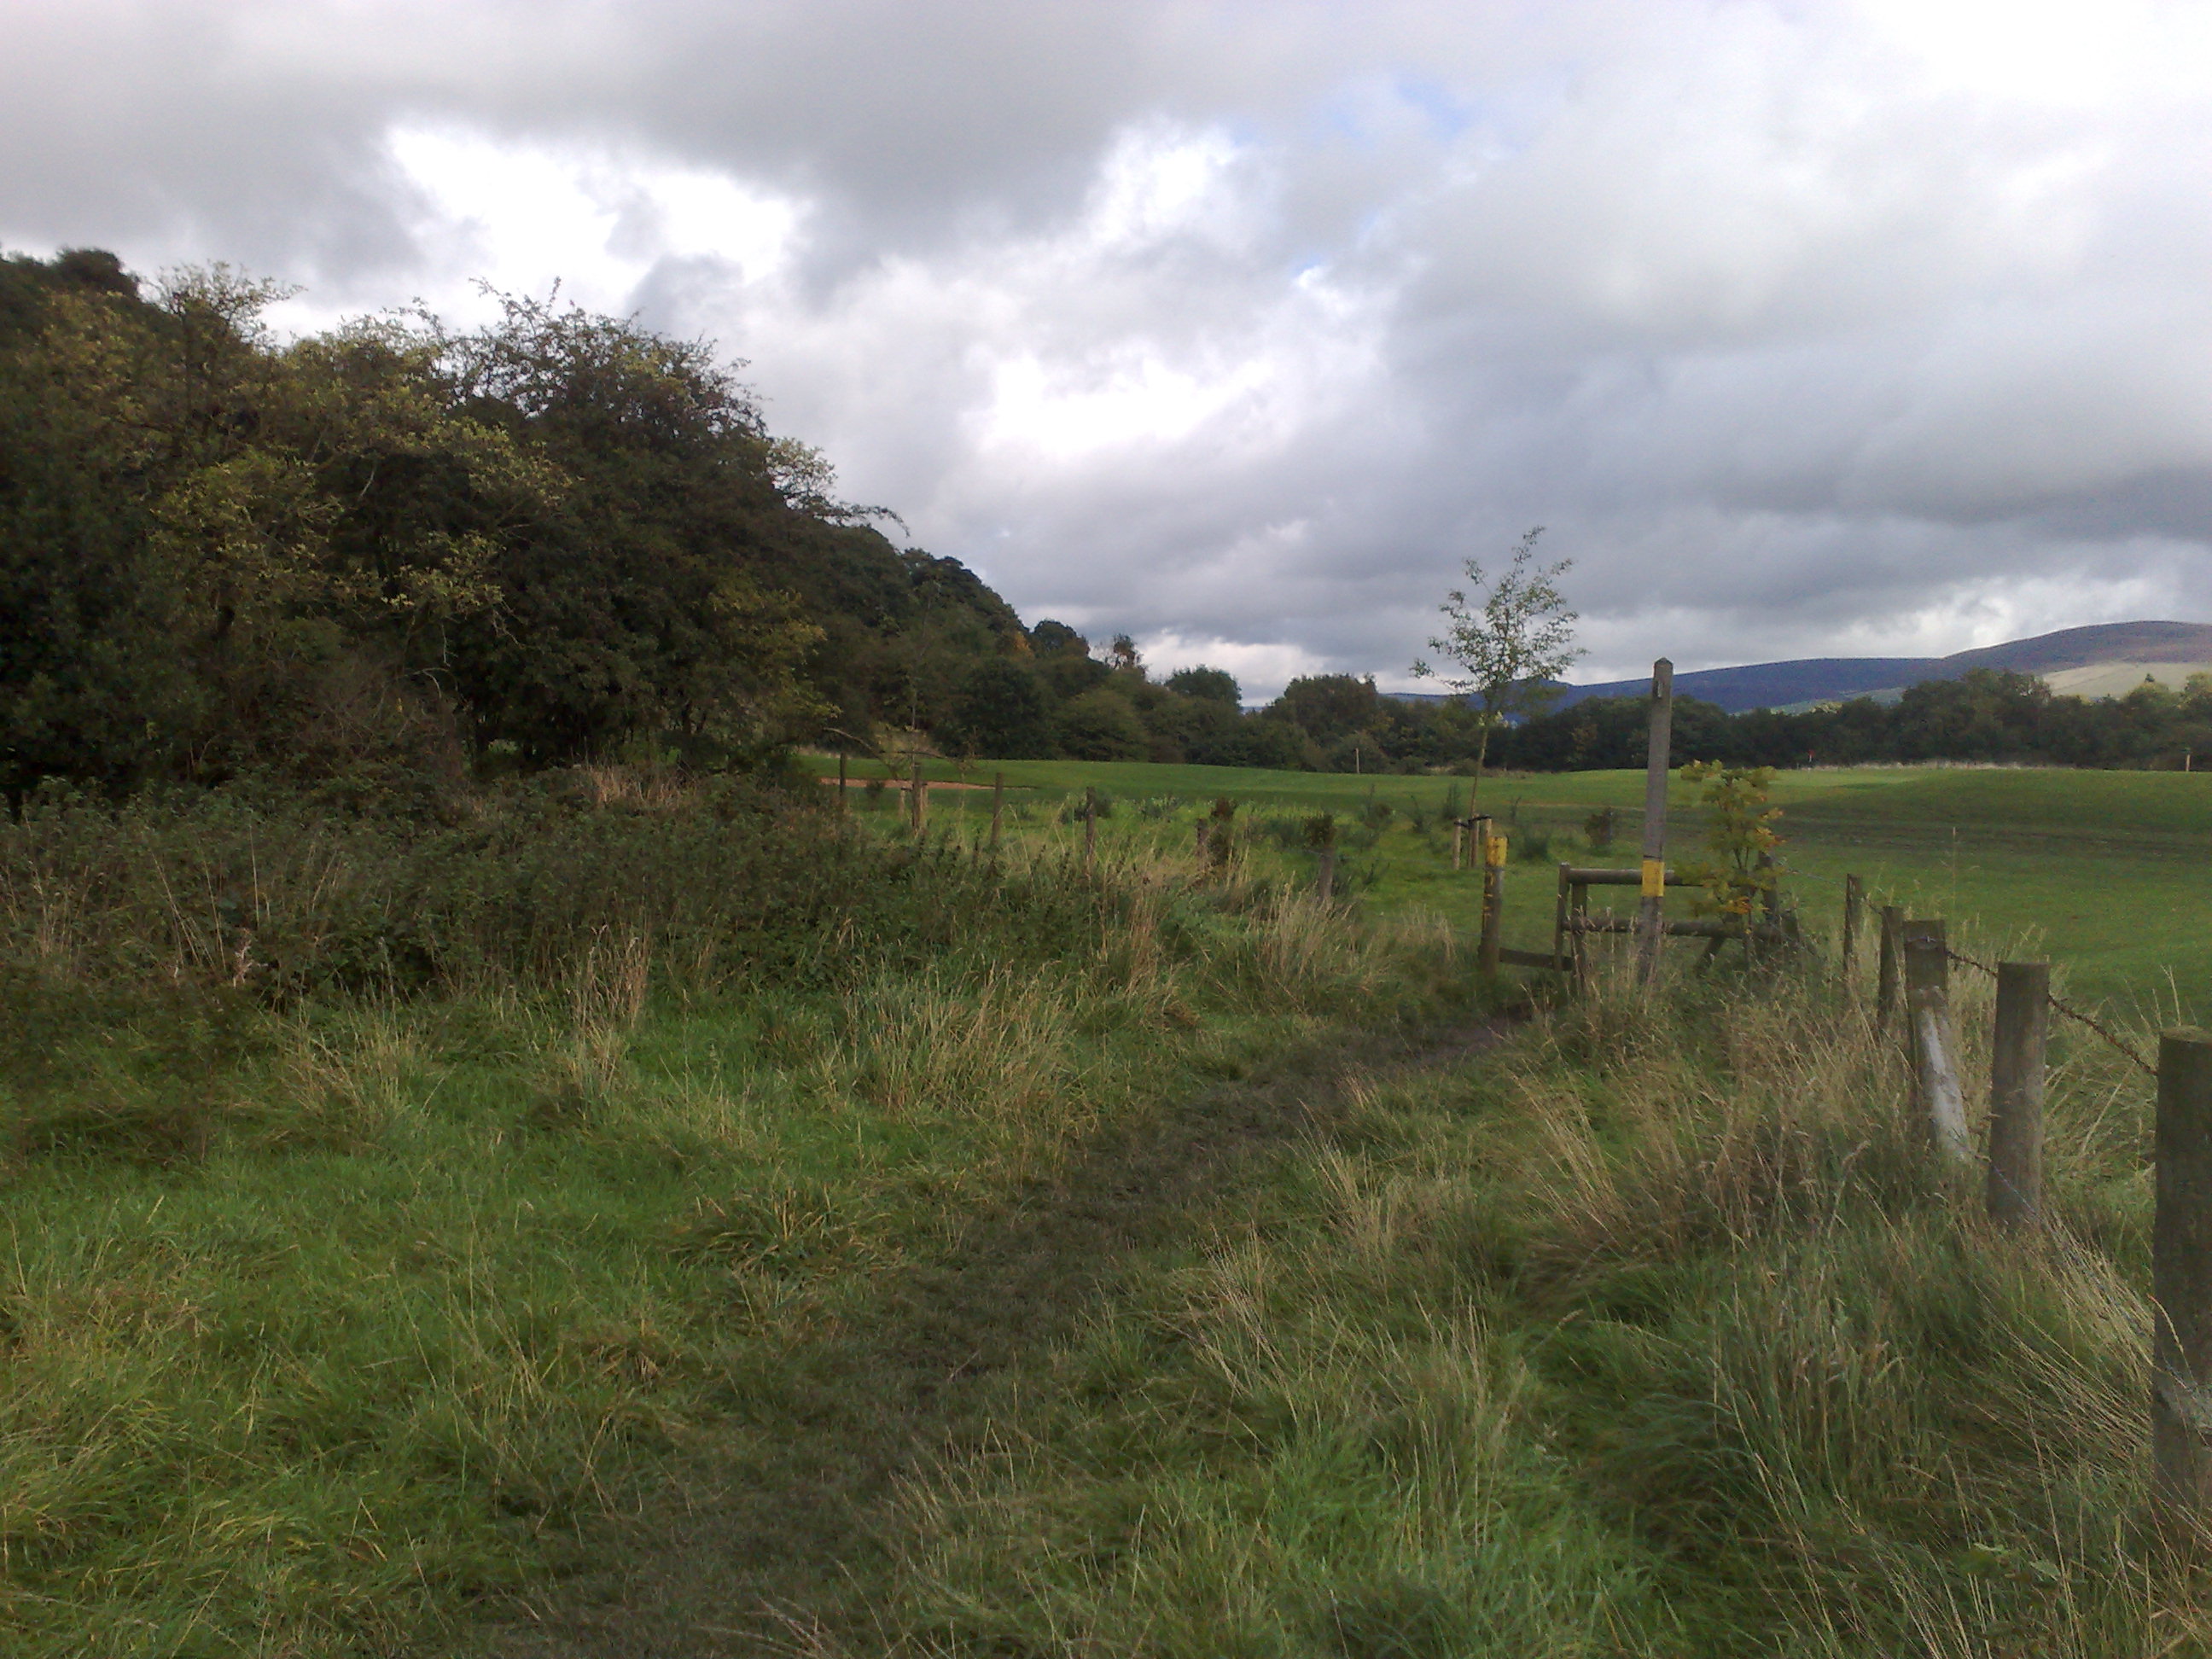
The stile marking the boundary
between the golf course and Field 3 (looking south from the golf course)
at marker [5] on the map.
|
|
|
The same stile, now looking north from Field 3. |
|
|
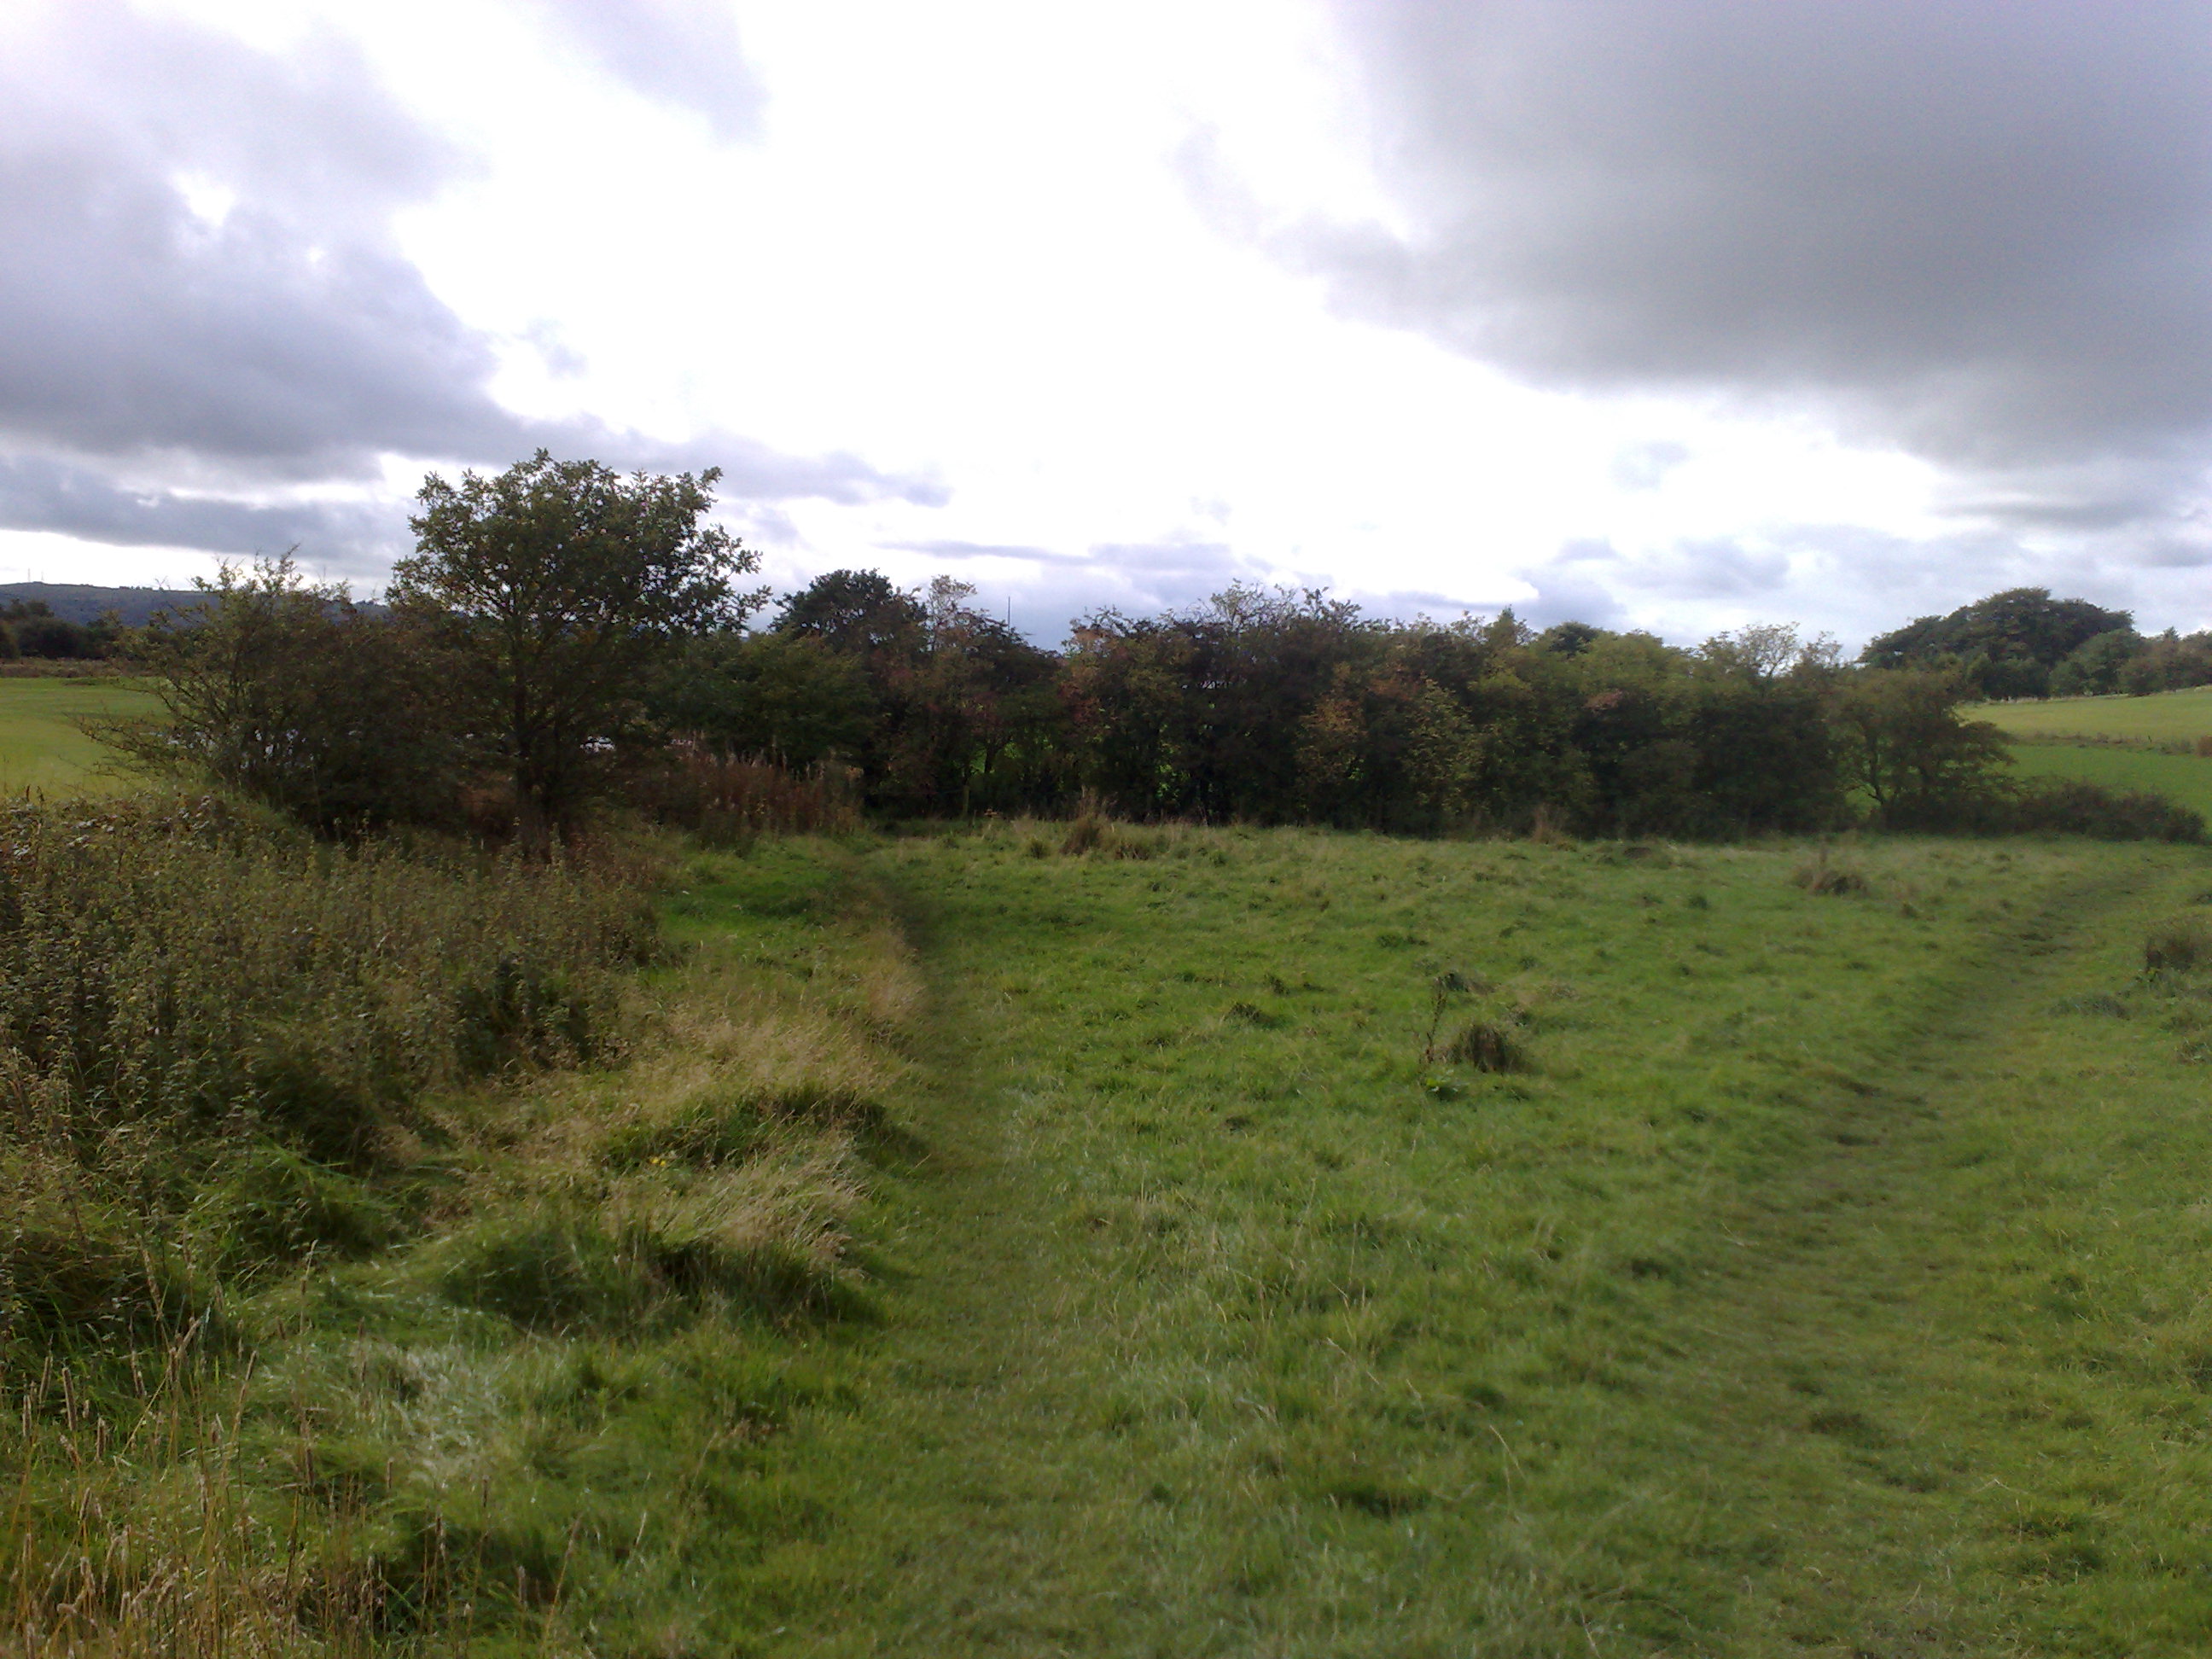
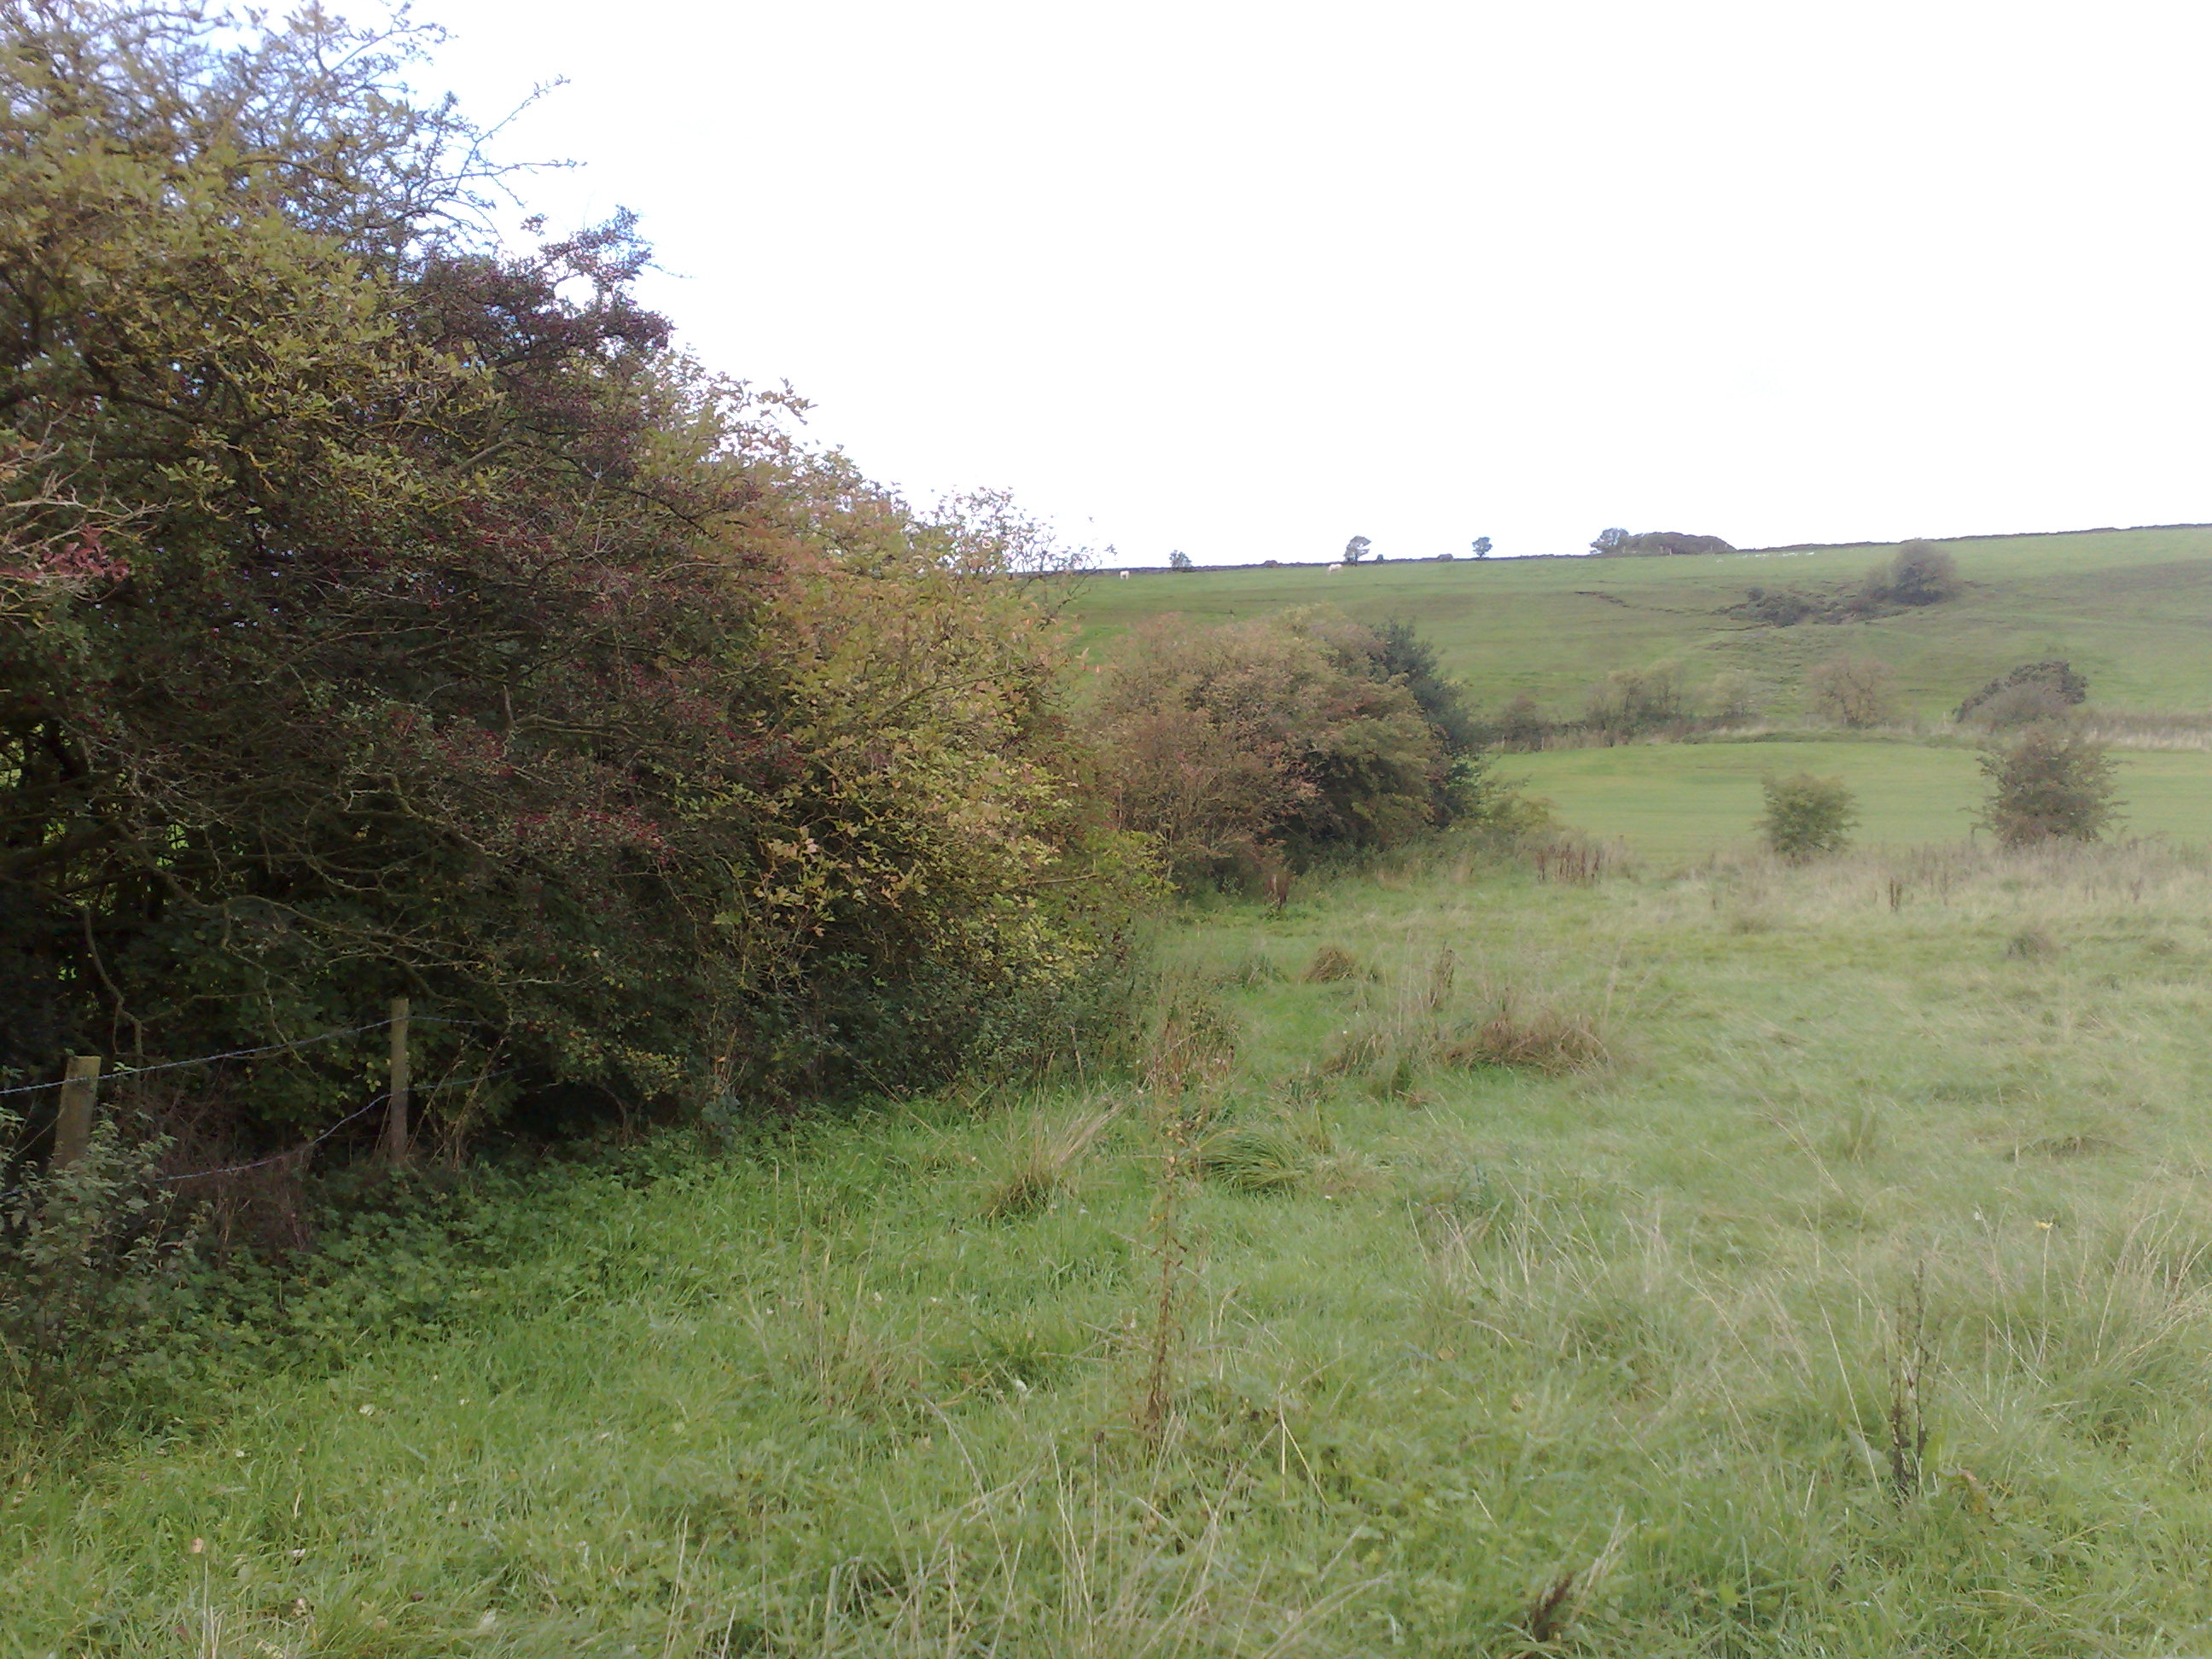
View looking south from marker
[6].
You can see the the hedges at the boundary of fields 3 and 2. These hedges would have been removed if the sale to the golf club had gone ahead. |
|
|
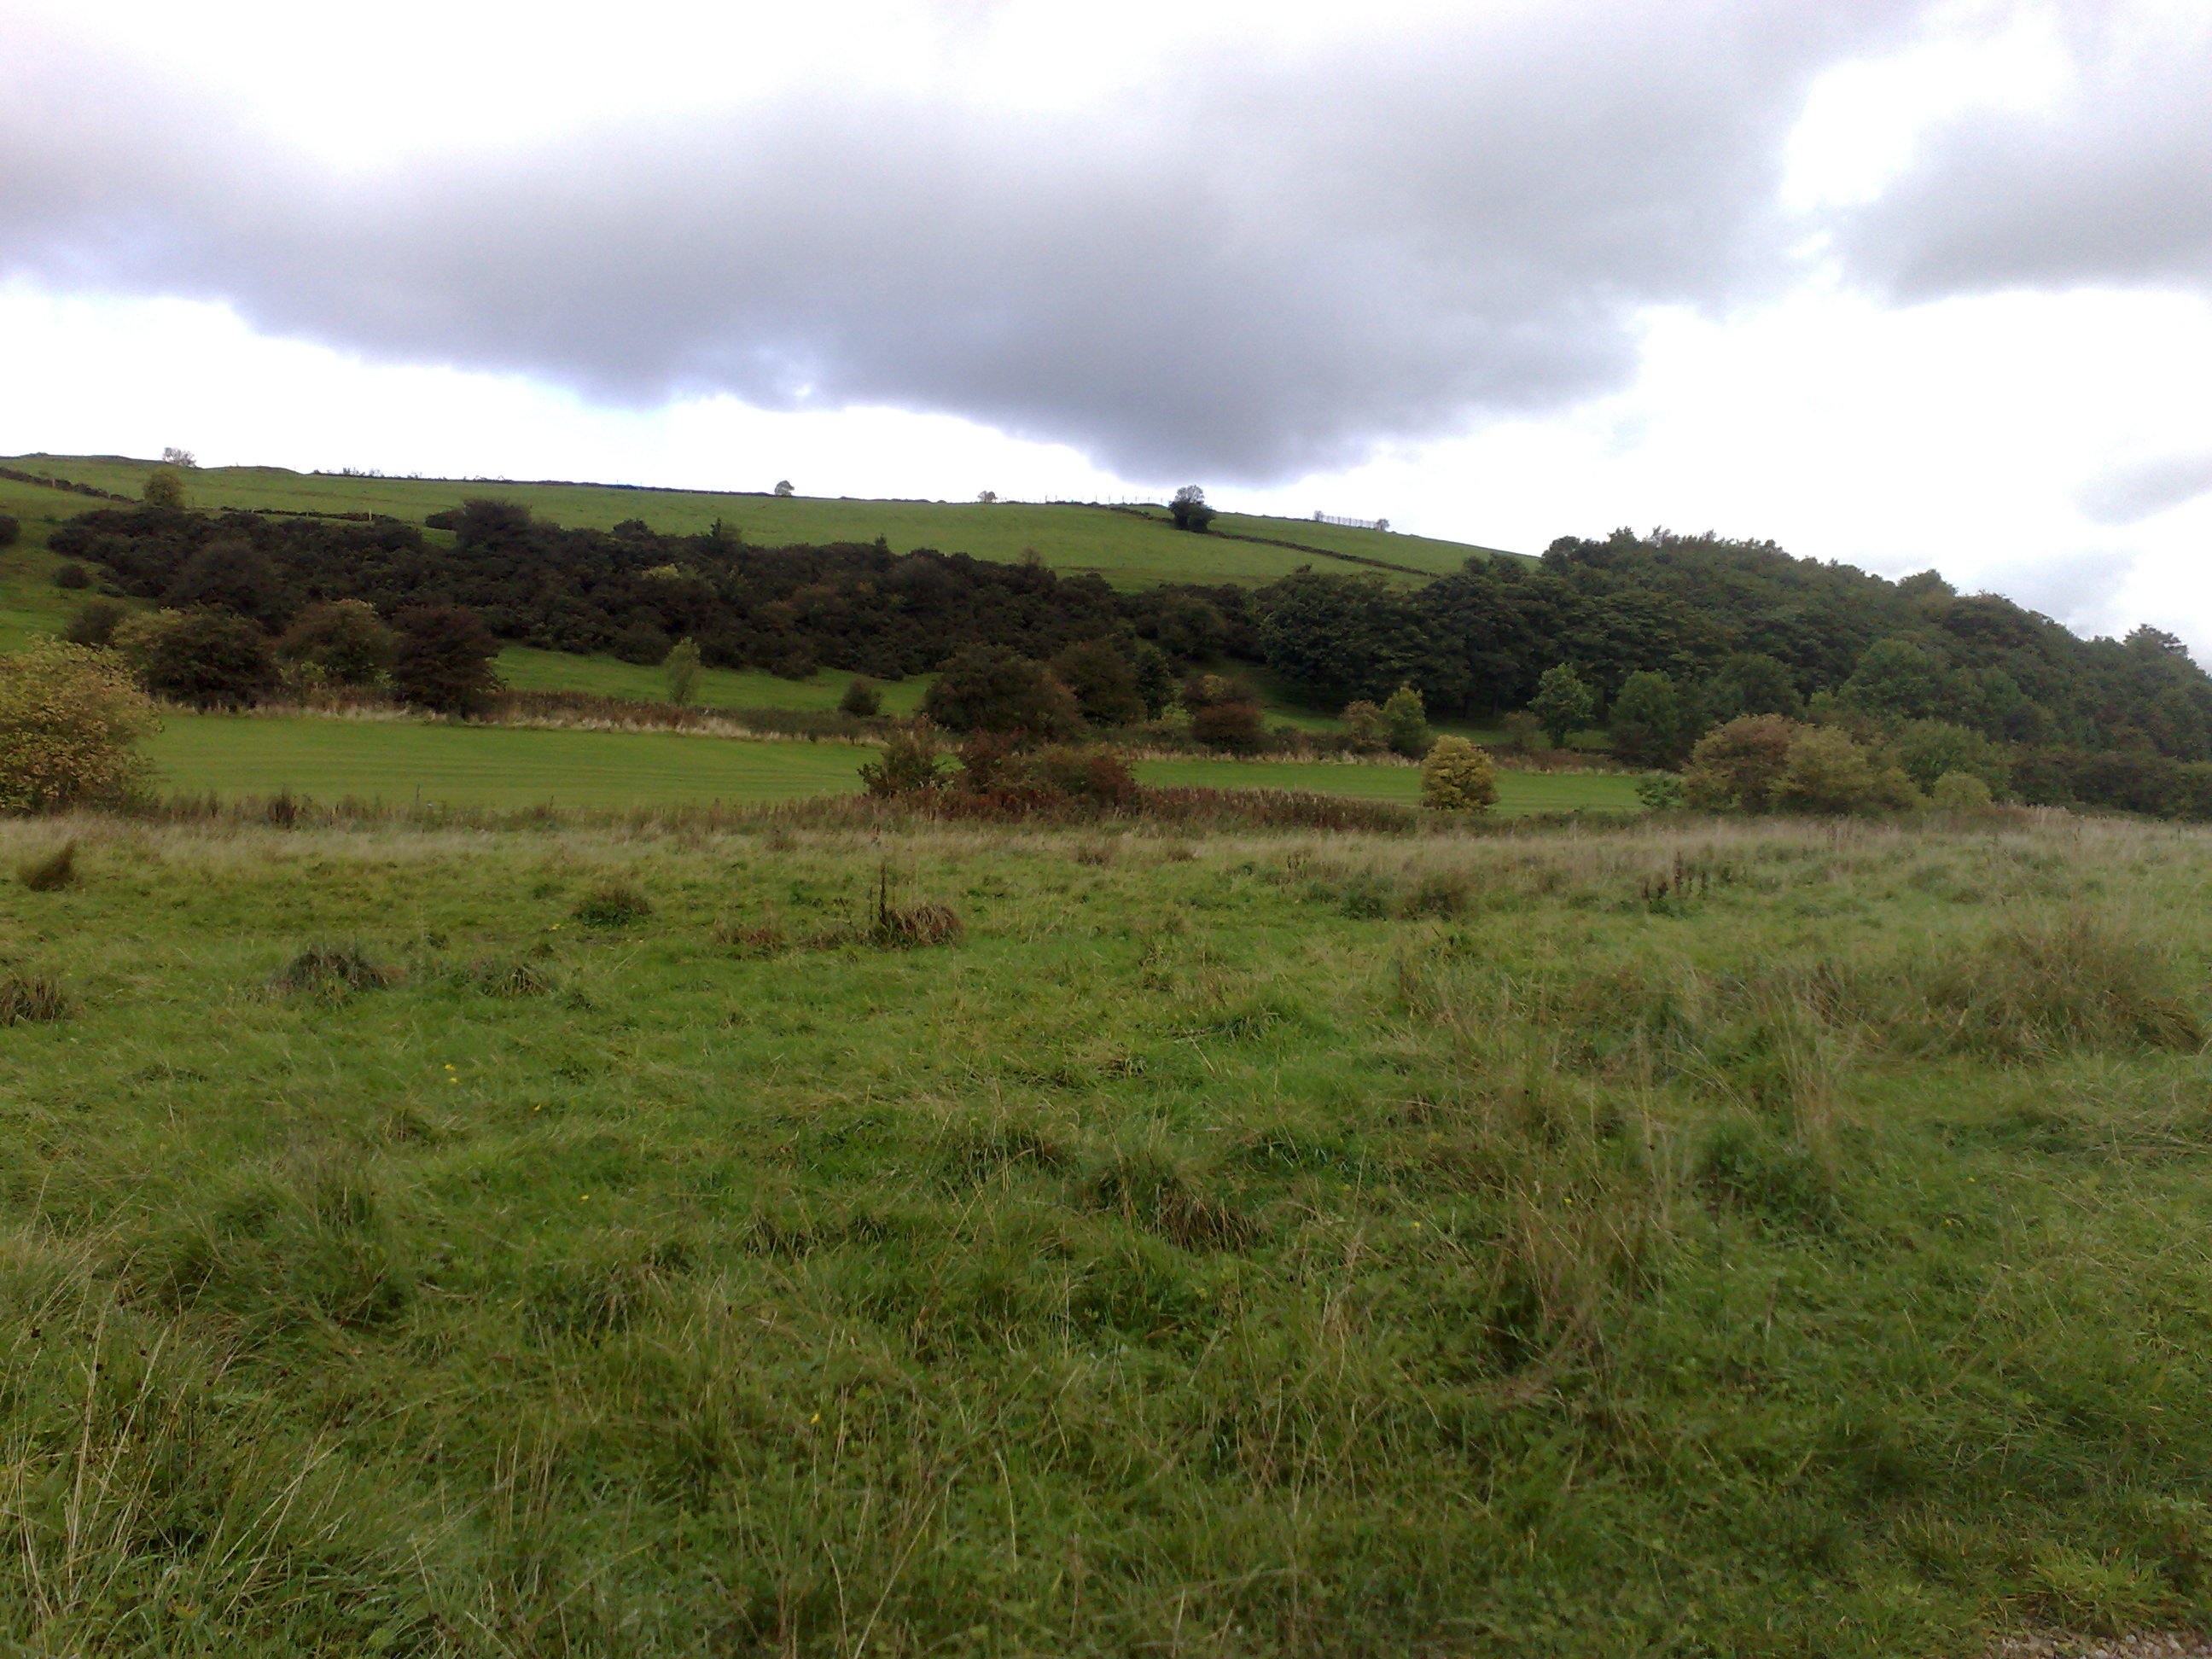
Another view from [6] looking
slightly further west; the hedges mark the boundary between fields 3 and
2.
|
|
|
The actual stile from Field 3 to Field 2 (looking south from field 3) at marker [7] on the map. |
|
|
Still in field 3, looking west
from the stile at [7]. These hedges would be removed if DGC had
their way.
|
|
|
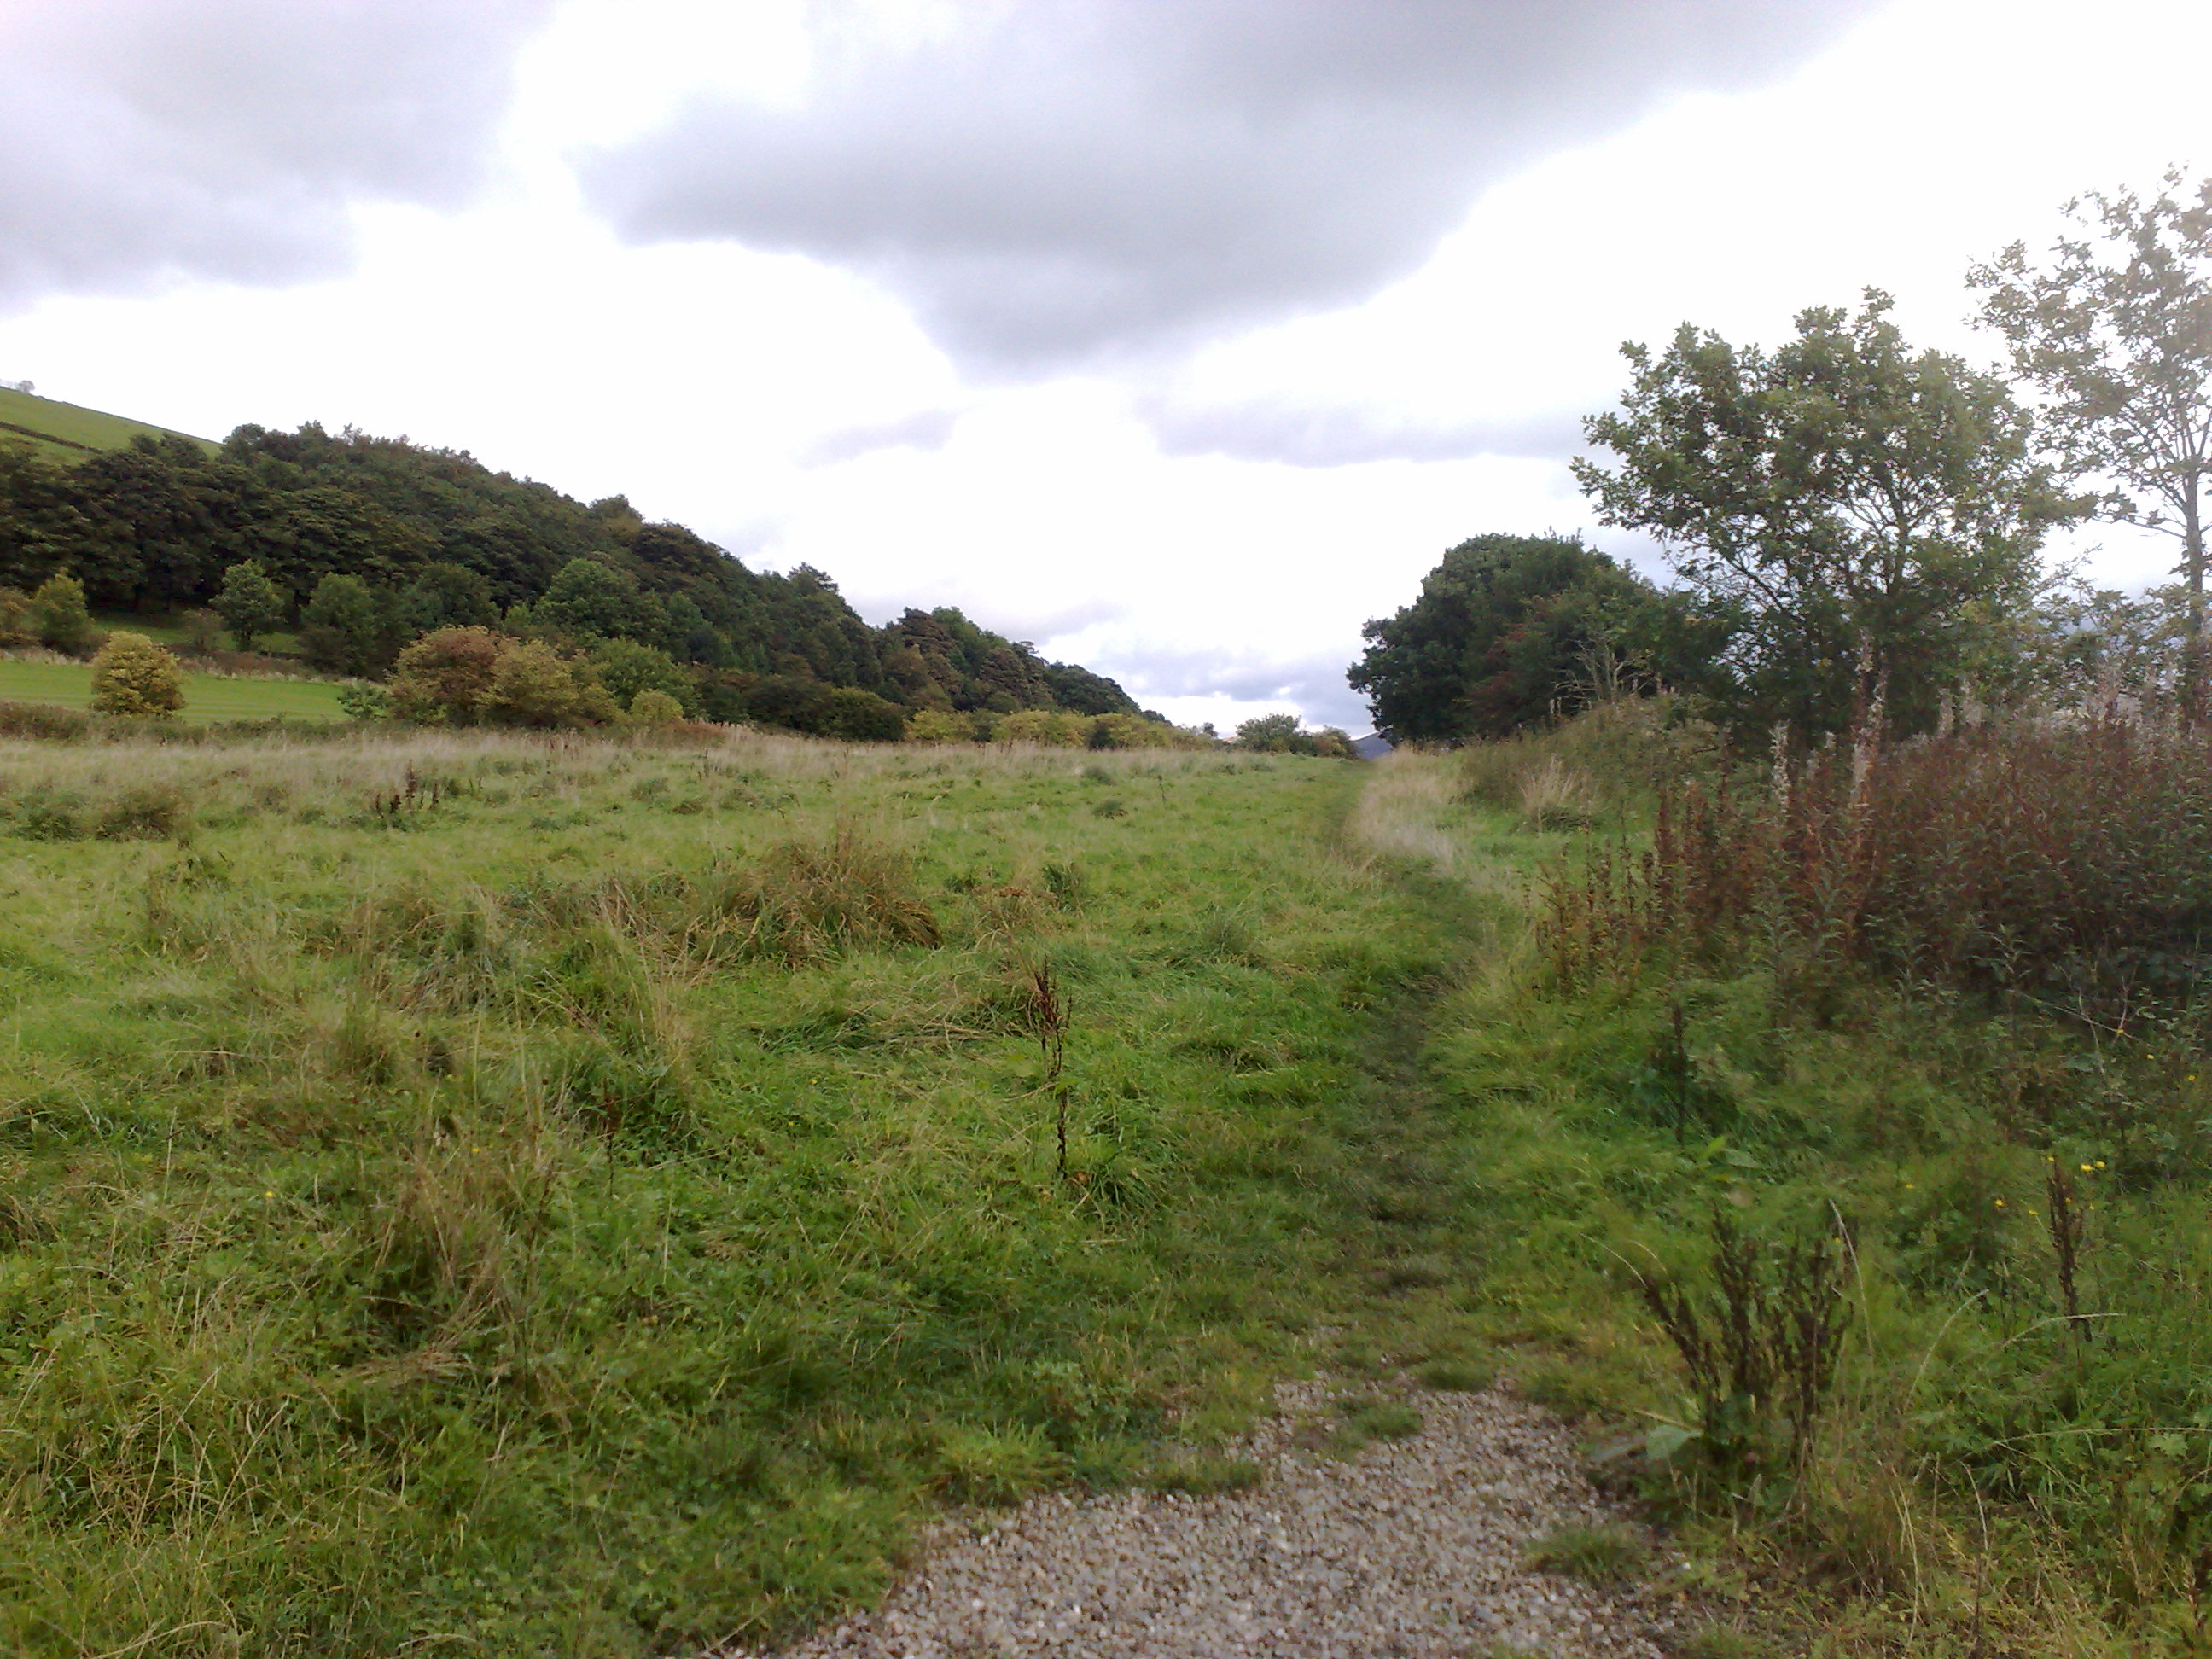
Looking north-west from [7]
over Field 3.
|
|
|
Looking north back up Field 3
from [7]
|
|
|
Now in Field 2, looking back
north the way we came in from field 3.
|
|
|
Looking west from Field 2
along the line of hedges which form the boundary between Field 2 and Field
3.
|
|
|
View from the same point
looking slightly further south. This is Field 2, Field 3 is behind the
hedges to the right.
|
|
|
View from part way along Field
3 at point [8] on the map, showing the golf club's irrigation pond beyond
the fence.
|
|
|
The fencing here is in poor
repair and would easily permit access for children into the pond from
Field 2.
|
|
|
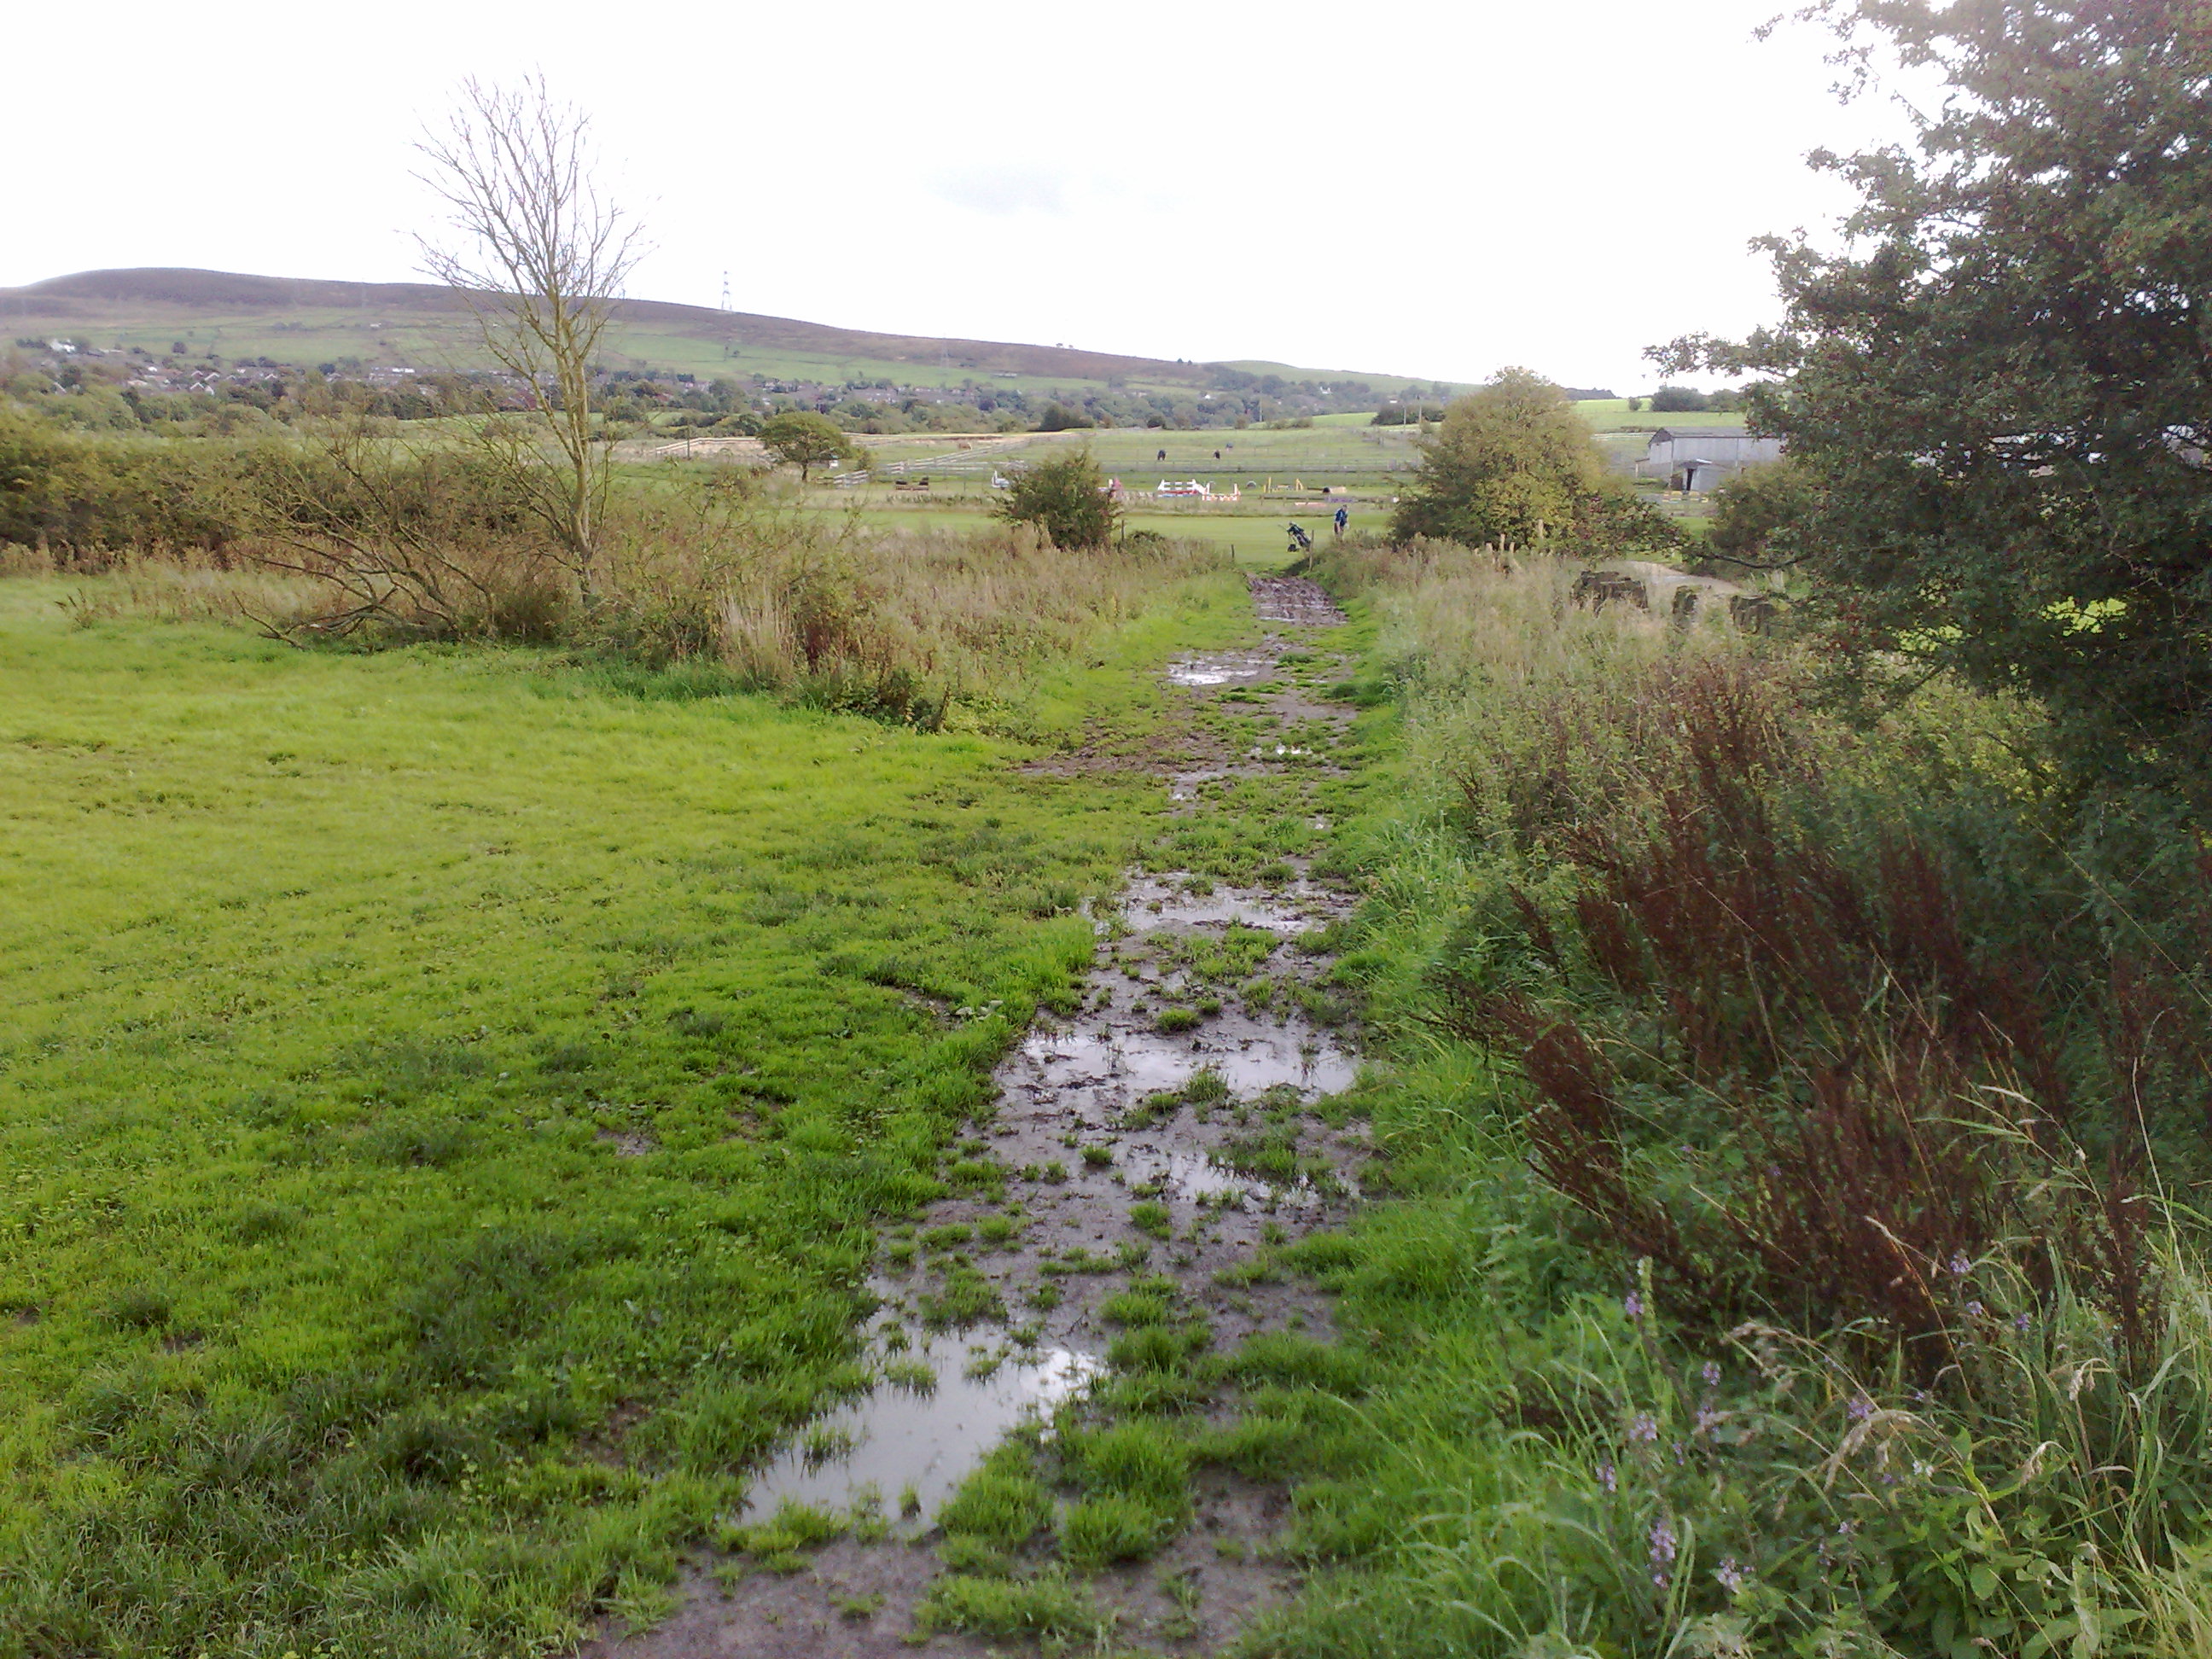
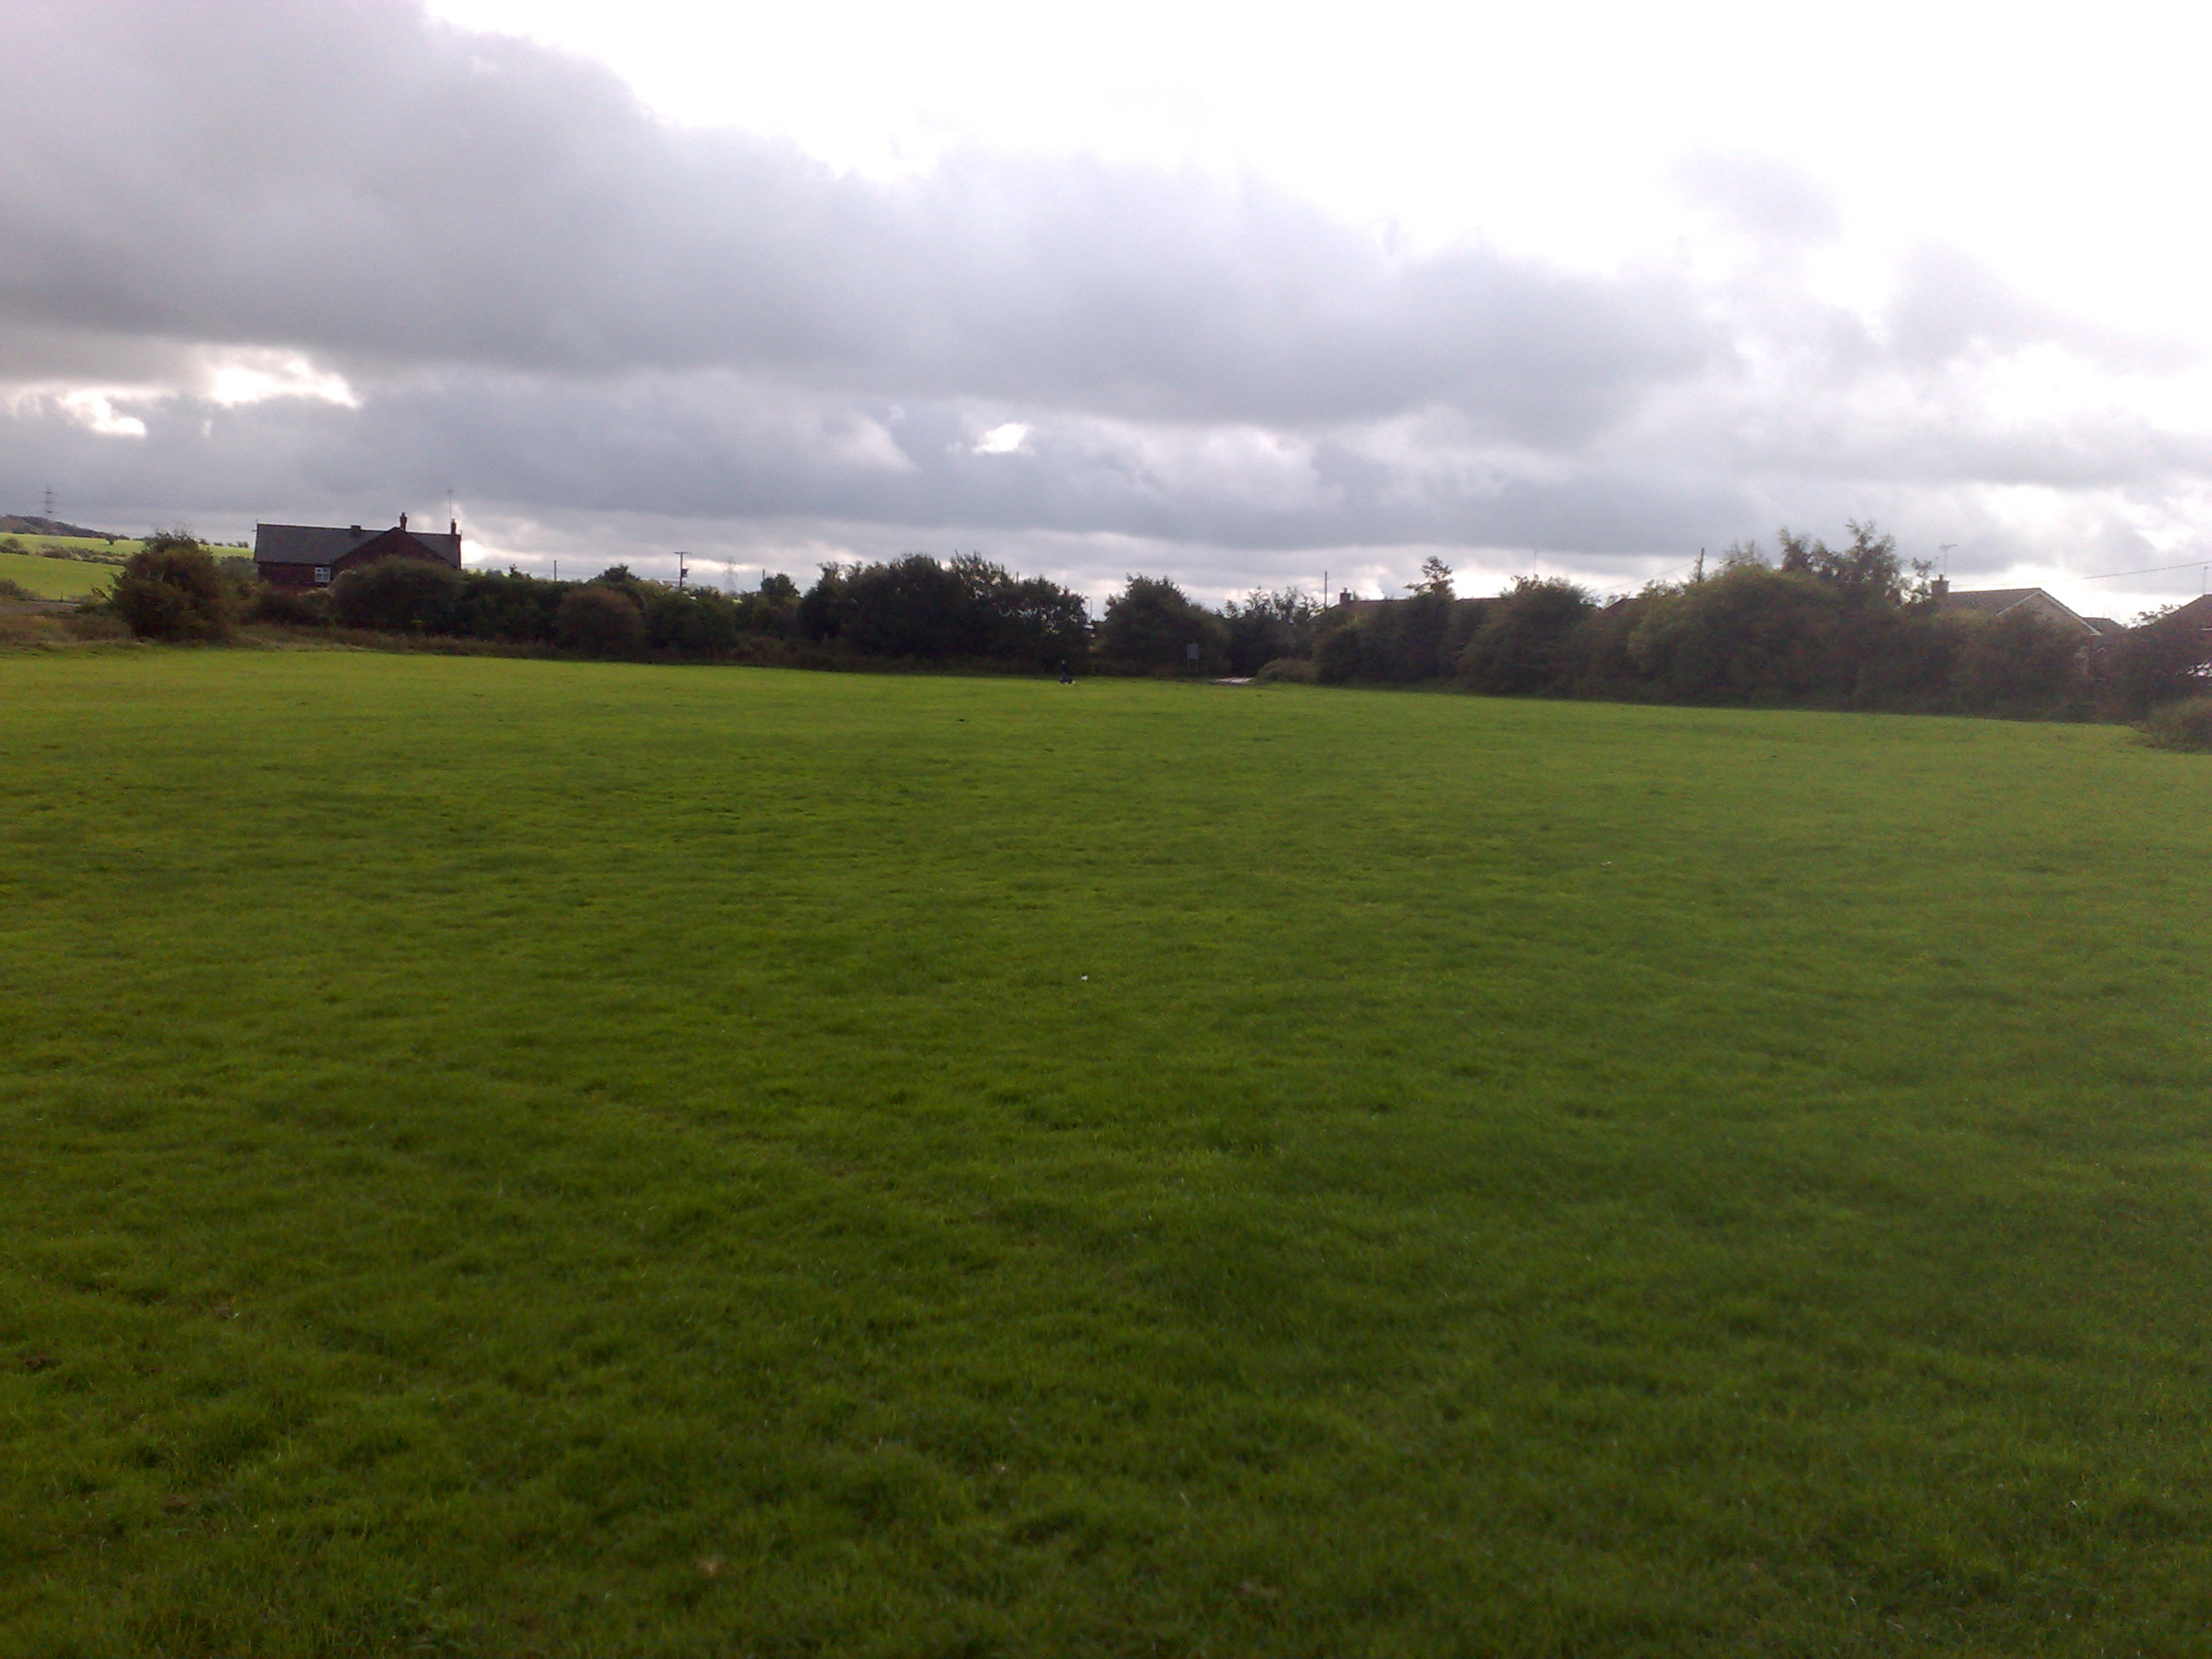
Looking south from point [8]. You can see the line of the boundary between Field 2 and Field 1 just above the flooded area. |
|
|
Looking north back up Field 2
from point [8].
|
|
|
The boundary between Field 2
and Field 1, taken from Field 2 looking west at point [9] The remains of the golf club's first attempt at building a path are visible here. A gas main runs under Field 2 along the boundary here.
|
|
|
Same position from Field 2
looking east at the remains of the first path.
|
|
|
Moving over into Field 1, this is the boundary of Field 1 and Field 2 looking east. This is the golf club's second attempt at a path. Unfortunately the (retrospective) planning permission showed that the path would be constructed in Field 2.
All of this was done with little publicity, perhaps a little more consultation with the actual users of the fields would have revealed the position of the gas main and the conditions restricting the building of anything over it. |
|
|
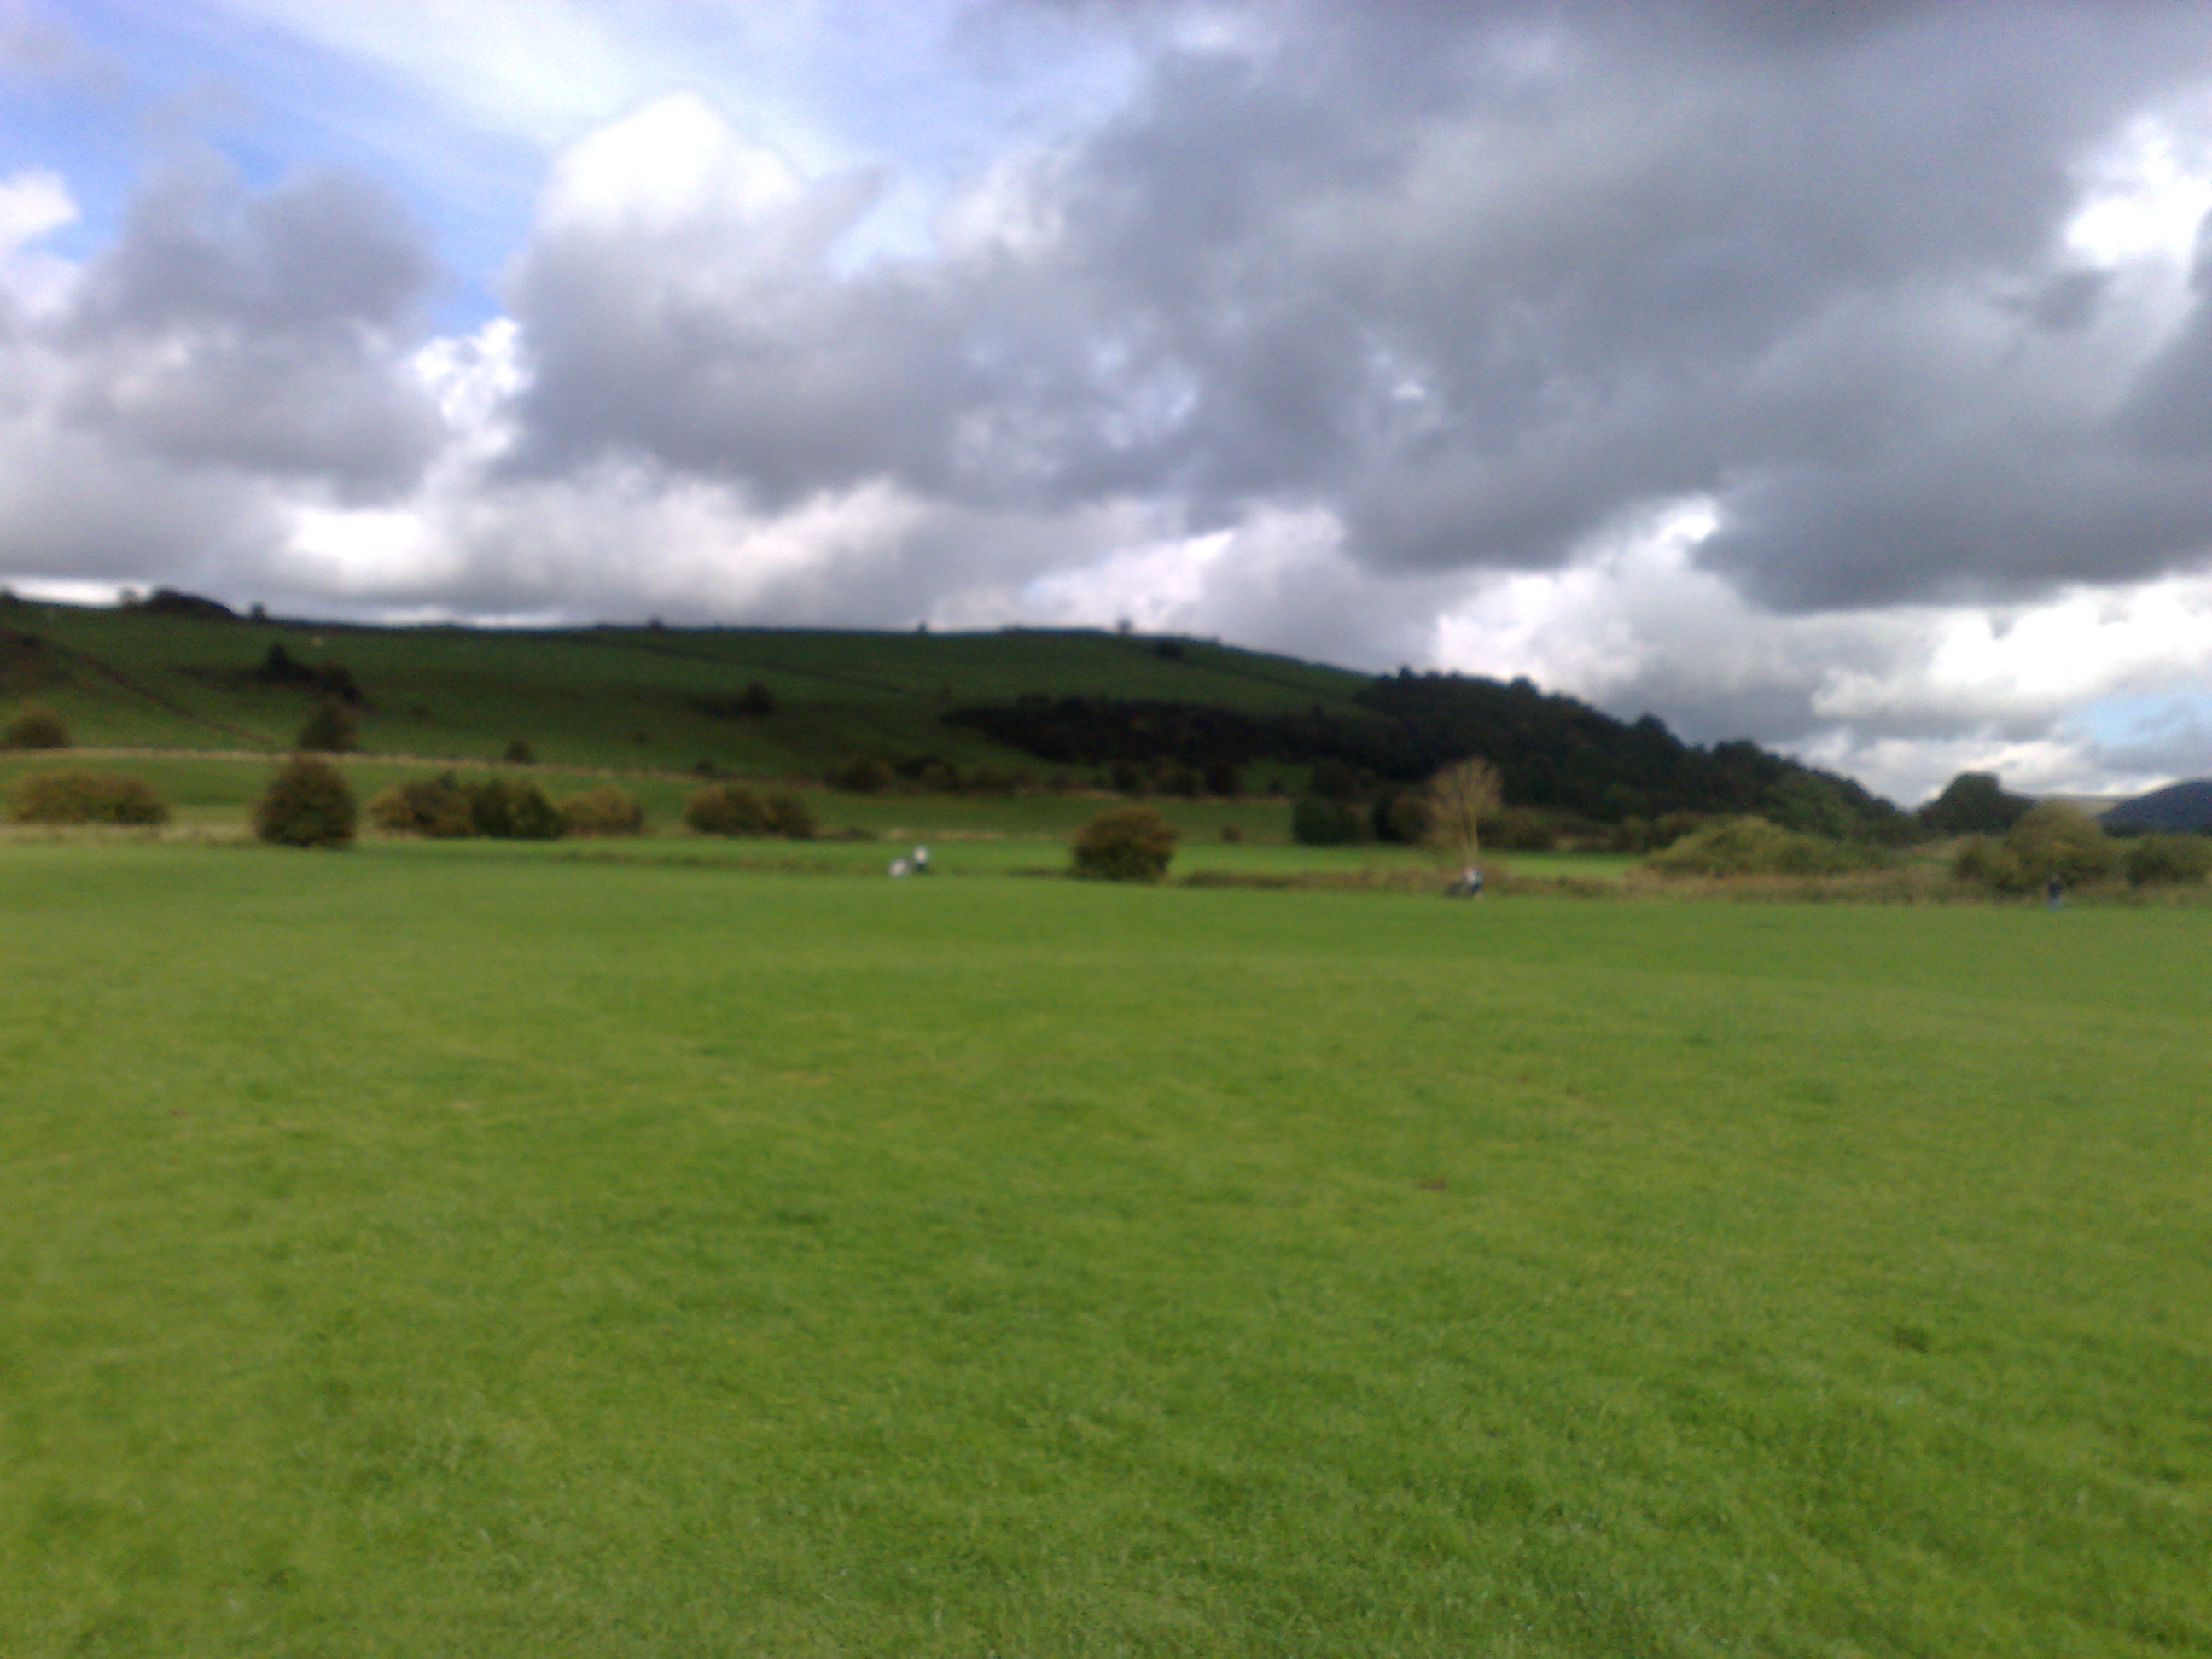
Looking south into Field 1
from point [9]
|
|
|
Looking west along the second path from point [9] |
|
|
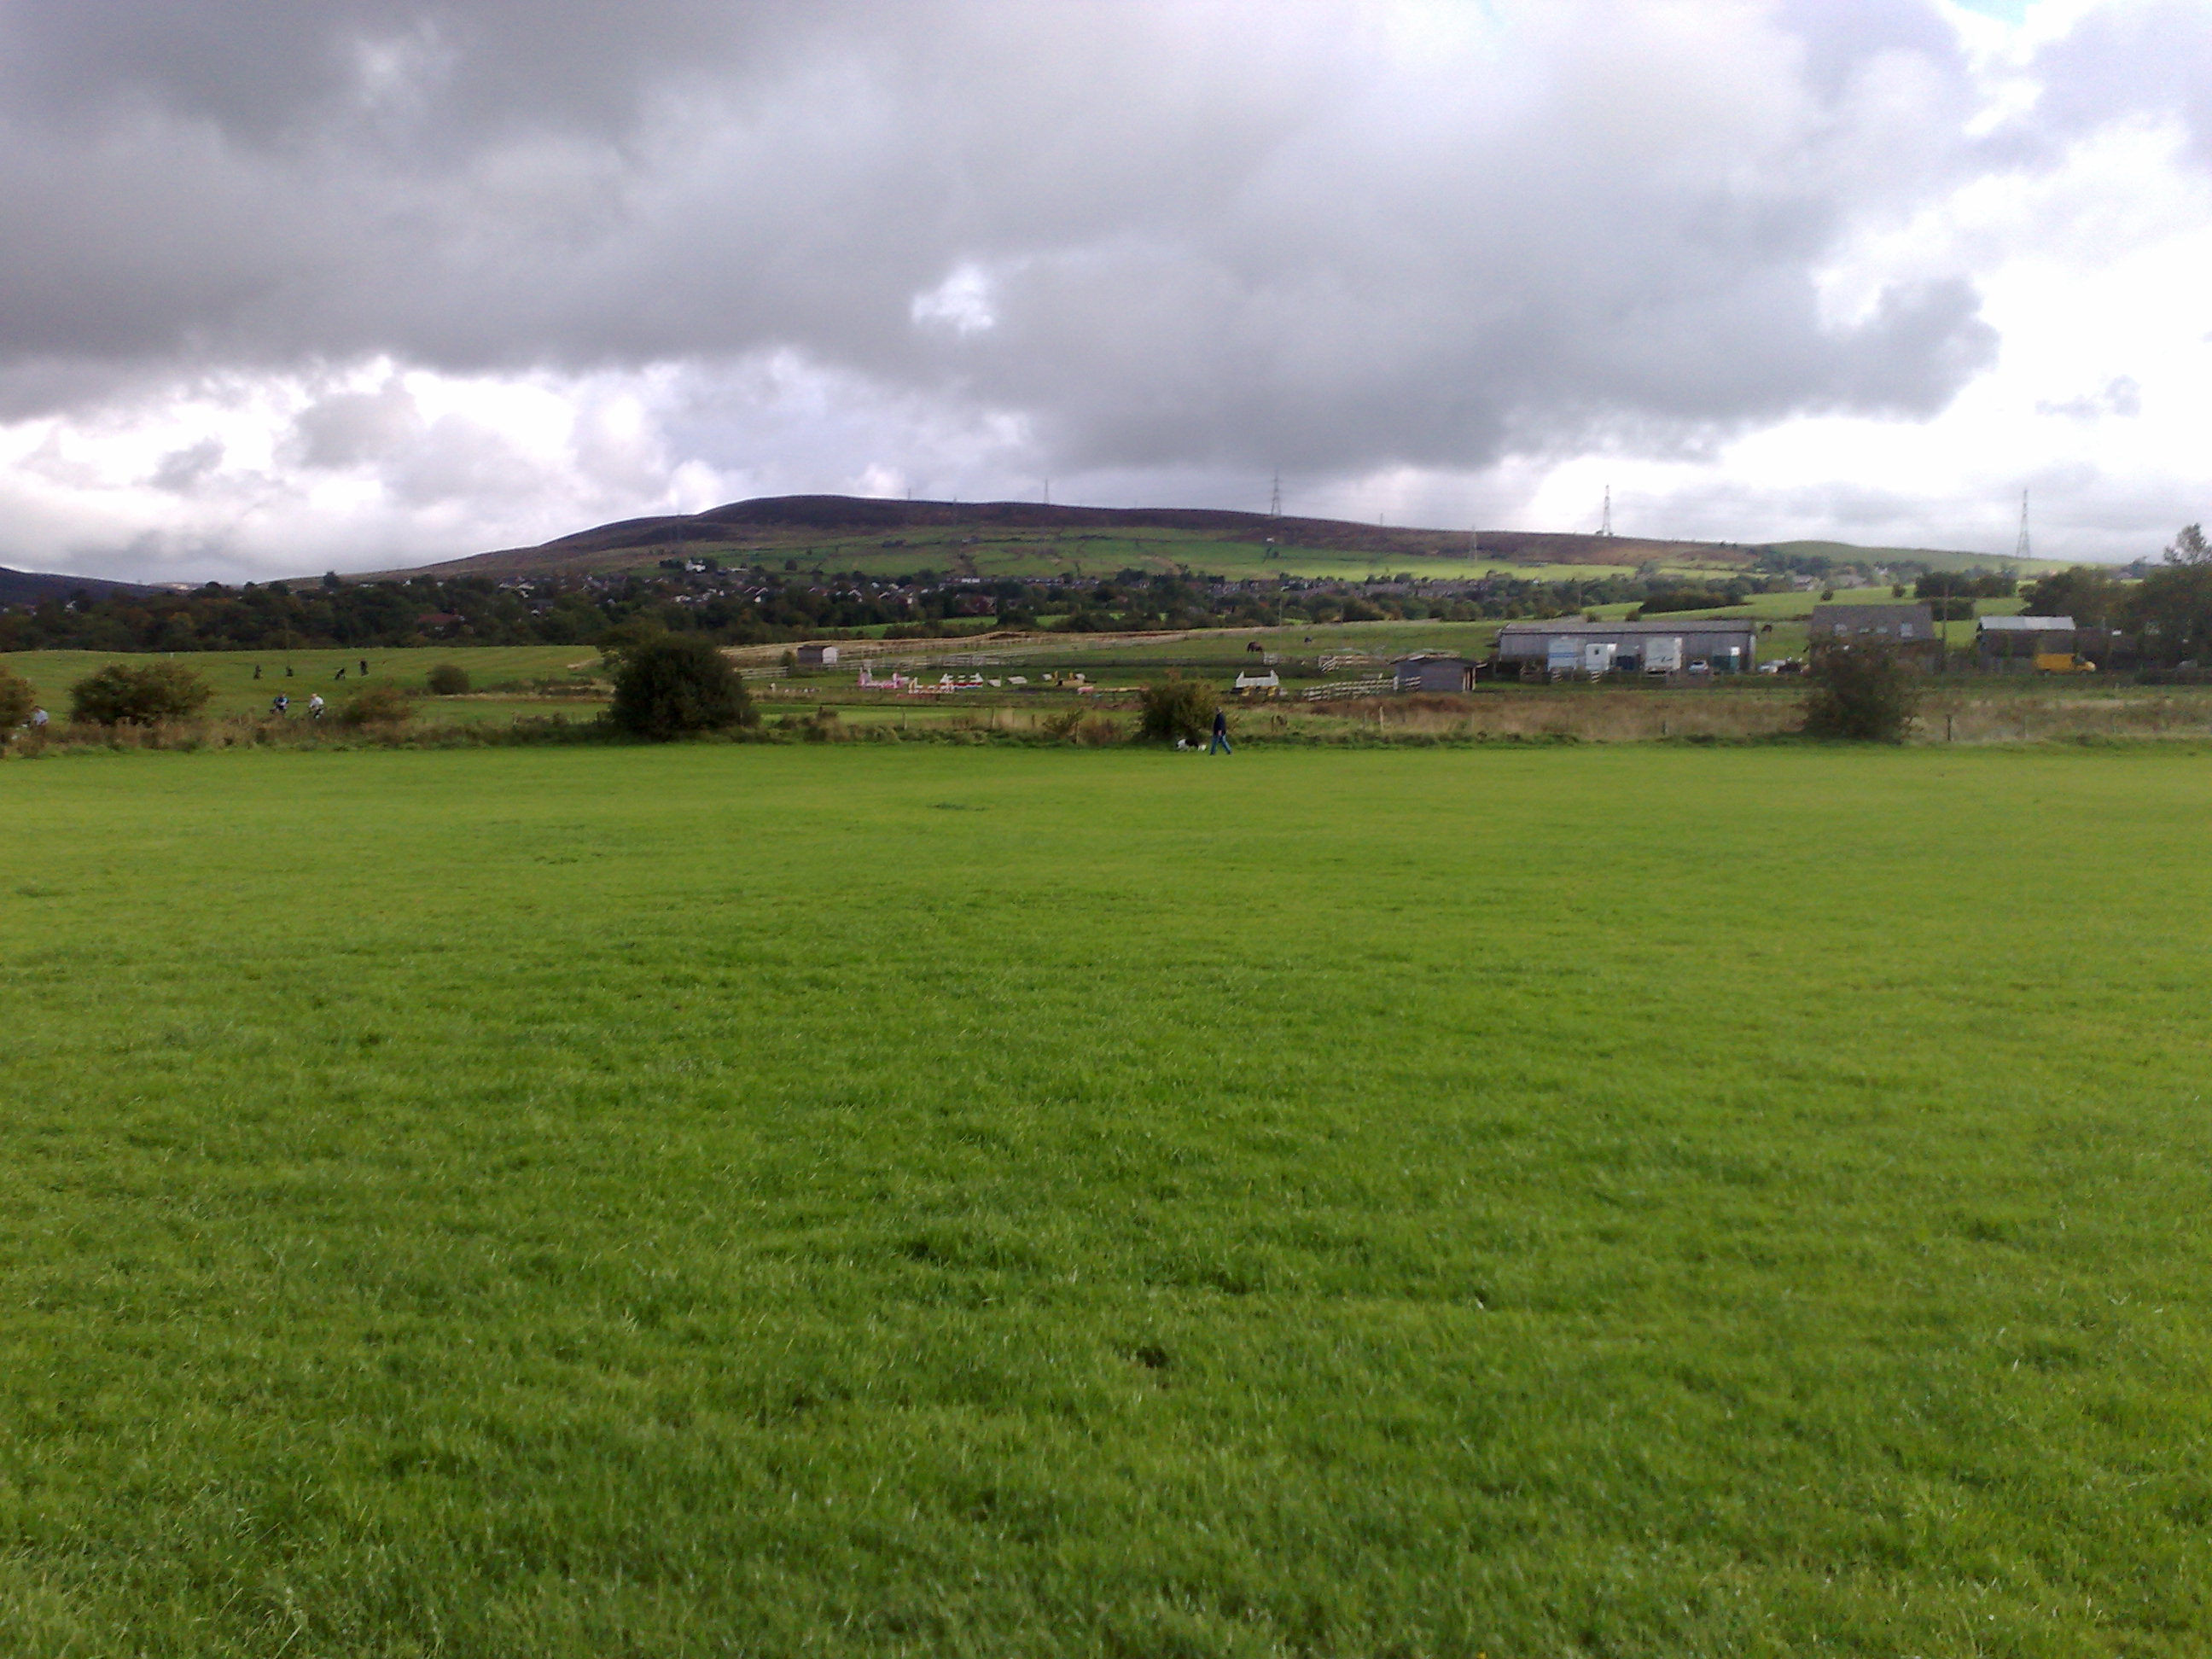
Looking east from the centre
of Field 1. A dog walker can be seen in the centre of the picture walking
north along the eastern boundary of Field 1. I don't think I have ever not seen other people using the fields. |
|
|
Looking north from the centre
of Field 1 back up to the second path. You can see golfers using the path,
and the dog walker to the far right. The picture is blurry more to the incompetence of the photographer, rather than an attempt to obscure the identity of the golfers. |
|
|
Looking towards the main entrance
from Field 1.
|
|
|
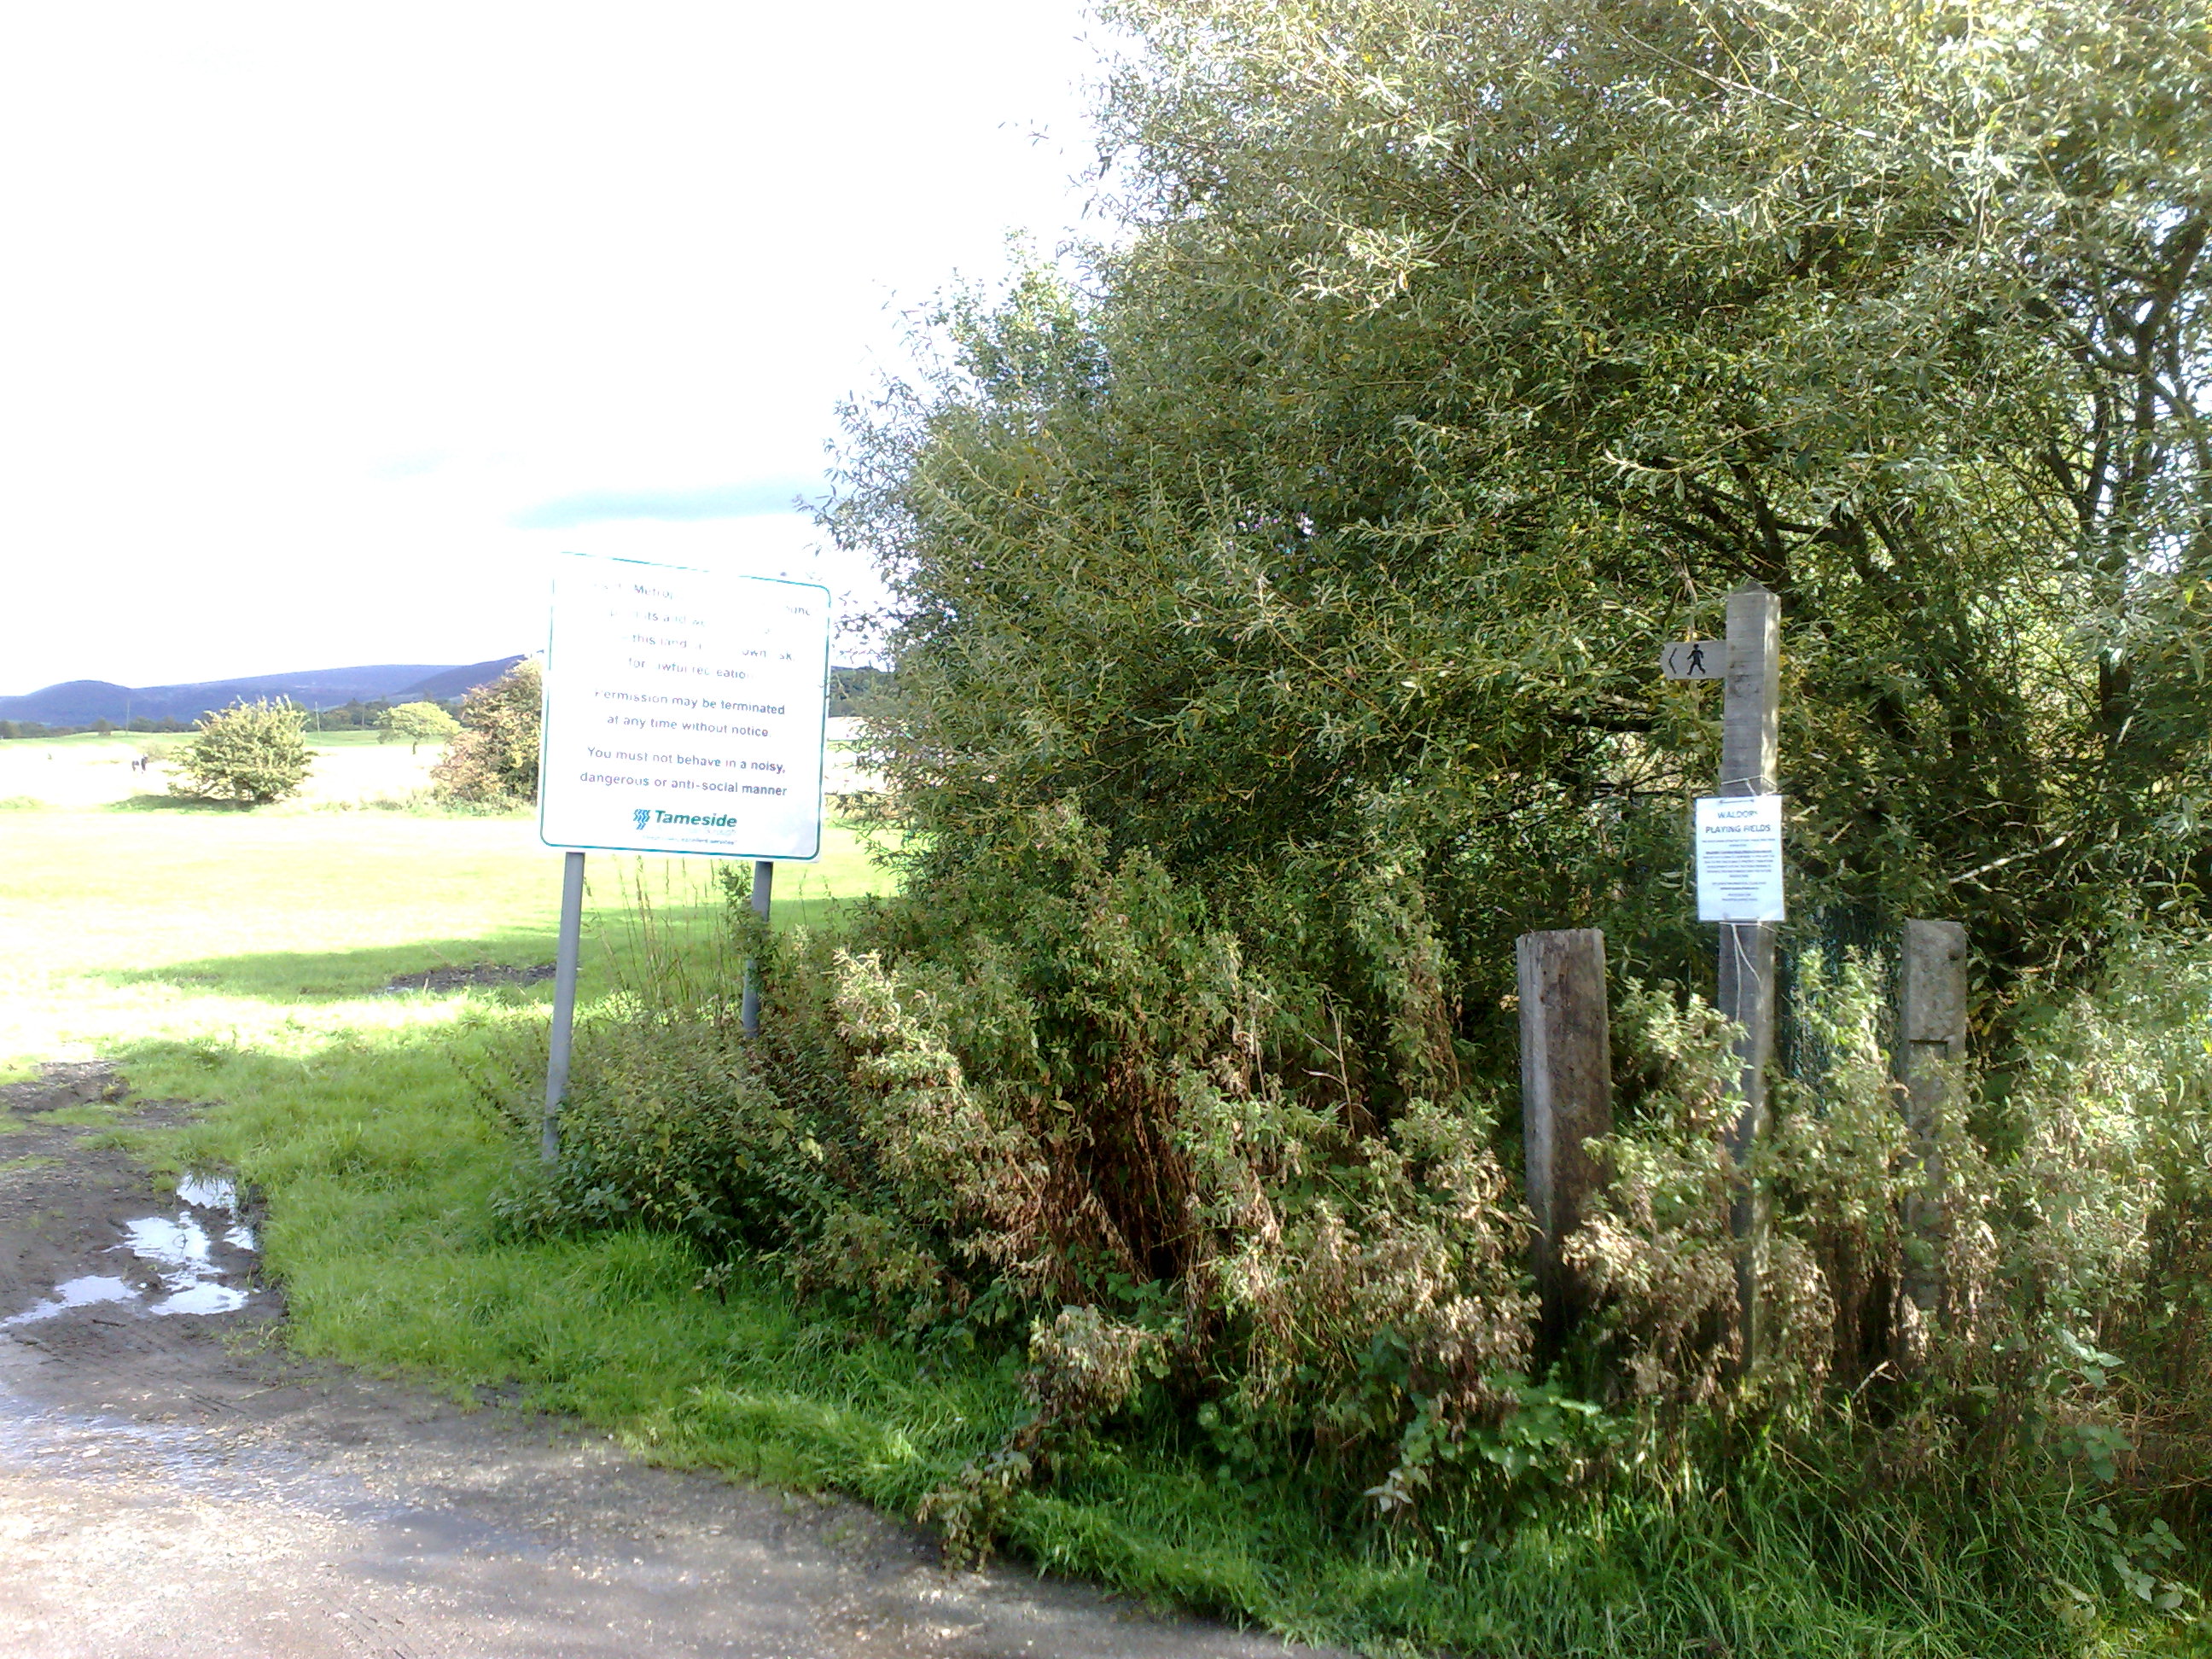
The main entrance, looking
north from point [10]. The new footpath sign shows the line of the re-aligned footbath. If it hadn't been for regular users of the fields asking for this right-of-way to be moved, the plans for Tameside Council to sell the fields would probably never have been uncovered. |
|
|
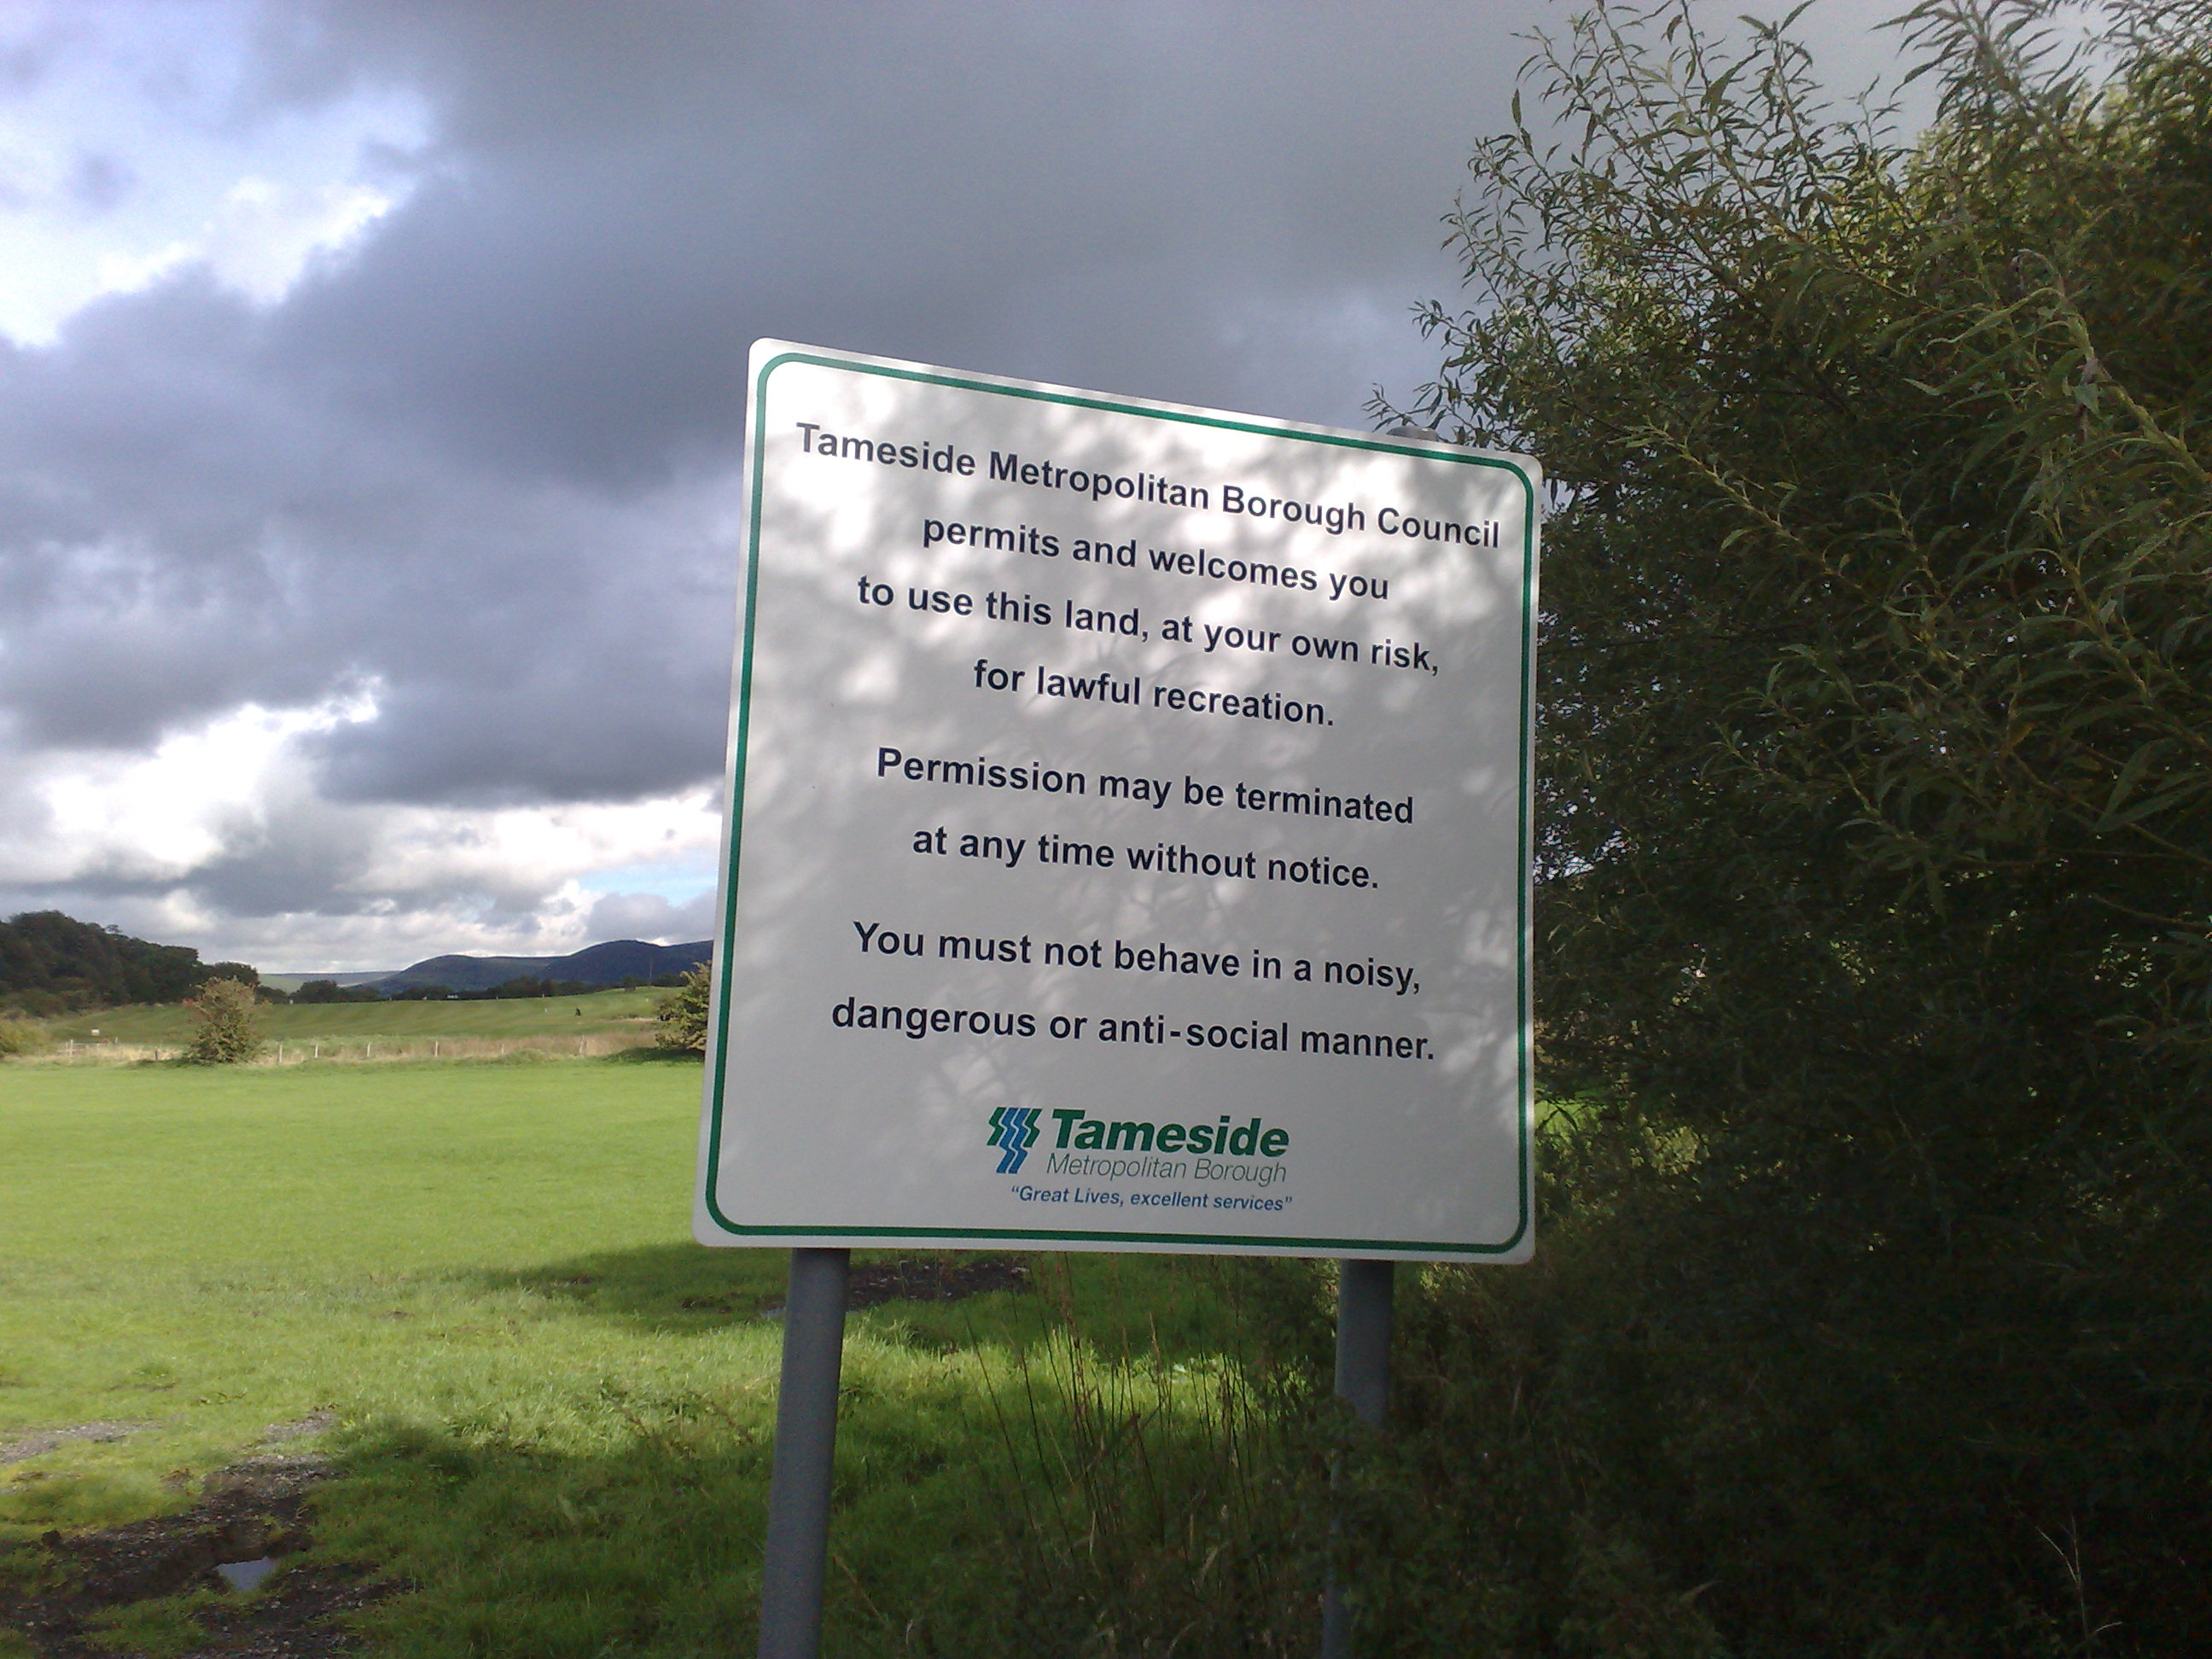
Close-up of the new sign, erected
in 2009
|
|
|
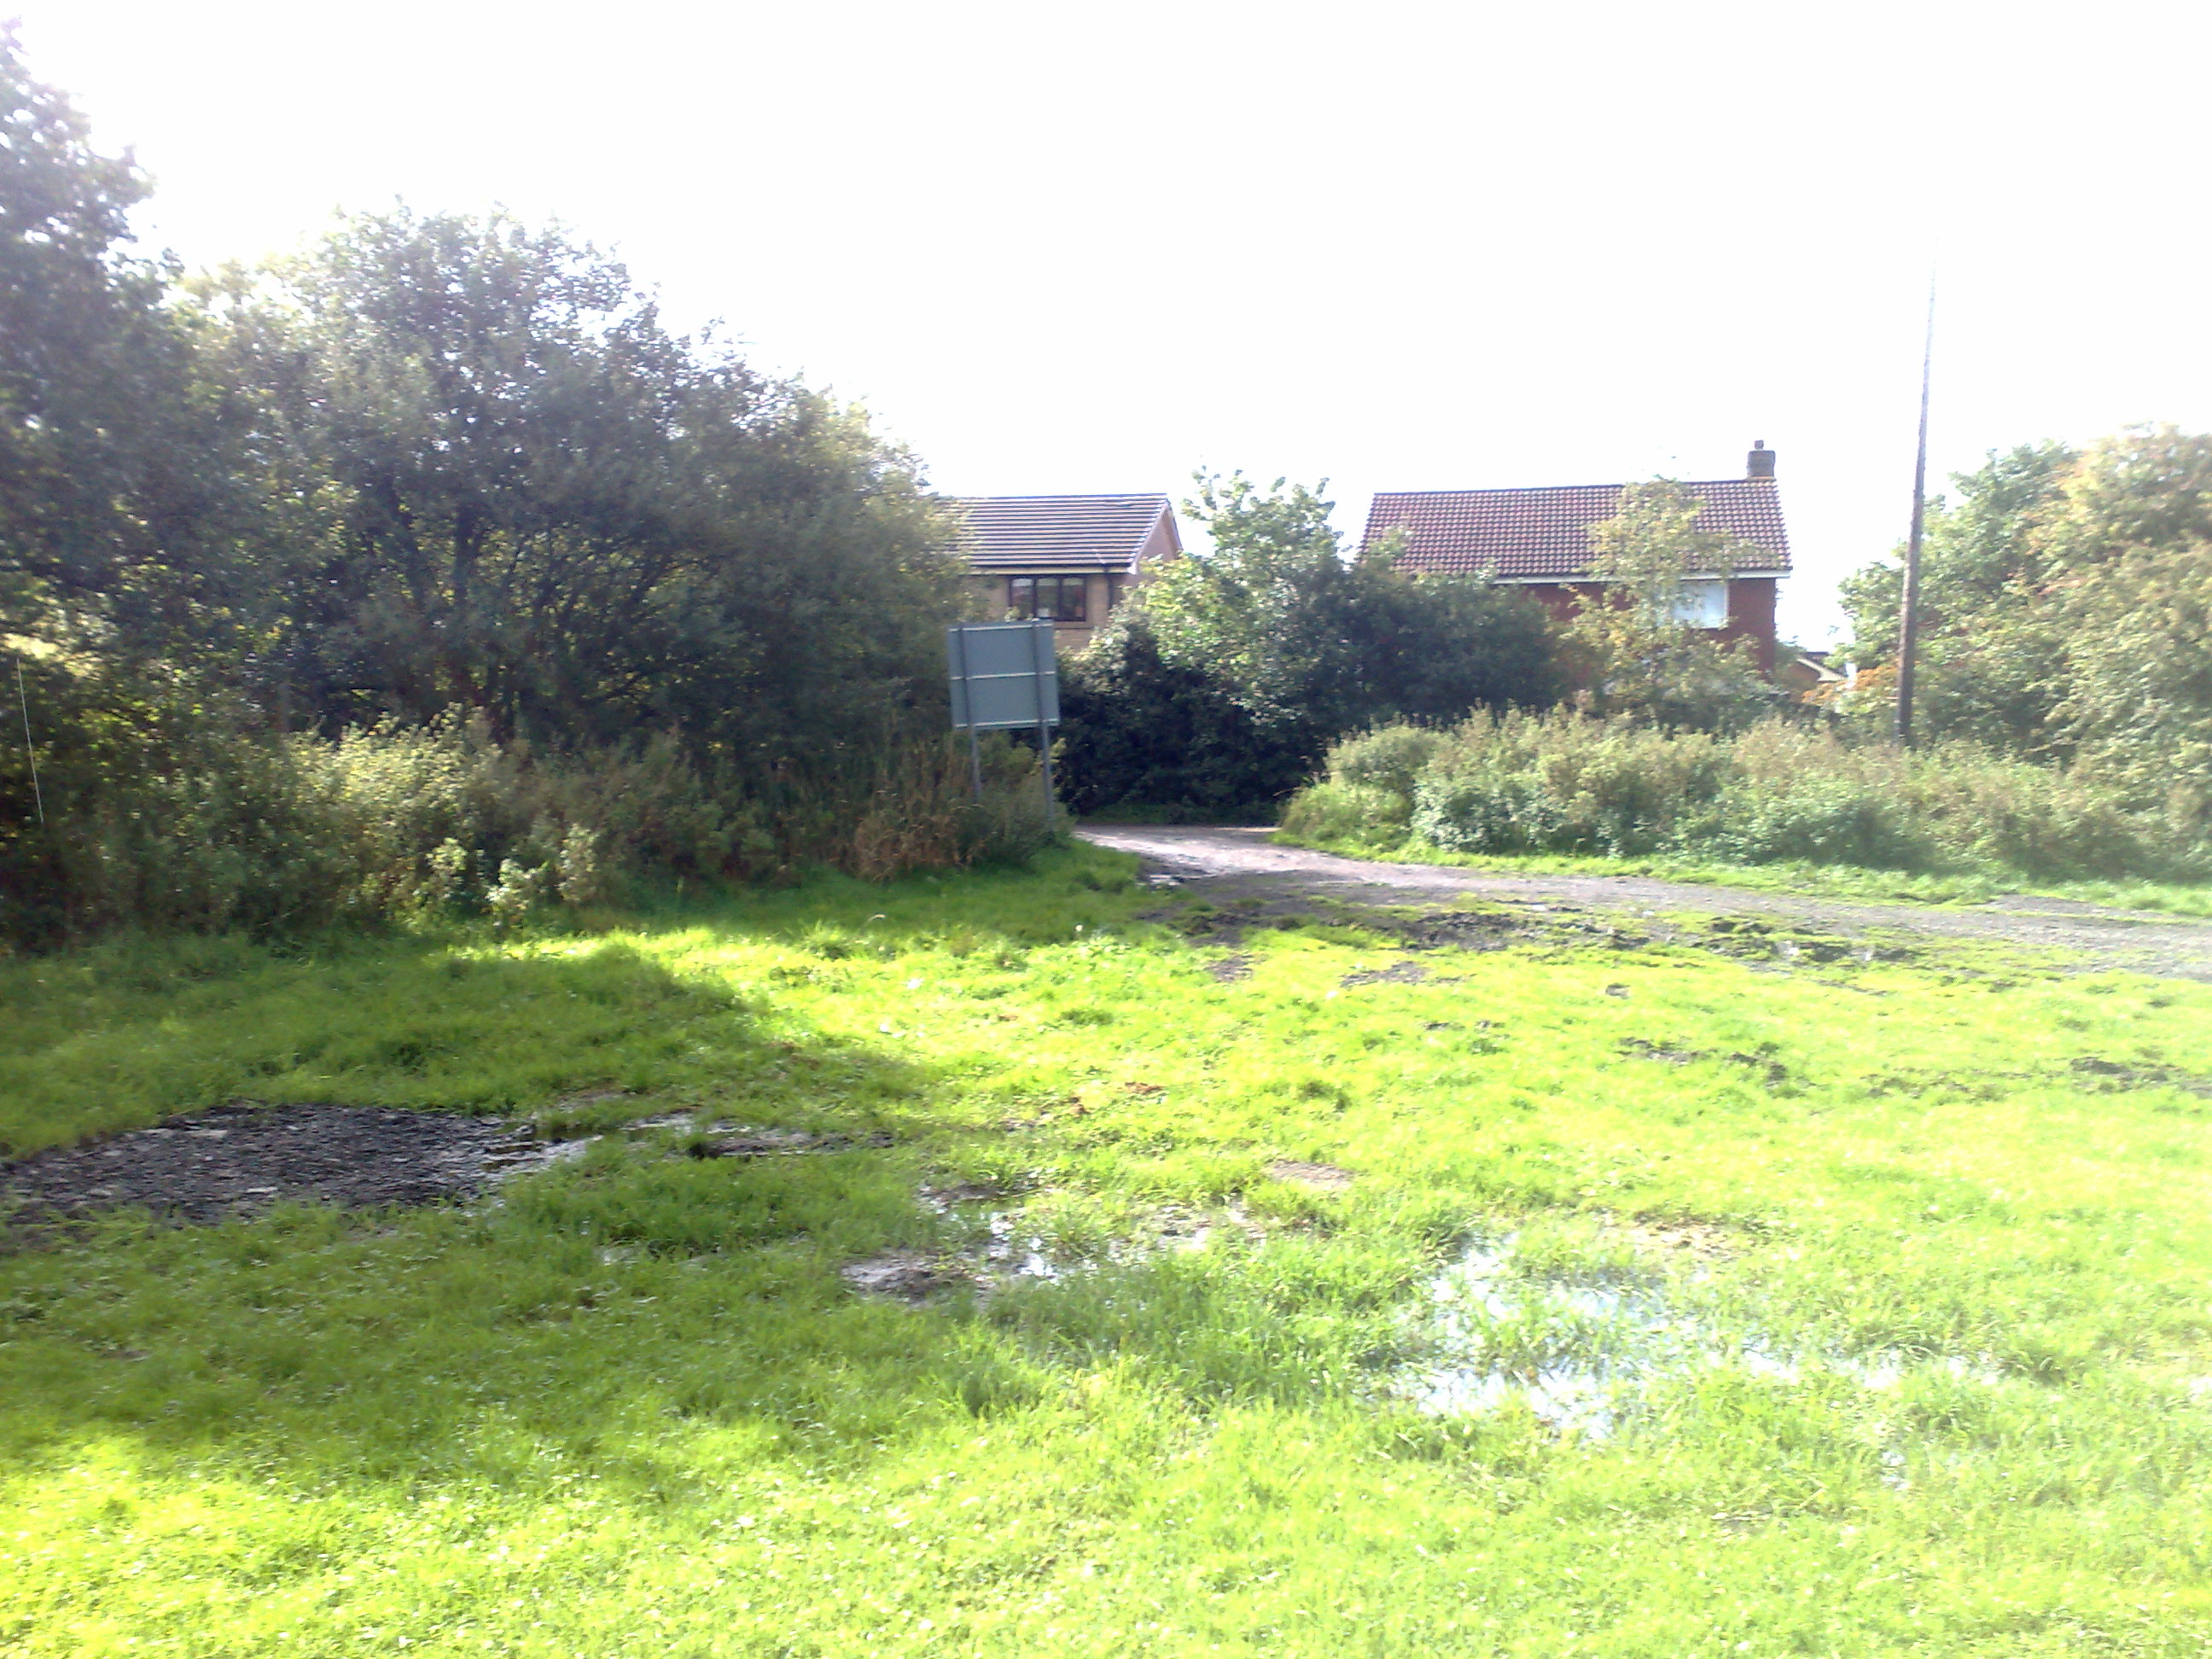
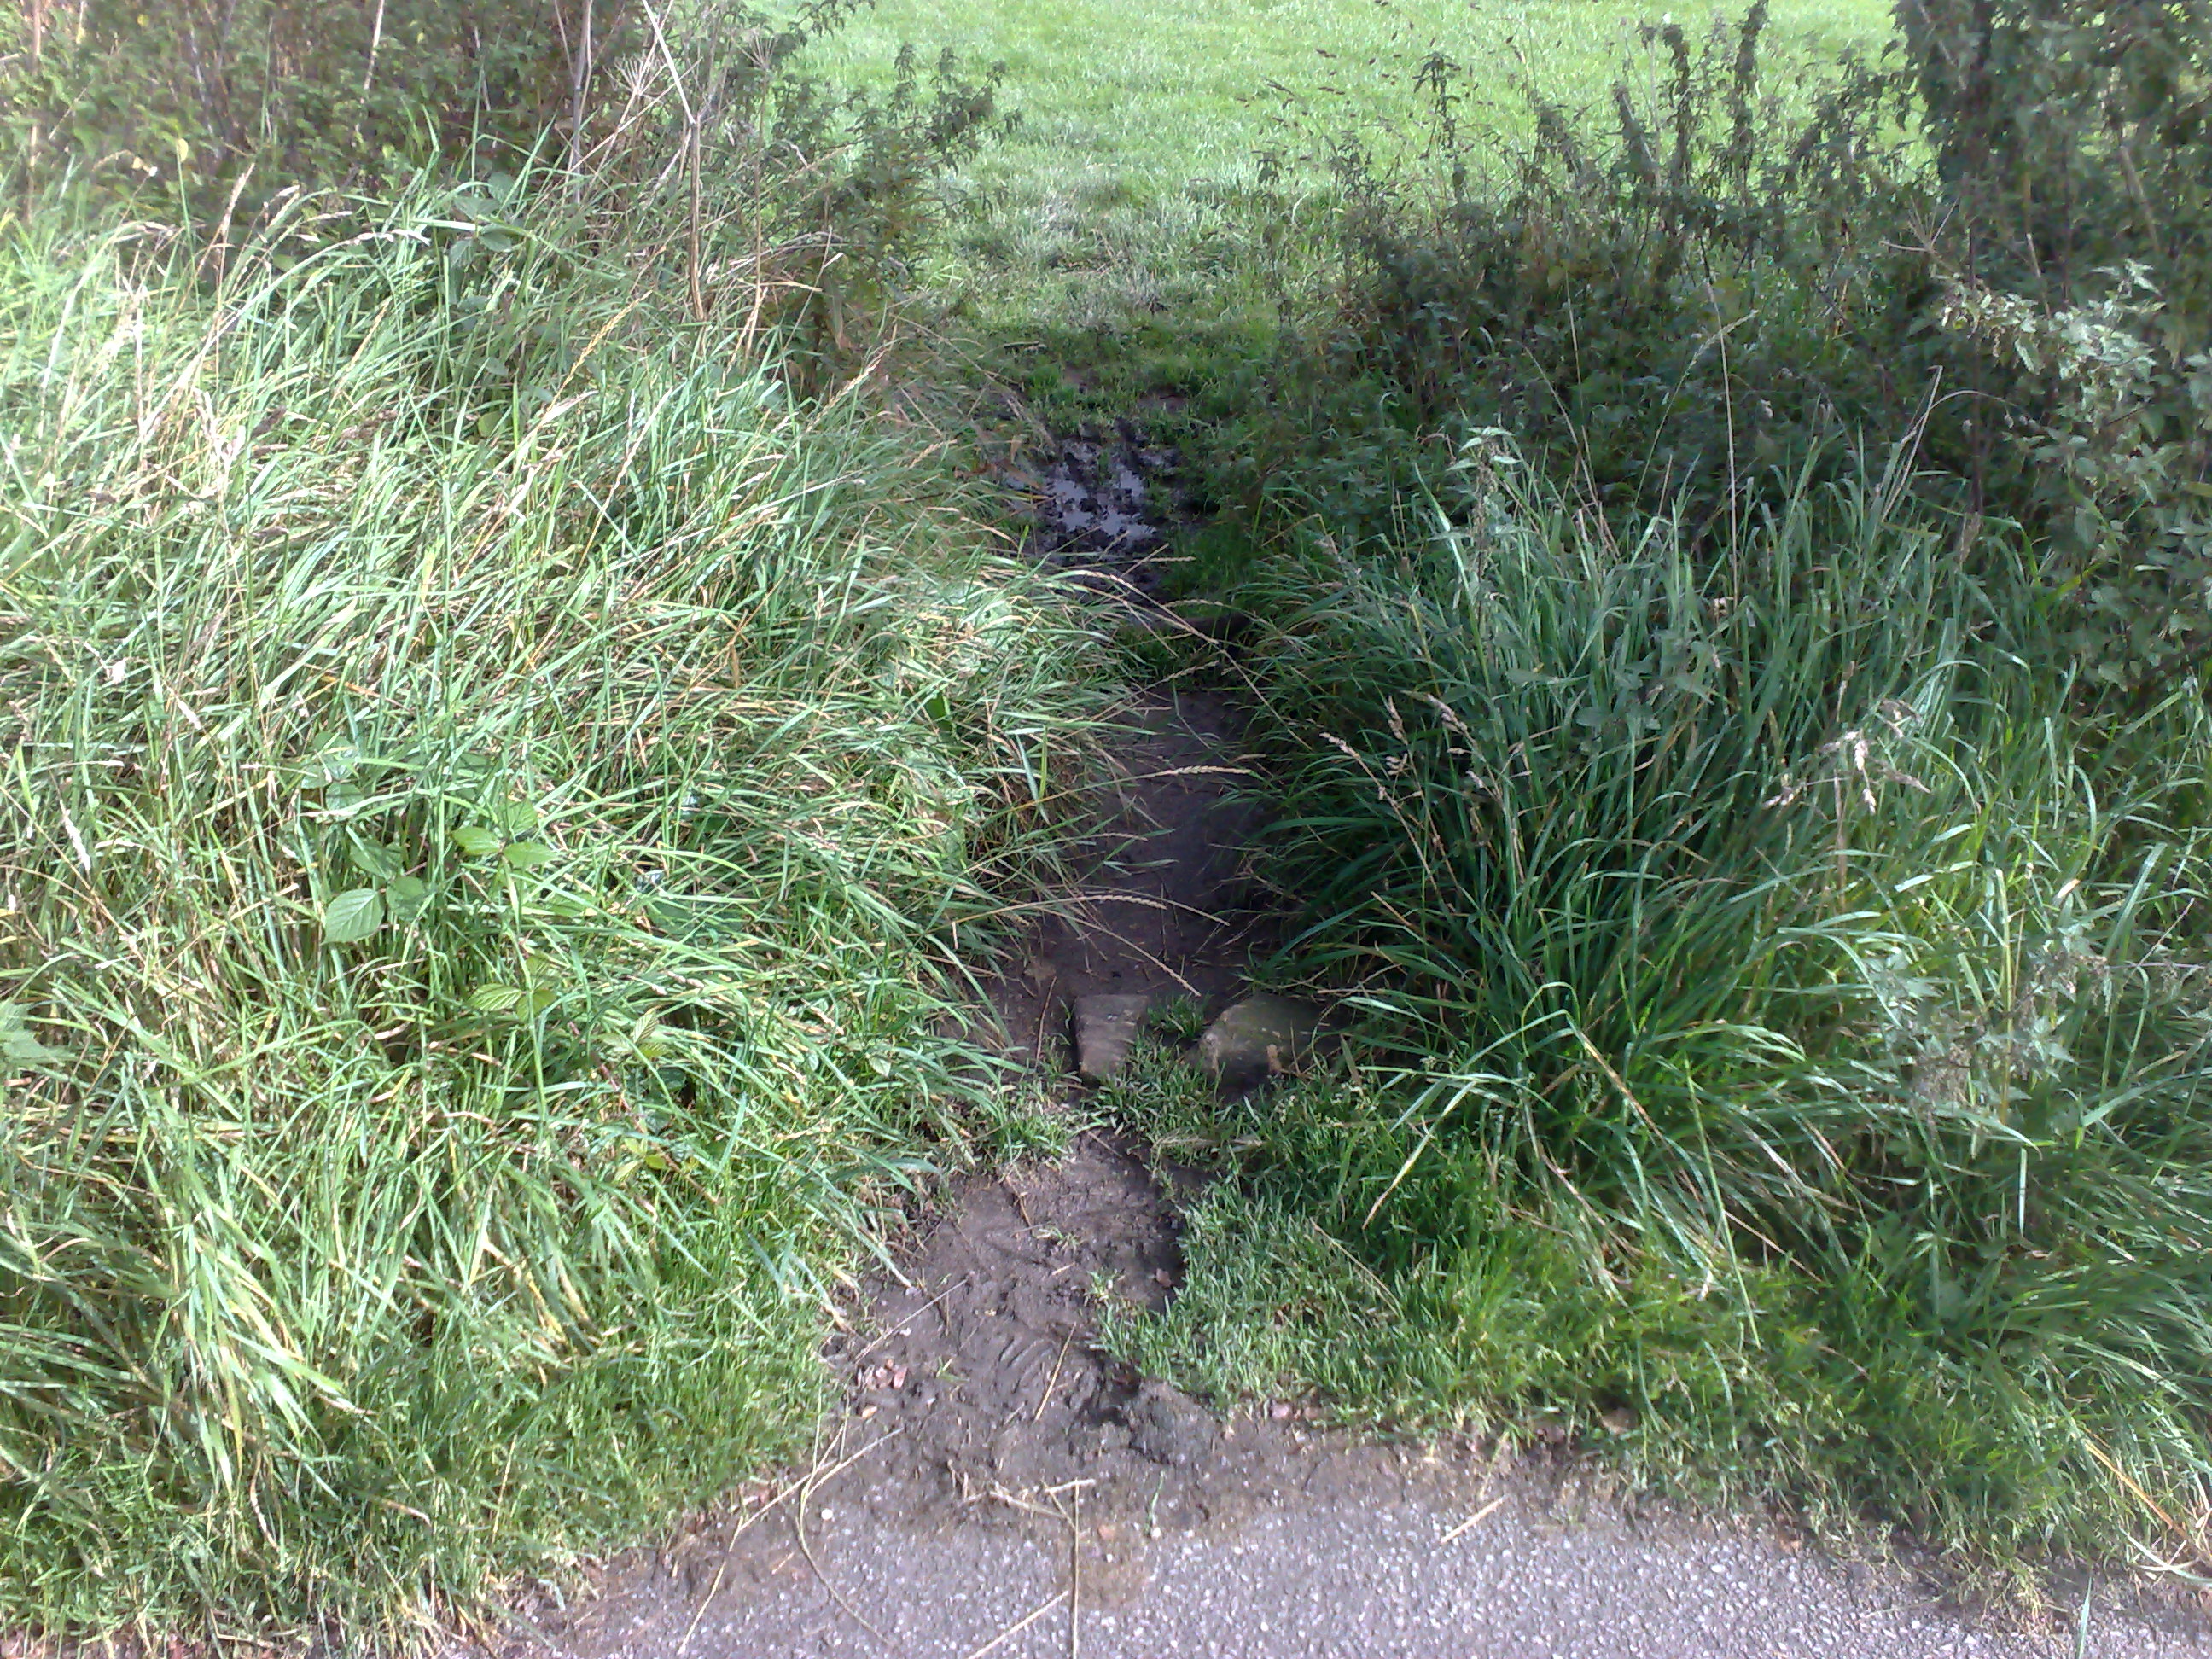
Interestingly there is much
evidence of people entering Field 1 from Early Bank Road
|
|
|
More evidence of people
accessing Field 1 from Early Bank Road
|